In our previous article we talked about the OSL HDRI Enviroment. If you missed the article, you can find it here.
Today we’re going to focus on the new OSL HDRI Lights map, very useful to create advanced lighting setup and simulate the use of real photographic equipment like softboxes.
Let’s create the node and see what we get from it.
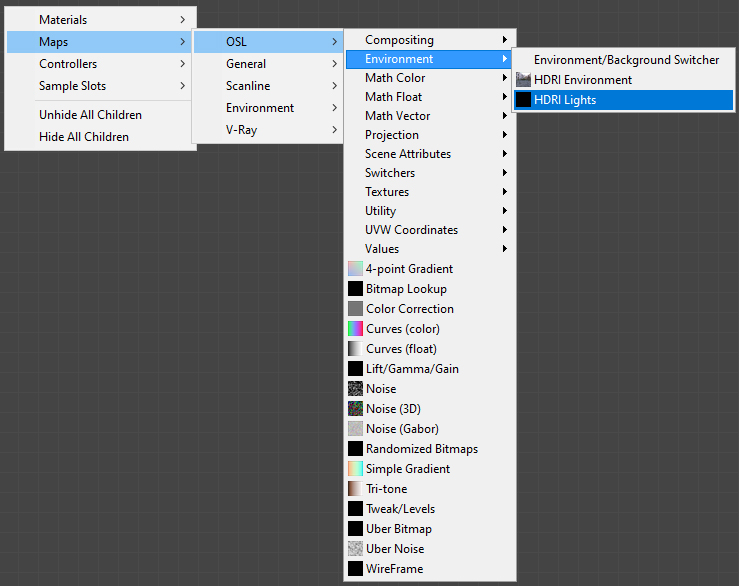
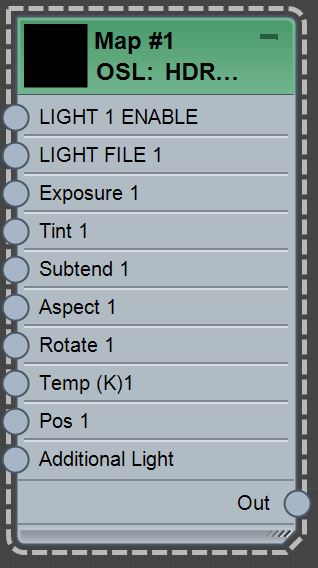

Like in the previous article we need to link the HDRI Lights map to the Environment Slot (Hotkey → 8) and as soon as we switch the viewport to High Quality we’ll see the effect of this light.
With 3ds Max we get 5 pre-installed hdr textures, shown below, that represent real life lights use by photographers, mostly for indoor, products and portrait photography:
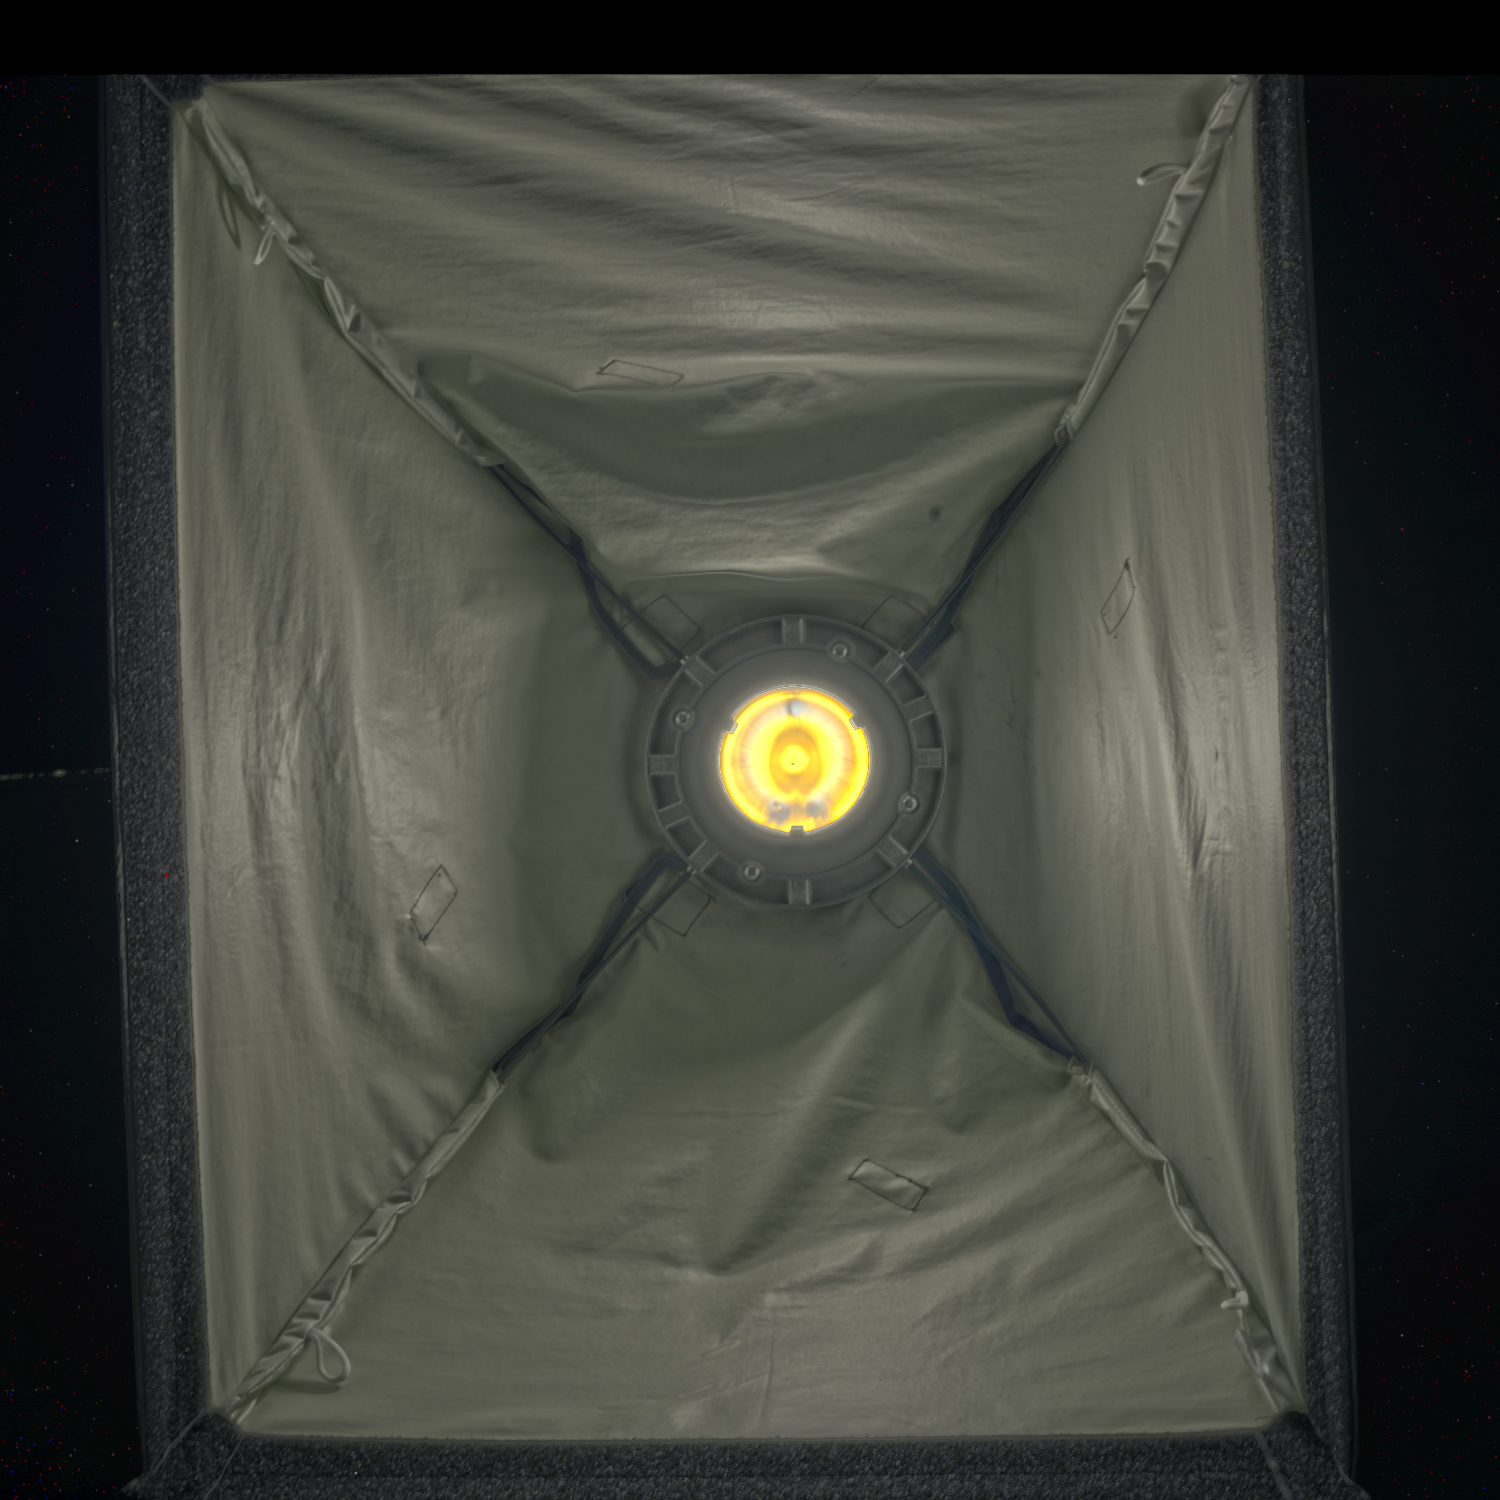
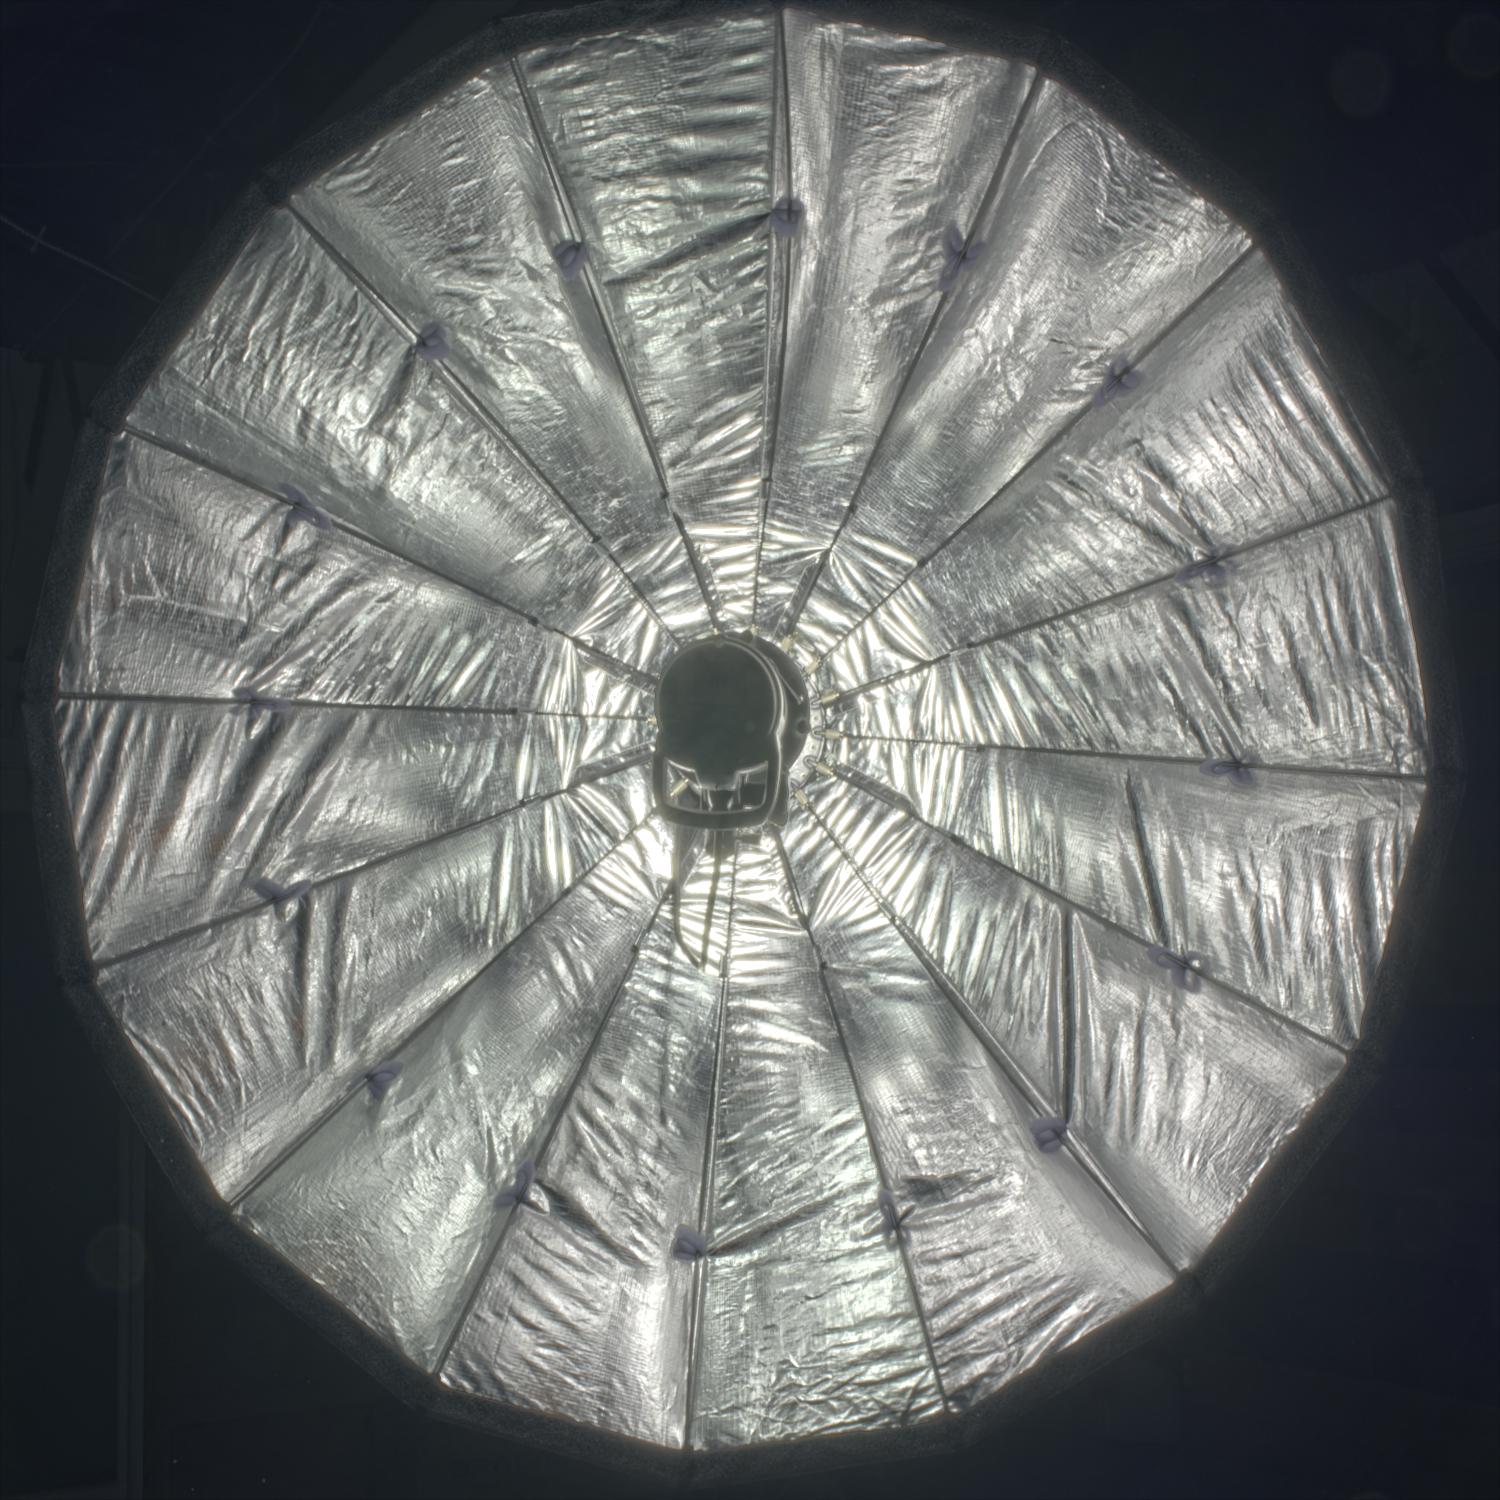
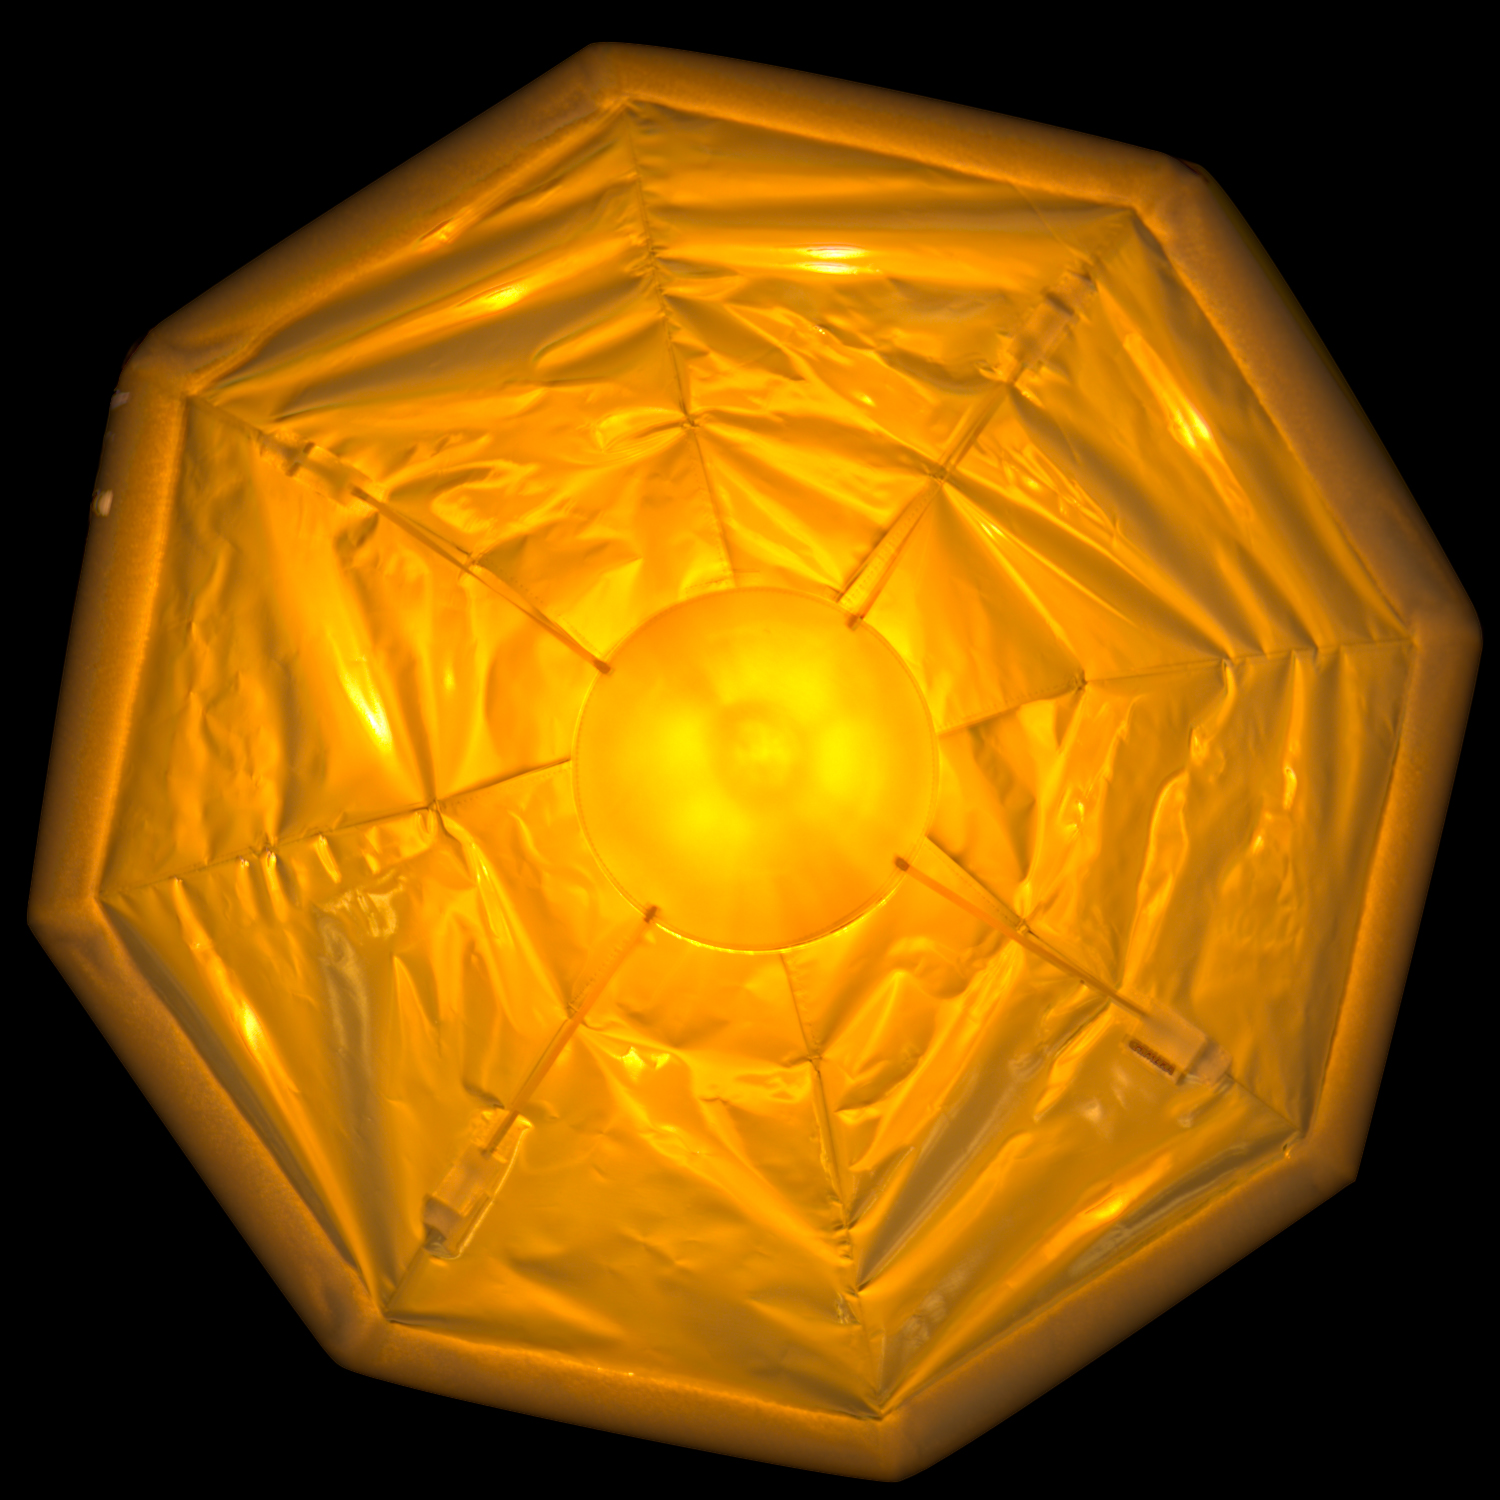
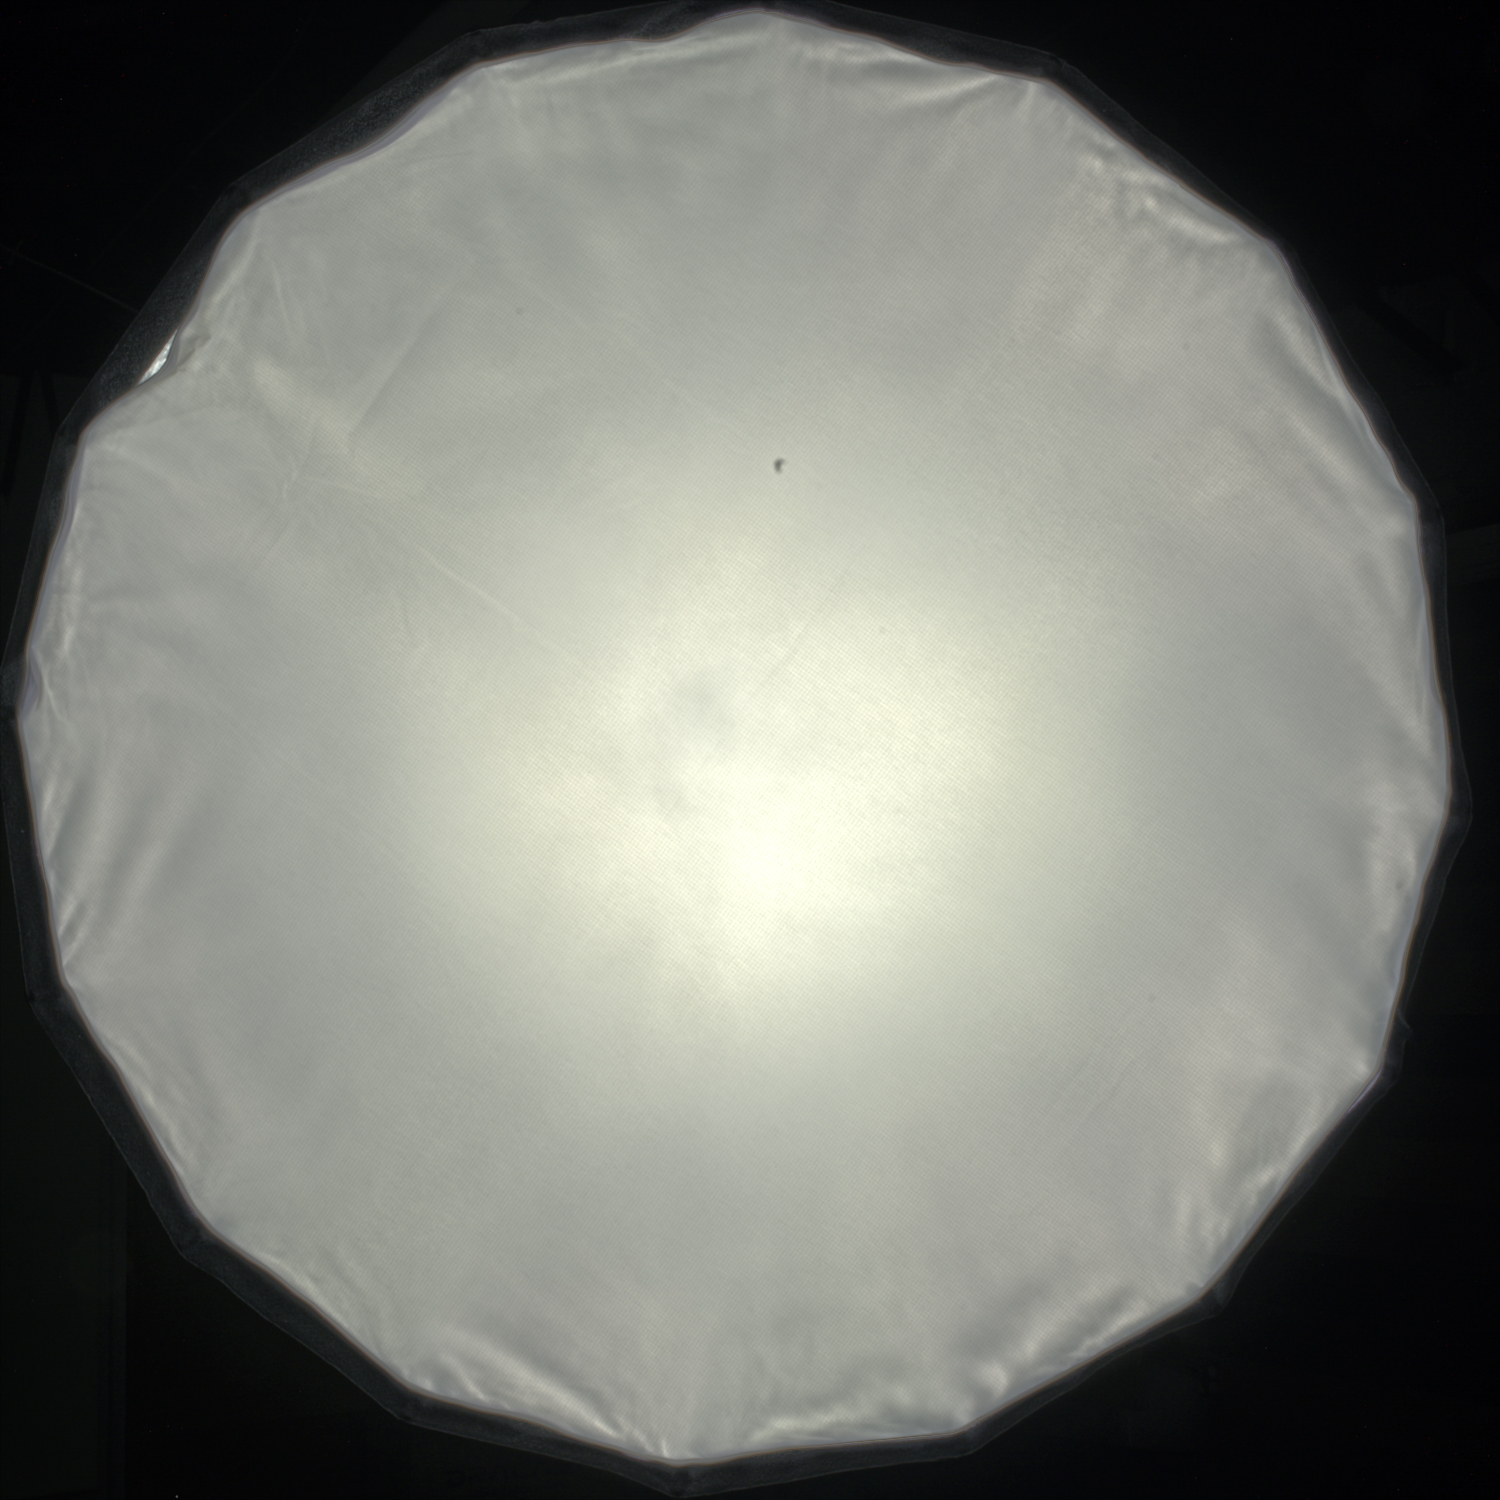
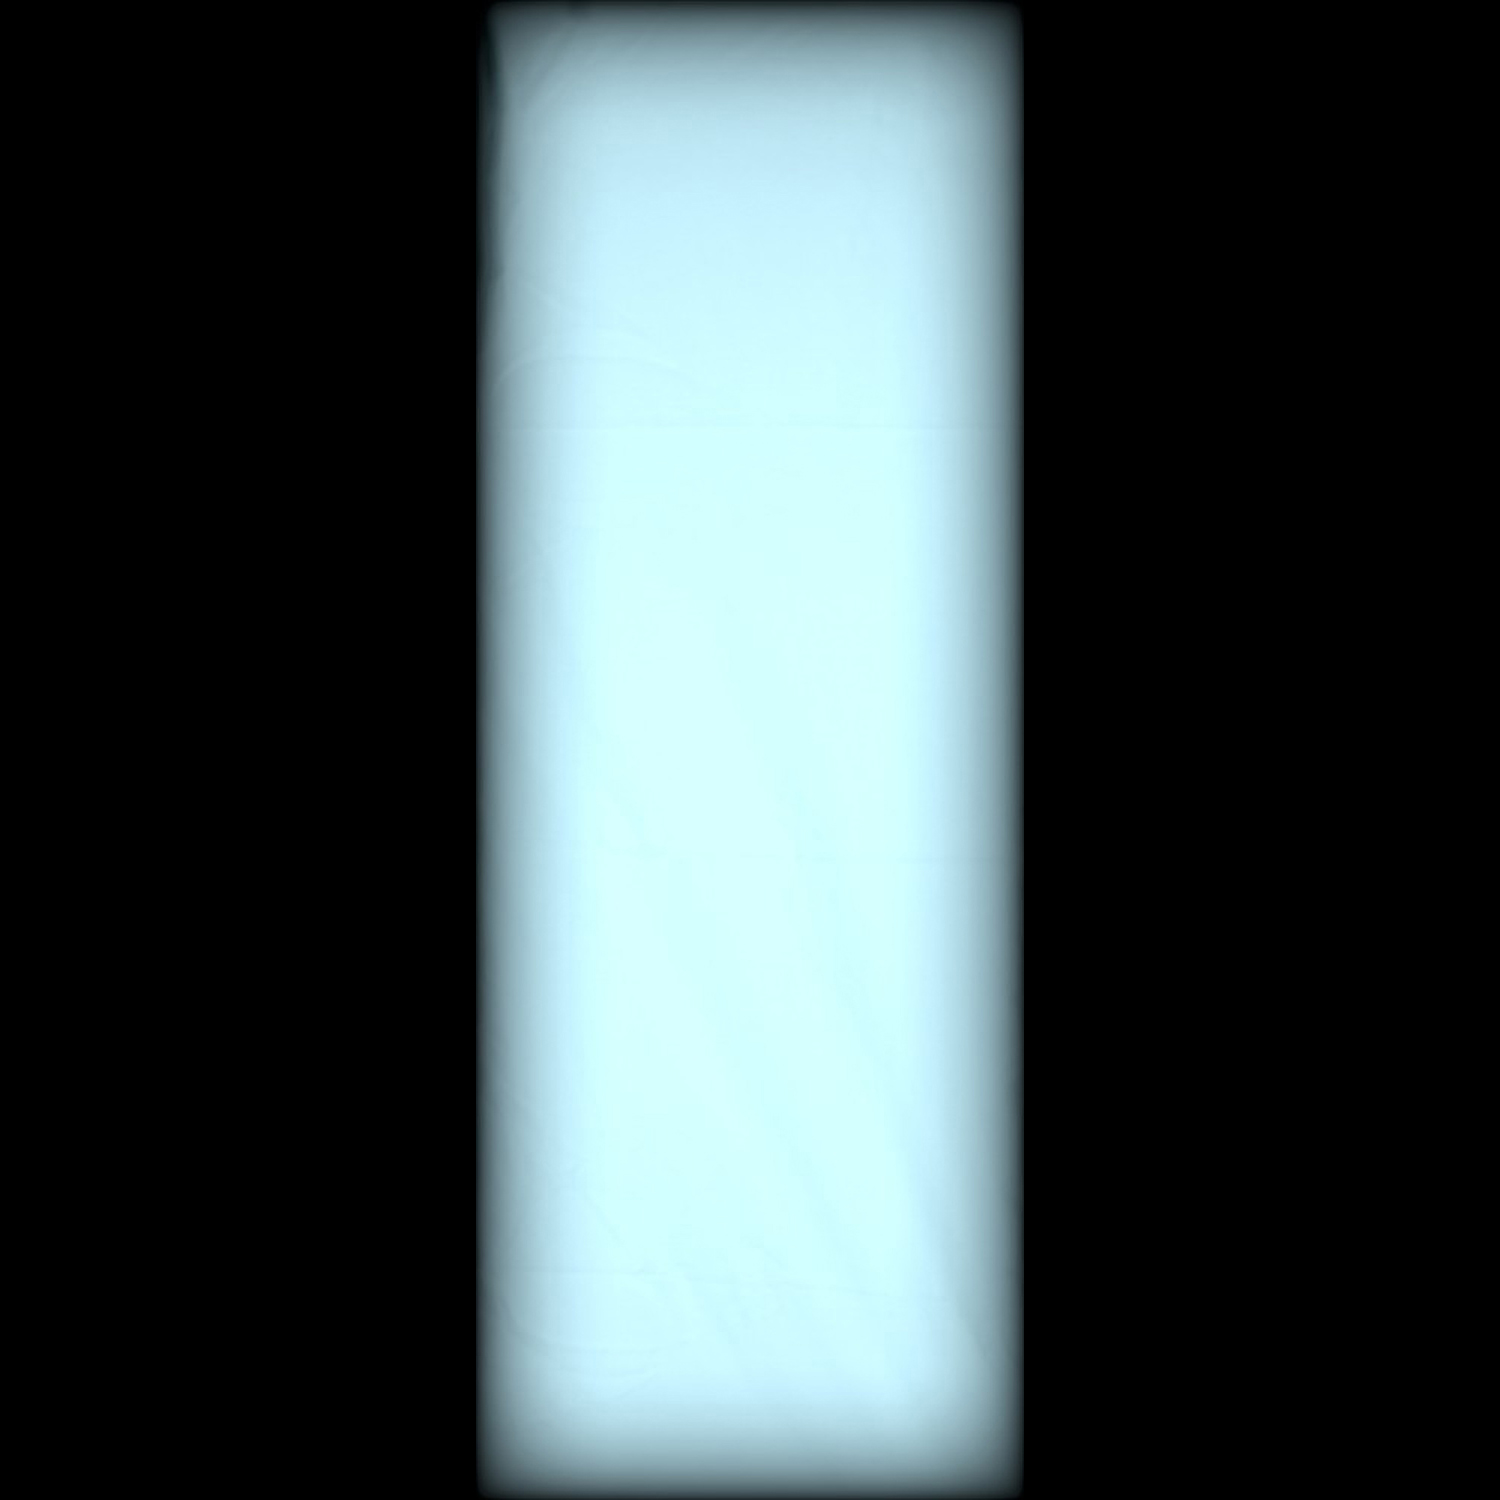
Let’s create a small scene with an asset from megascans to lit with these maps:

Now we can create the first light using the new OSL HDRI Lights map. For this light we chose the texture “softUmbrella.hdr”.
Before looking at the settings of the map we are going to place it exactly where we want it. Luckily 3dsMax provides us with all the necessary tools.
In the OSL HDRI Lights map, when we click on Pos. Helper 1, it will create a point helper in the viewport:
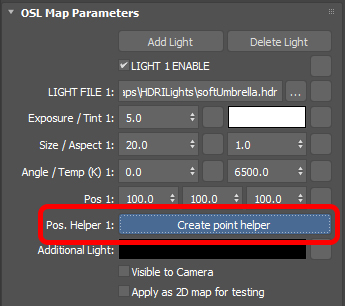
Then to place the light, select the Point Helper in viewport and instead of using the Position coordinates in the settings or of manually moving the Point Helper, we’ll use the Place Highlight tool already available in 3dsMax; you can find it in the toolbar near the alignment tools:

Once enabled, by clicking with the mouse on a surface, we can place the point where the highlight will hit the surface, and the light (in this case represented by the Point Helper) will be positioned perpendicularly to the normal of the surface.
Below you can see a short video of how the tool works and how easy it is:
Let’s move to the other settings to make sure that the emitted light is what we want:

- Exposure → controls the exposure of the image in stops
- Tint → applies a tint to the light
- Size → is the apparent size of the light, like an area light size
- Aspect → is the aspect ratio of the texture used
- Angle → to rotate the image
- Temperature → adjusts the color temperature of the texture
After changing some of these parameters here is the result in viewport:
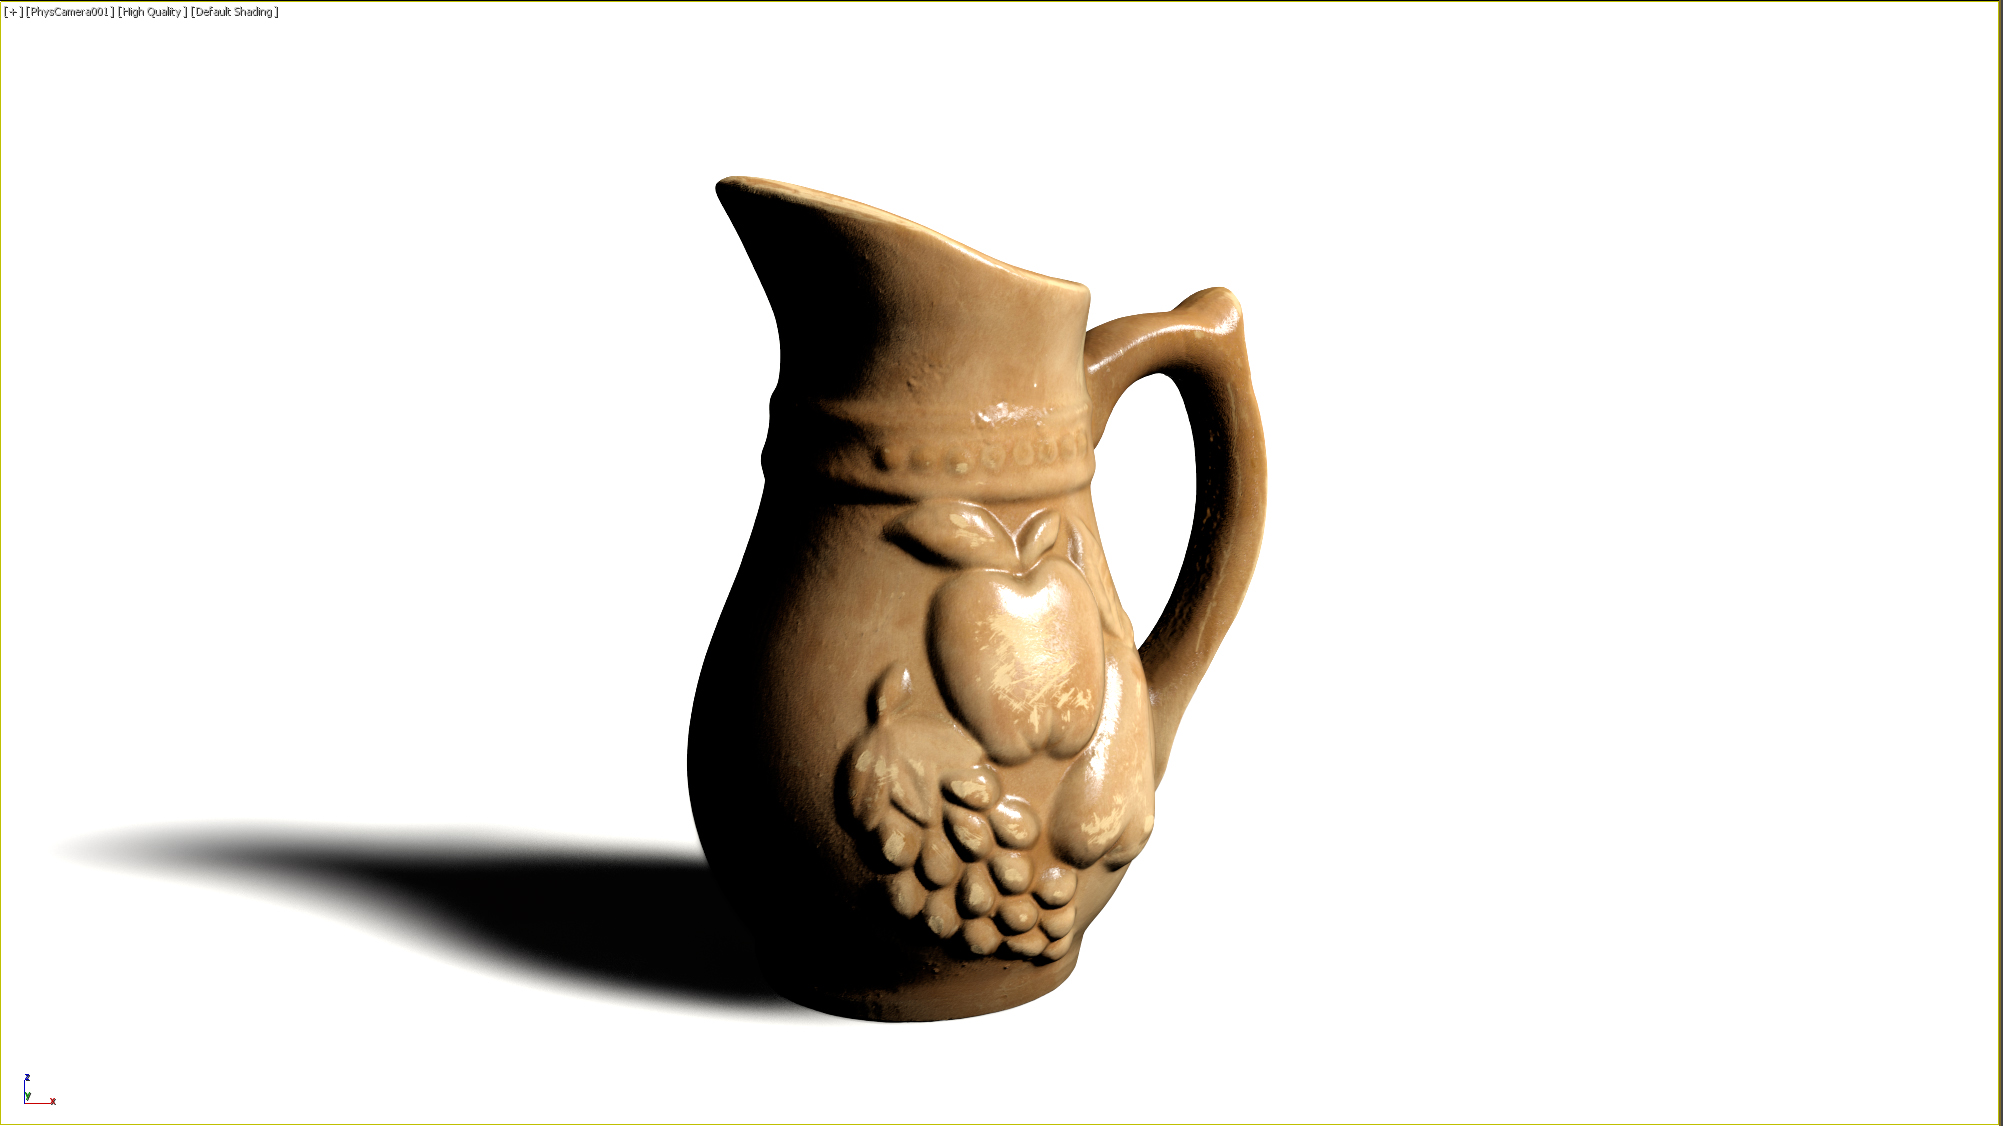
If you noticed at the top of the parameters list there’s a button Add Light, as well as Delete Light. By using it we can add multiple HDR lights inside the same OSL HDRI Lights map.

Let’s add two more lights and recreate a three-point lighting scenario, by following the same workflow of the first light. For this example the setup is like this:
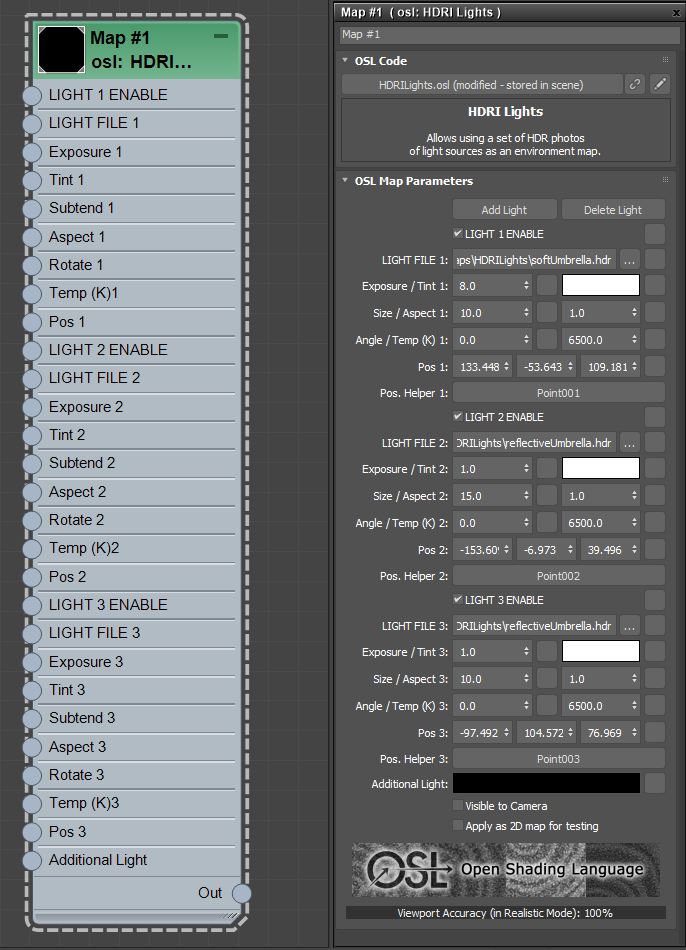
After adding the other two lights, this is what we get in the viewport:

Below the final result with a comparison between the viewport of 3ds Max e V-Ray:
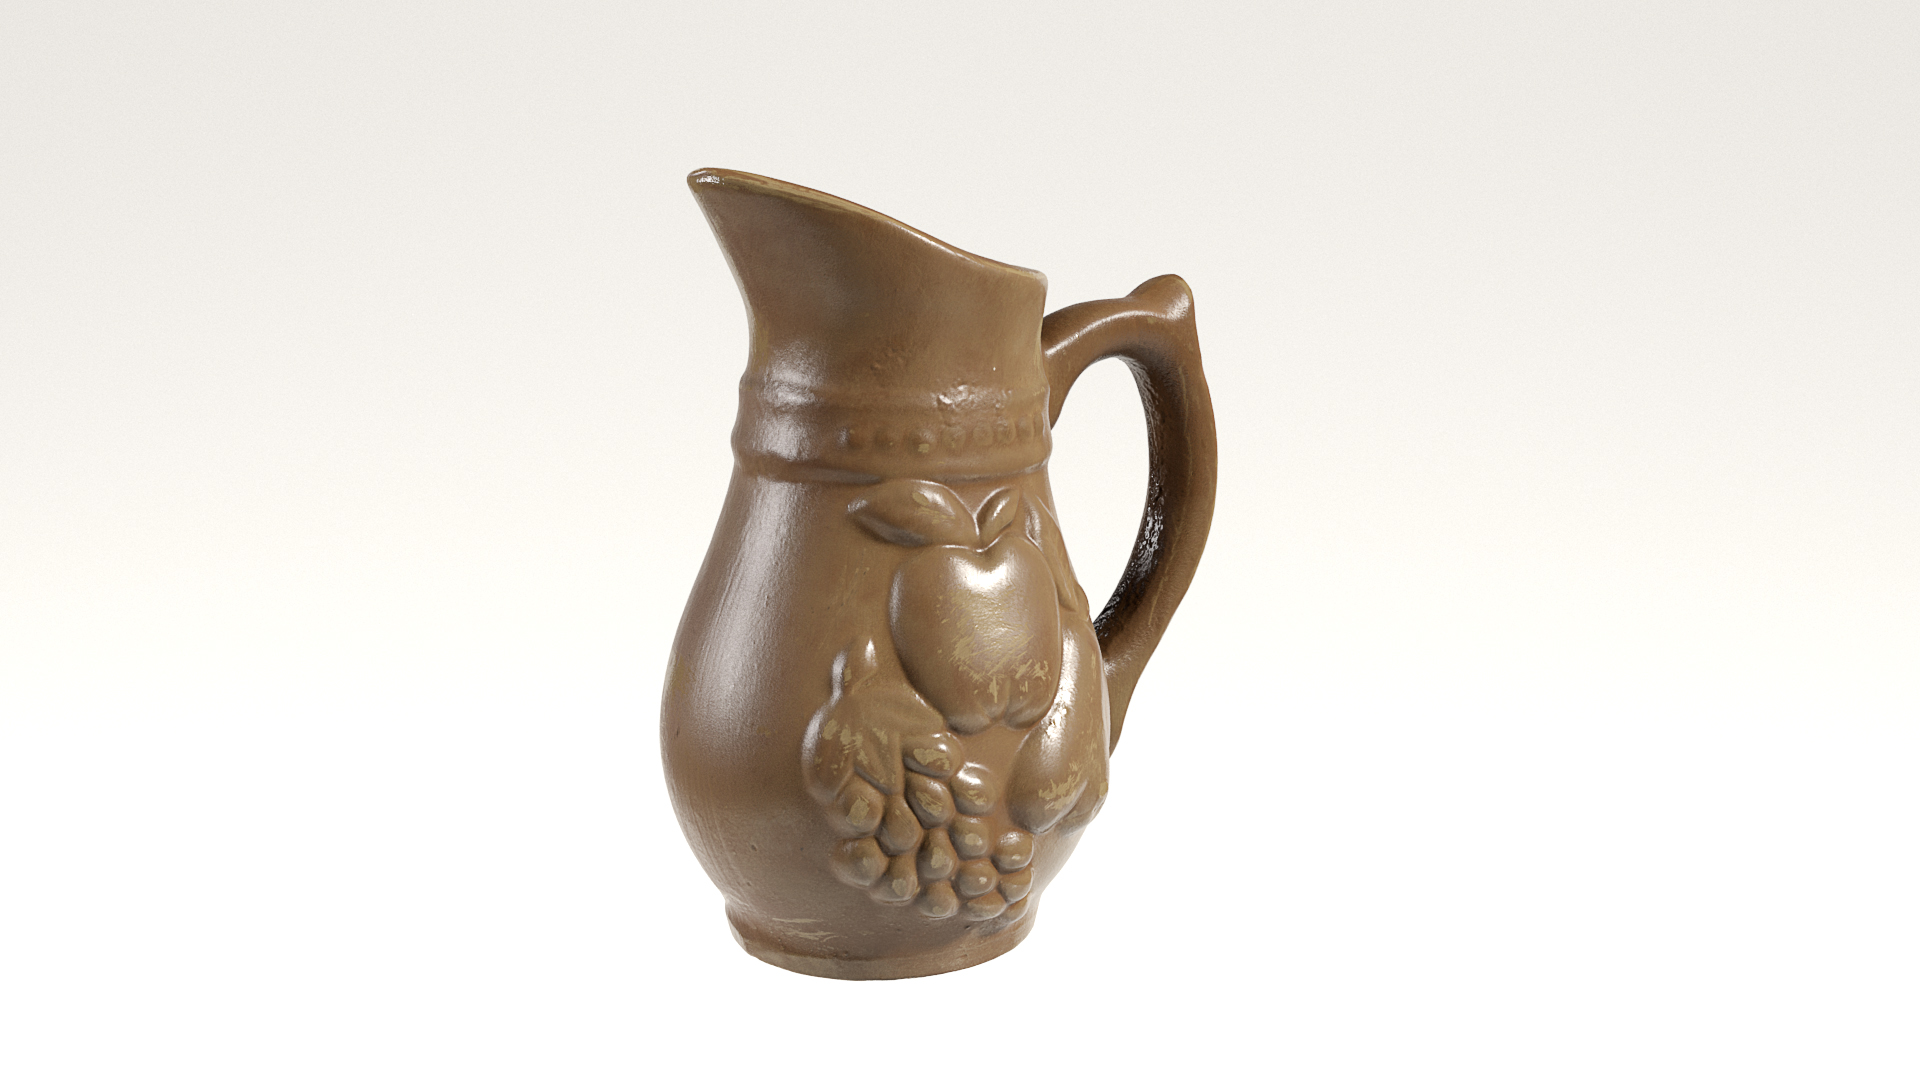 V-RAY
V-RAY
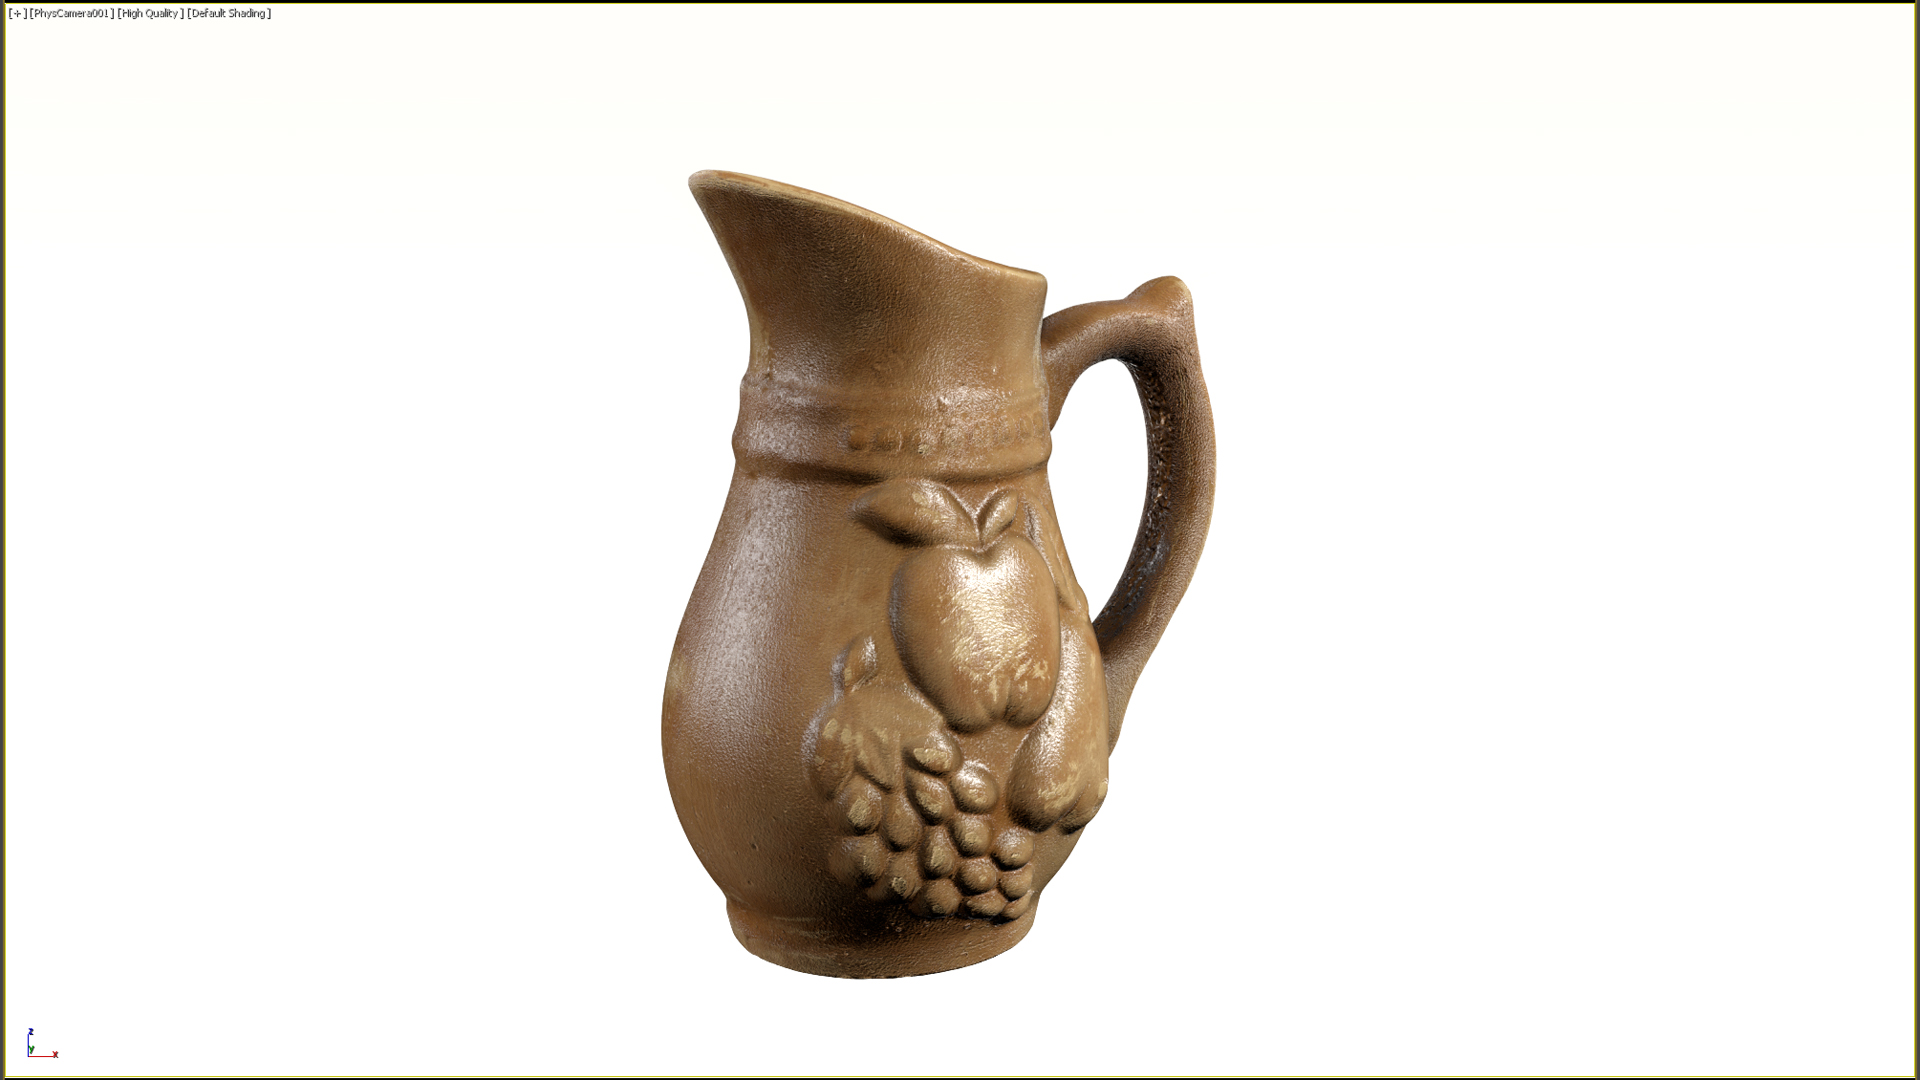 3DS MAX
Remember that although V-Ray supports OSL, in 3ds Max it is possible to get some differences in the final result, even though the two images are close enough for a preview.
NOTE: with the latest release of the daily build of Corona v6 (16-03-2020), you can install Corona on 3ds Max 2021 and try out all the new features.
You can download Corona v6 daily builds here.
That’s all about OSL HDRI lights. In the next article of this series we’ll take a look at some of the new OSL Color Correction nodes.
Keep following us and let us know your thoughts about the new changes.

