
Today we’re going to look with you at some of the improvements introduced by Autodesk 3ds Max 2022.
If you remember, last year we had already talked about the Smart Extrude a set of new features in Max 2021 (refresh your memory by reading the article here). Now we’re looking at what’s new about it and other modifiers like Slice and Symmetry.
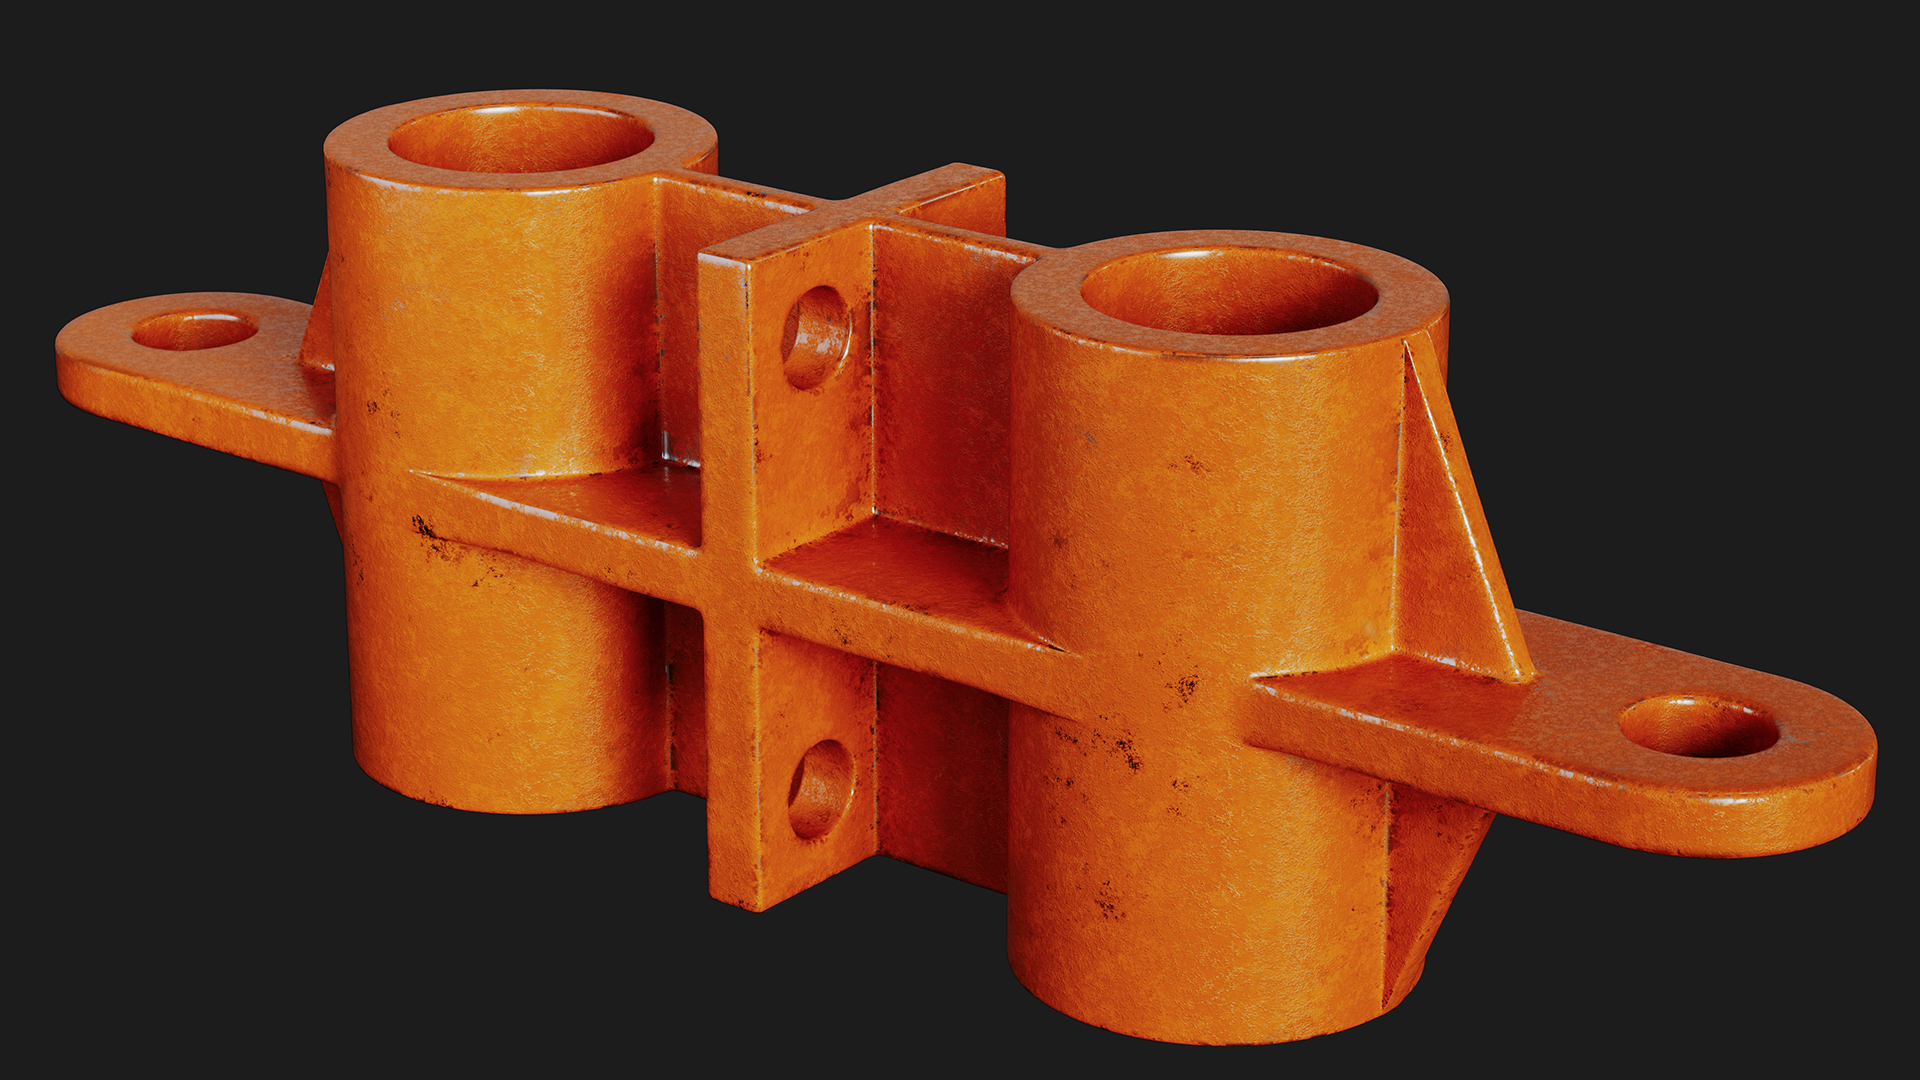
We are going to model the object you see in the image below with the last version of the Autodesk software by only using combinations of the Smart Extrude features without touching any boolean operation, and finish it with the Symmetry modifier.
The Smart Extrude feature is pretty easy to use, it works both with Editable Poly objects and Edit Poly modifiers, the only shortcut you need to remember is Shift + LMB (Left Mouse Button).
Let’s go to 3ds Max where I’ve already prepared some geometries.
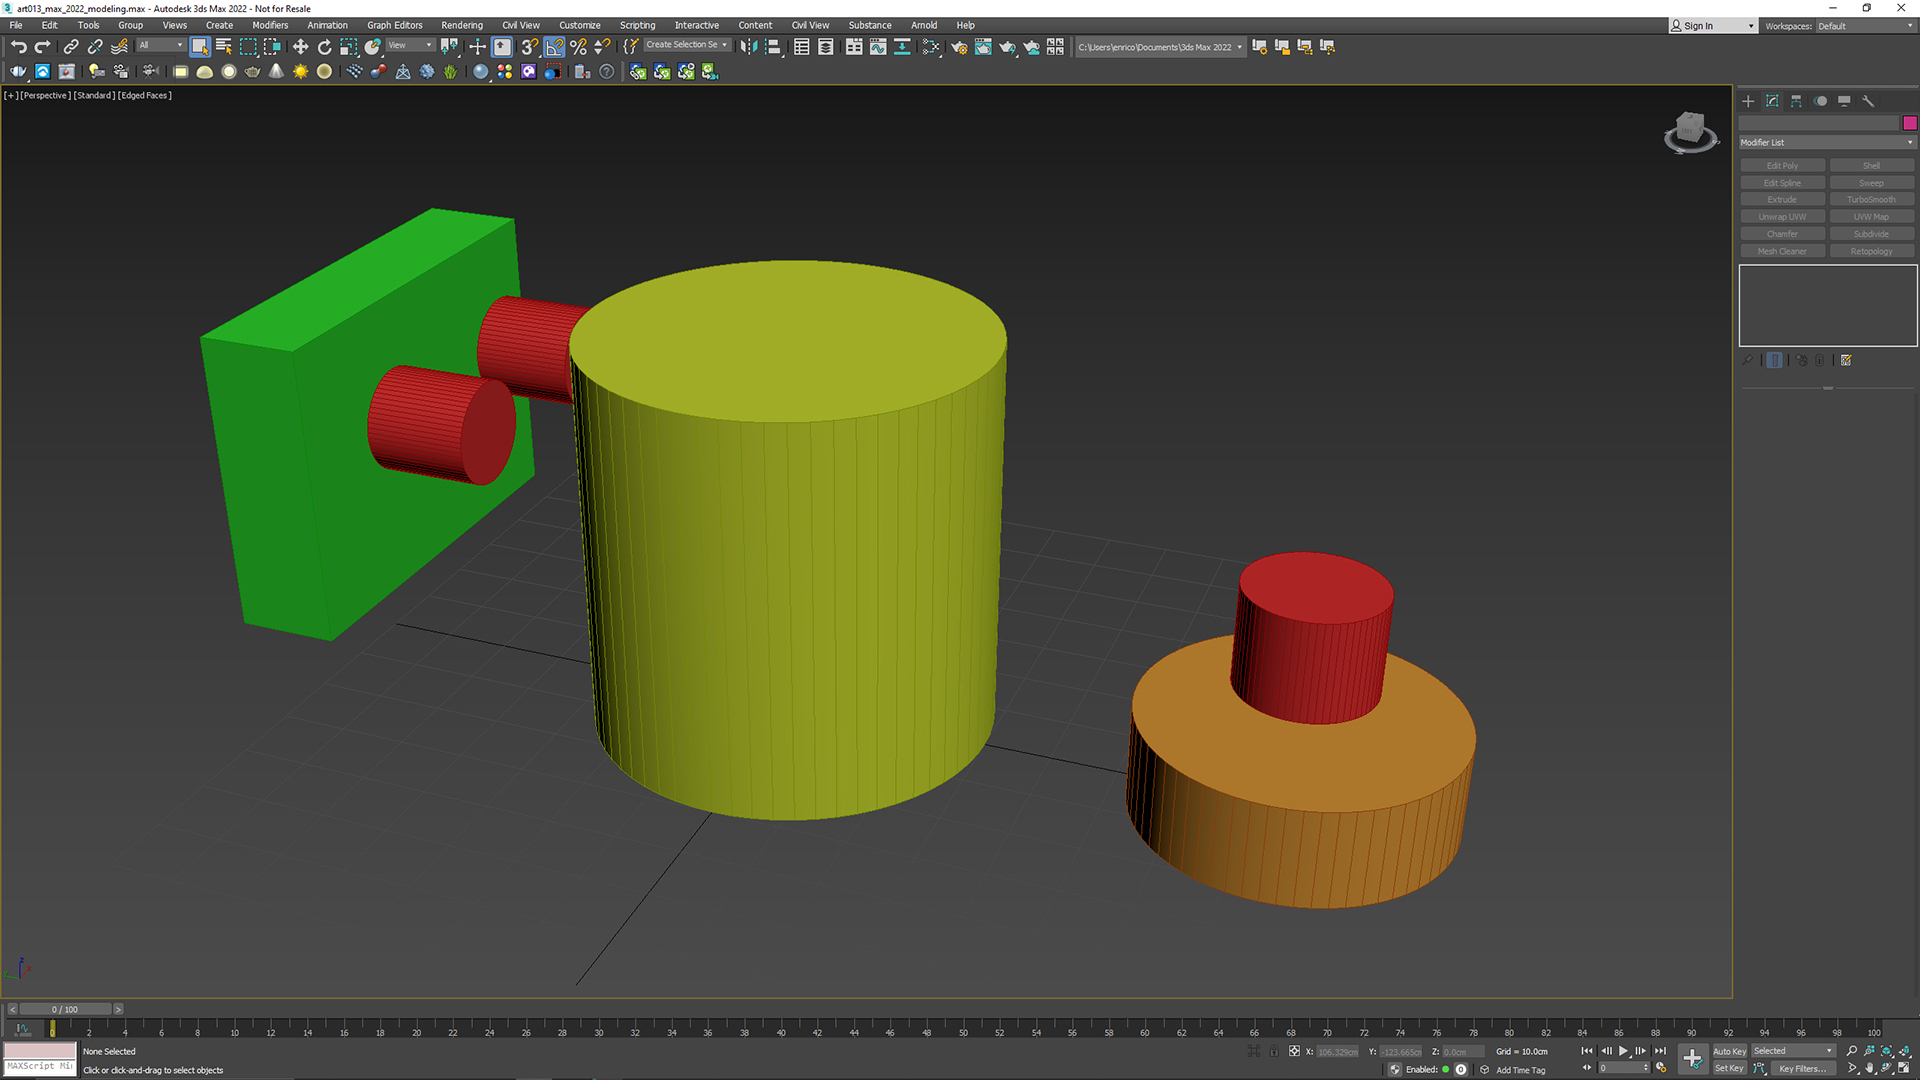
Now, I want to create the hole in the bigger cylinder, so first I create an inset on the top face by using the Inset tool to specify a precise measure.
Then instead of creating the same inset on the bottom face and use the Bridge tool to connect the two faces, I can use one of the new features added in the Smart Extrude that will automatically create the hole once I move the face through the entire mesh, as you can see in the video below.
Once it’s done, we can use the same technique to model the other holes.
Note that the operation under the hood is basically a boolean subtraction, but users can do it directly on the Editable Poly instead of applying a modifier.
In the two videos below you’ll see in the software how the operation works.
- Use Smart Extrude to extrude the bottom face and connect it to the other mesh
- Extrude the top face through the entire mesh to create the hole
Just a few notes about these last steps:
- All the meshes must be in the same object, or it won’t work.
- The meshes used to create the holes (in this case the cylinders) must not be coplanar with the mesh you want to cut. In this way it is easier to do the first step and extrude the bottom face and connect it to the other mesh.
Now, with Shift + LMB again, I’ll create the junction between the back mesh and the main cylinder.
Note that now in Autodesk Max 2022 when we extrude a face or multiple faces, if we intersect other polygons, they will automatically merge together.
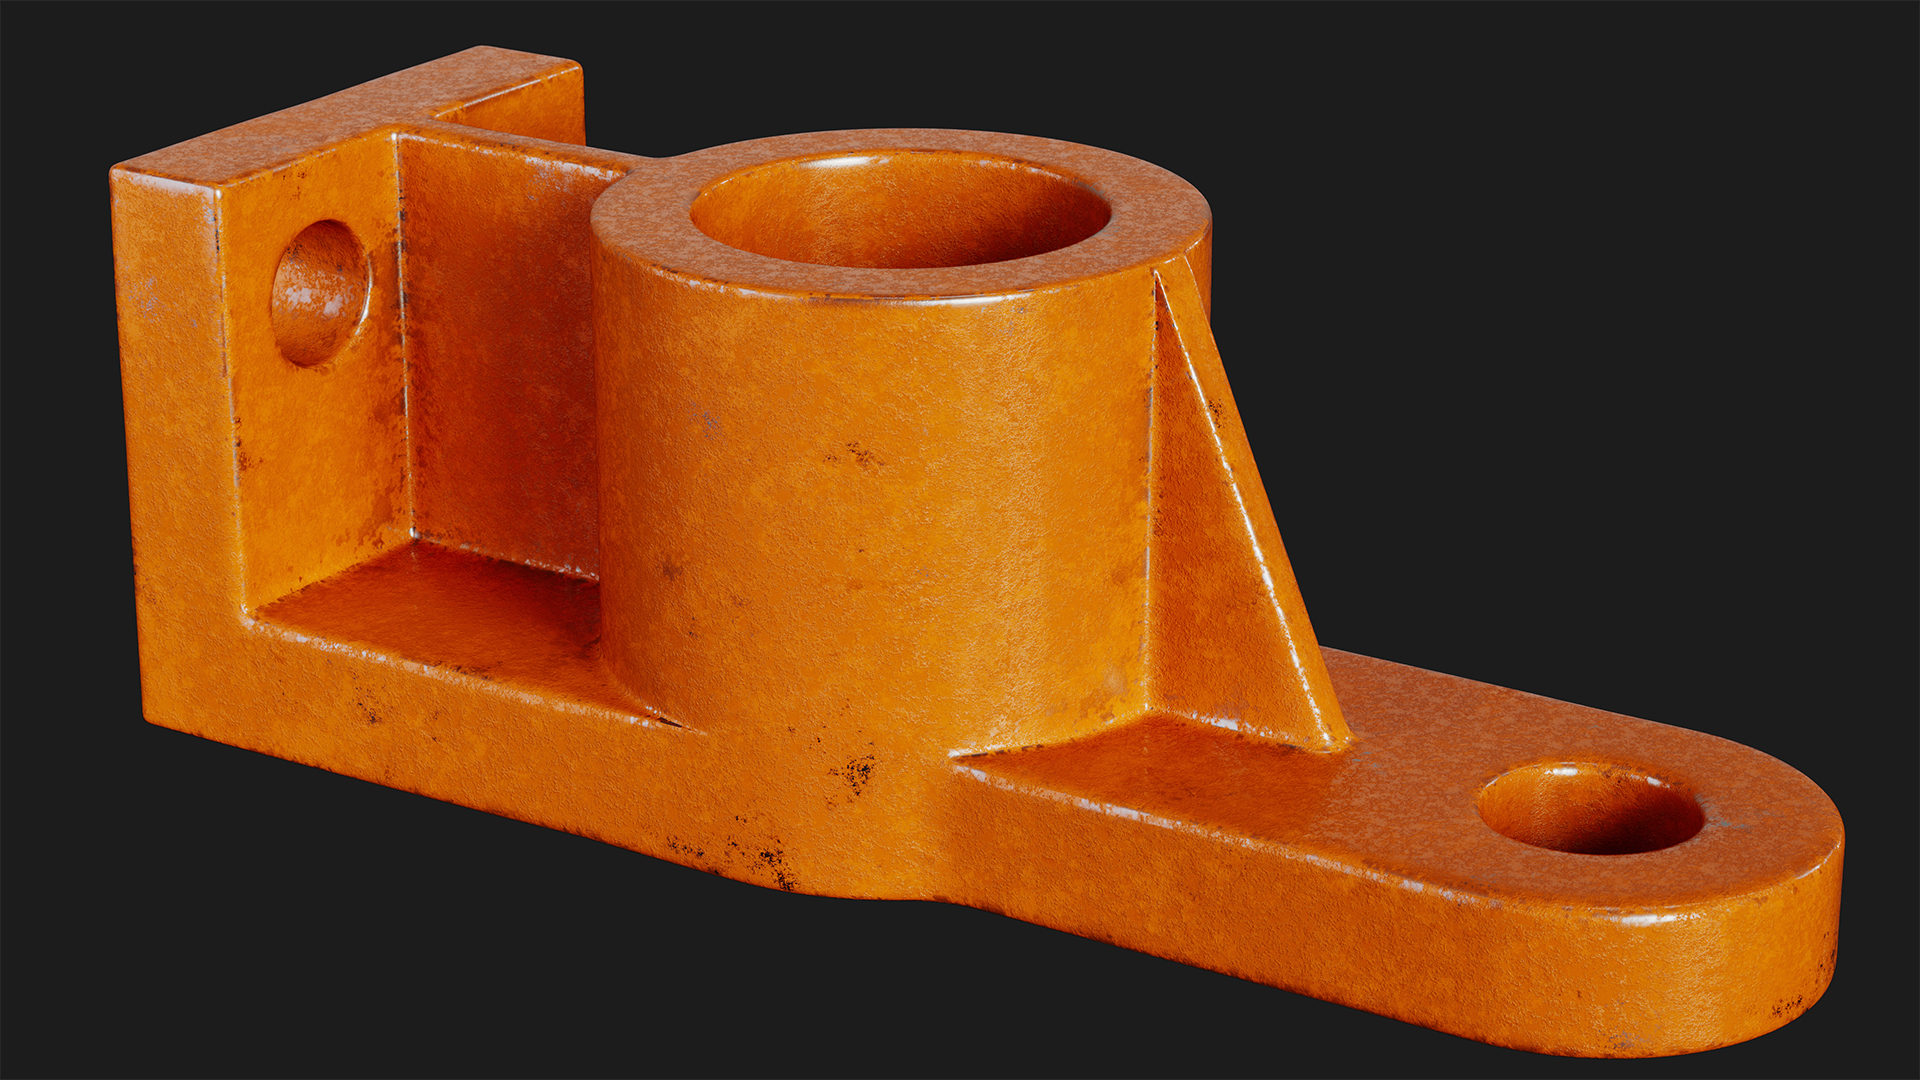
And this is the final result:

The main geometry is done, now we can have some fun with the Symmetry modifier.
Compared to previous versions of 3ds Max, in 2022 users can assign multiple axis in the same modifier without the need to create multiple ones. We can also choose between Planar and Radial symmetry:
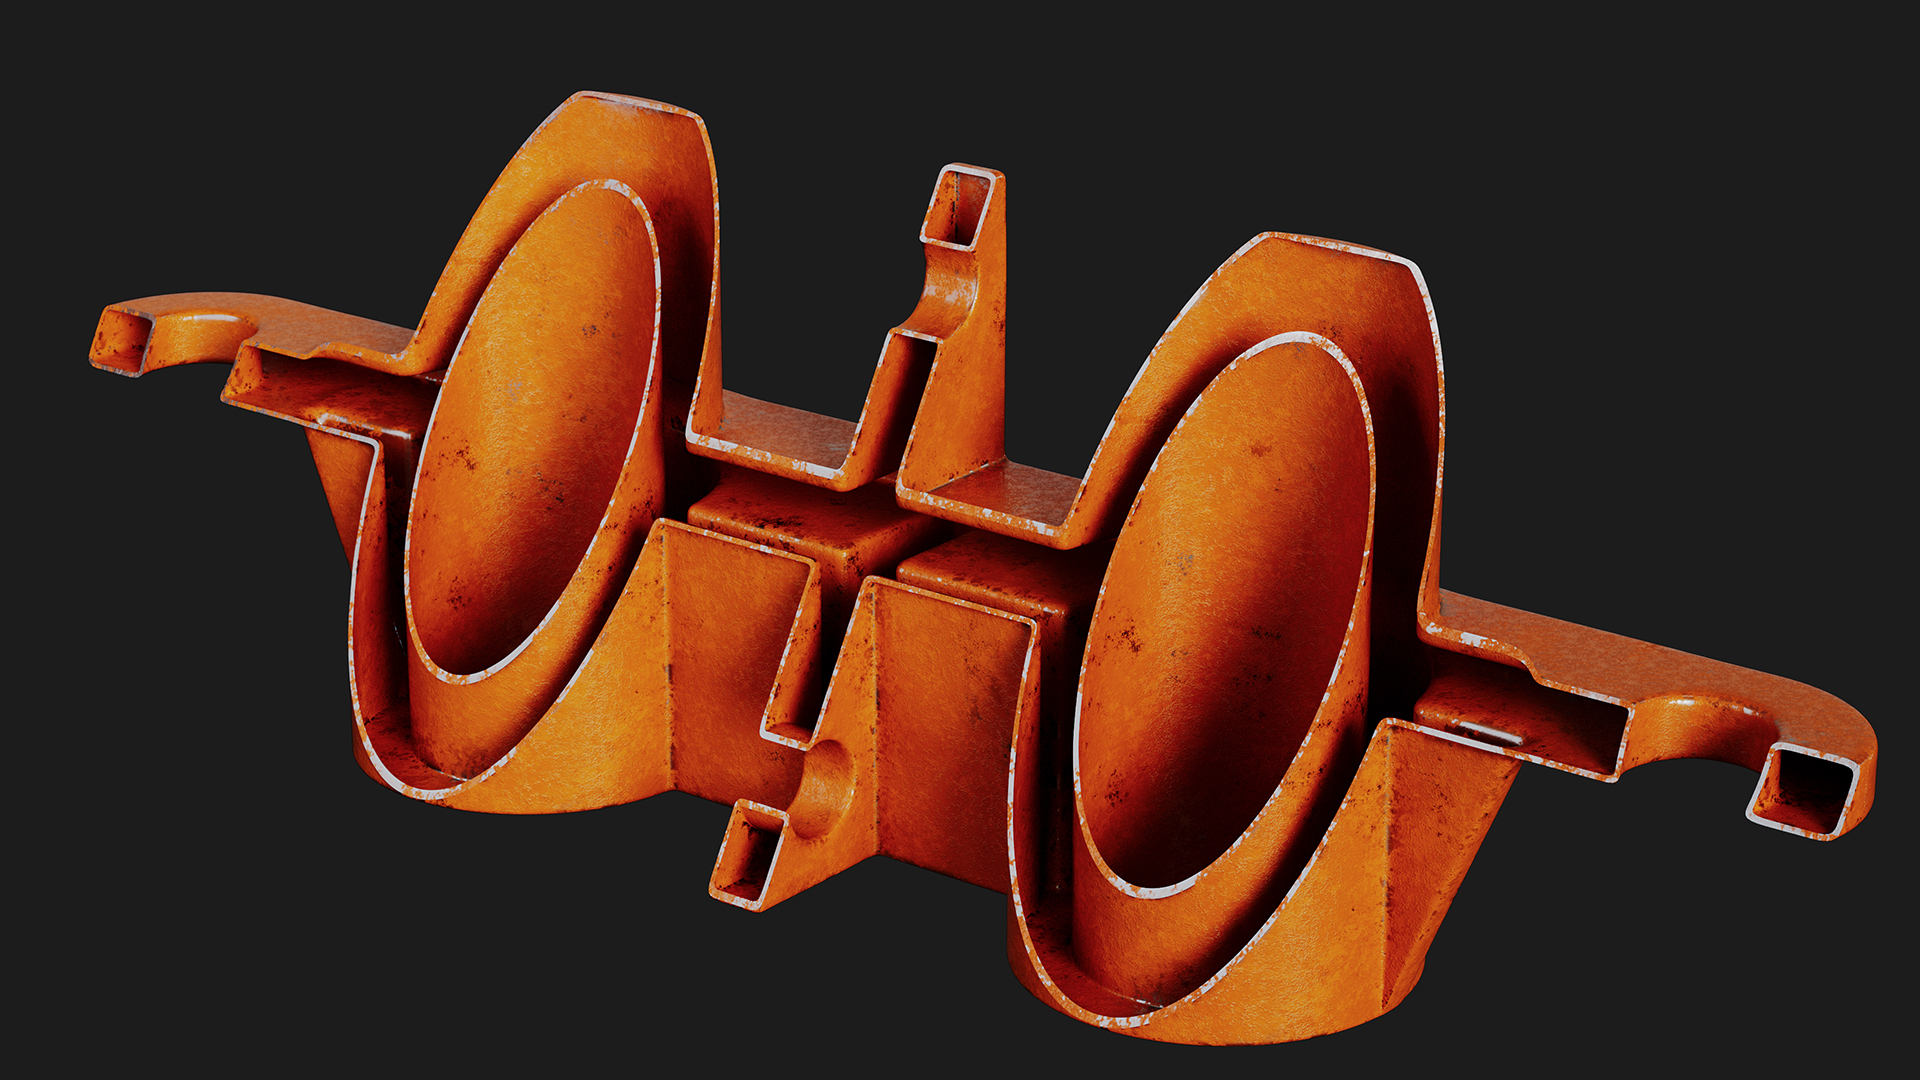
Since we are working with a mechanical piece, it would be pretty useful to see some sections of it.
Thanks to the updated Slice modifier in Max 2022 it is super fast and easy to achieve what you need. Like in the symmetry modifier, we can choose multiple axis at the same time, we get the Planar and Radial options, and the ability to close the mesh by enabling the Cap option:

Before rendering I used the new retopology tools available in Autodesk 3ds Max to remesh the object. We are going to take a look at those features in another article.
Are you interested in learning more about Autodesk 3dsMax? Check the contents of our one-month ArchViz Masterclass, the most complete course available at SOA. During the course you’ll also learn more about modeling and unwrapping using 3ds Max and much other software.
Next dates available are:
- Masterclass in Italian from July 5th to 30th, 2021
- Masterclass in English from September 6th to October 1st, 2021.