Introduction
I’ll use tyFlow, which is an external plugin for 3ds Max that you can download here. It is still considered in Beta version, so remember to save your project frequently.
There are quite a lot of things you can do with tyFlow. In this case we are using it to simulate cloth objects, but it can be used for destruction and particle simulations as well.
In this article I’m using tyFlow v0.16120 (beta), released on May 19th 2021, but older or newer versions should work as well.
Cloth simulations with tyFlow
Before jumping on a production asset we need to understand how to work with tyFlow. I’ll explain some of the settings using a simple scene you see below. In this way, when we switch to a different scenario, we already know what kind of parameters we need to tweak to get the desired result.
For cloth simulations we need two objects: the geometry for the cloth and a collision mesh. In the testing scene, the cloth is a simple plane, while the sphere and the ground plane are the collision meshes.
Below you can see how the scene is organized. The plane for the cloth is 2 meters squared, with 150 subdivisions on both sides, placed above the sphere. Now, from the Create tab, add a tyFlow object in the scene. The position is not important.
From the Modify tab, you can then access the Editor to set up the tyFlow object and also control some general parameters.
Once you open the Editor, we can start working on the simulation. Below you can find all the Operators to simulate and set up different effects. To add one, just drag and drop it from the list.
To start, we need to add the Birth Object operator and link the geometry we want to use as a cloth. This operator converts the source geometry to particles, used by tyFlow to simulate the different effects. Now, add the Cloth Bind operator right under the first one: this converts the previously generated particles to a dynamic cloth mesh.
Before looking at the settings, we need two more operators. A Force operator, to make the cloth falling towards the ground, and a Collision operator to specify the collision meshes.
In the Force operator I just want to set the Strength under Built-in Gravity to -0.1cm. In the Collision operator let’s add the sphere and the ground plane in the Colliders tab. For now, leave everything like this, and start the simulation. I’ve set my timeline to 128 frames to get slightly more room and allow the cloth to reach a rest position.
As you can see there are a few things to adjust.
I started with a quite high resolution for the cloth mesh; that works for simple simulations although it would be better to start with a lower resolution, and increase it once you like the result. So let’s lower the resolution to 50, for now, and focus on the settings to control the simulation.
The main settings are in the Cloth Bind operator under the Solver section. First, I want to set the Mass to use the Mass per-cloth option, so the mass of the cloth won’t be affected by the resolution (amount of vertices) of the source geometry.
A quick tip: if you need to stop the simulation but you don’t want to set the frame in the timeline to 0, you can enable and disable the tyFlow simulation with the green button on the top right of the editor.
The settings under the Binding Stiffness control the physical properties of the cloth. More advanced software packages provide additional settings, but these will do for what we need.
Let’s take an overview of these parameters. They control how stiff or rigid the cloth is. So higher values will make the cloth “more rigid”, while lower values will make it “less rigid”. All these parameters can have values between 0.001 and 2. However if you set them to these extreme values you may get some artifacts.
Below there is a short description of the parameters:
- Stretch controls how much the cloth can stretch or extend.
- Shear controls how much the cloth can resist the effect of a shear force.
- Bend controls the bending resistance.
- Volume helps to maintain the shape of the cloth. Useful for 3d objects, like pillows. Changing this value on a 2d plane won’t have any effect.
Below you can see a series of simulations that proves how these settings change the result.
Since there are lots of possible variations, we aren’t going to show them all here. It’s more important to get an understanding of how these different values affect the outcome of the simulation.
One last parameter to control the cloth object is the Damping, quite useful to help the cloth reach a rest position, by simulating the effect of the air resistance.
Now that the parameters to simulate a cloth are clear, we can move to increase the quality of the simulation, like avoiding intersections with the collision mesh, and how to finalize the cloth mesh.
There are two areas where we have control over the collisions: one is the Collisions tab in the Cloth Bind operator, the other one is in the Collision operator. To use the CUDA collision solver in the Cloth Bind operator you need to download some DLLs files, available on tyFlow’s download page. The instructions on how to install them are in the zip file to download.
Once enabled, you can set a virtual thickness for the cloth, used to calculate the collision between the cloth and other objects. I also want to enable Self-collisions and Self-thickness; these settings are used when the cloth collides with itself.
In the Collision operator, the only value I need to change is the Radius: set it to 0.5 cm, to distance a bit the cloth from the collision mesh. You can also set it to Shape Radius, but in that case you may get some intersections between the cloth and the collision mesh.
The collisions look good now, so we can increase the resolution of the mesh.
Remember that when increasing the mesh resolution, since we are providing the solver with more vertices for the simulation, the result may change. You can either increase the segments in the original mesh, or use a Subdivide operator before the Cloth Bind.
In case your simulation still has some artifacts, or the cloth doesn’t seem to follow the collisions correctly, in the Modify tab of the tyFlow object, there are two parameters that you can change:
- the first one is Time step under the Main Settings tab. You can lower it until you are satisfied. Keep in mind that it will also increase the simulation time because it’s increasing the number of iterations per frame.
- The second one is the Steps value in the Particle Bind Solver tab, which again controls the amount of substeps for the simulation.
After the final simulation is done.We can apply some thickness to the cloth with a Shell modifier, and a Turbosmooth modifier to smooth the mesh at render-time.
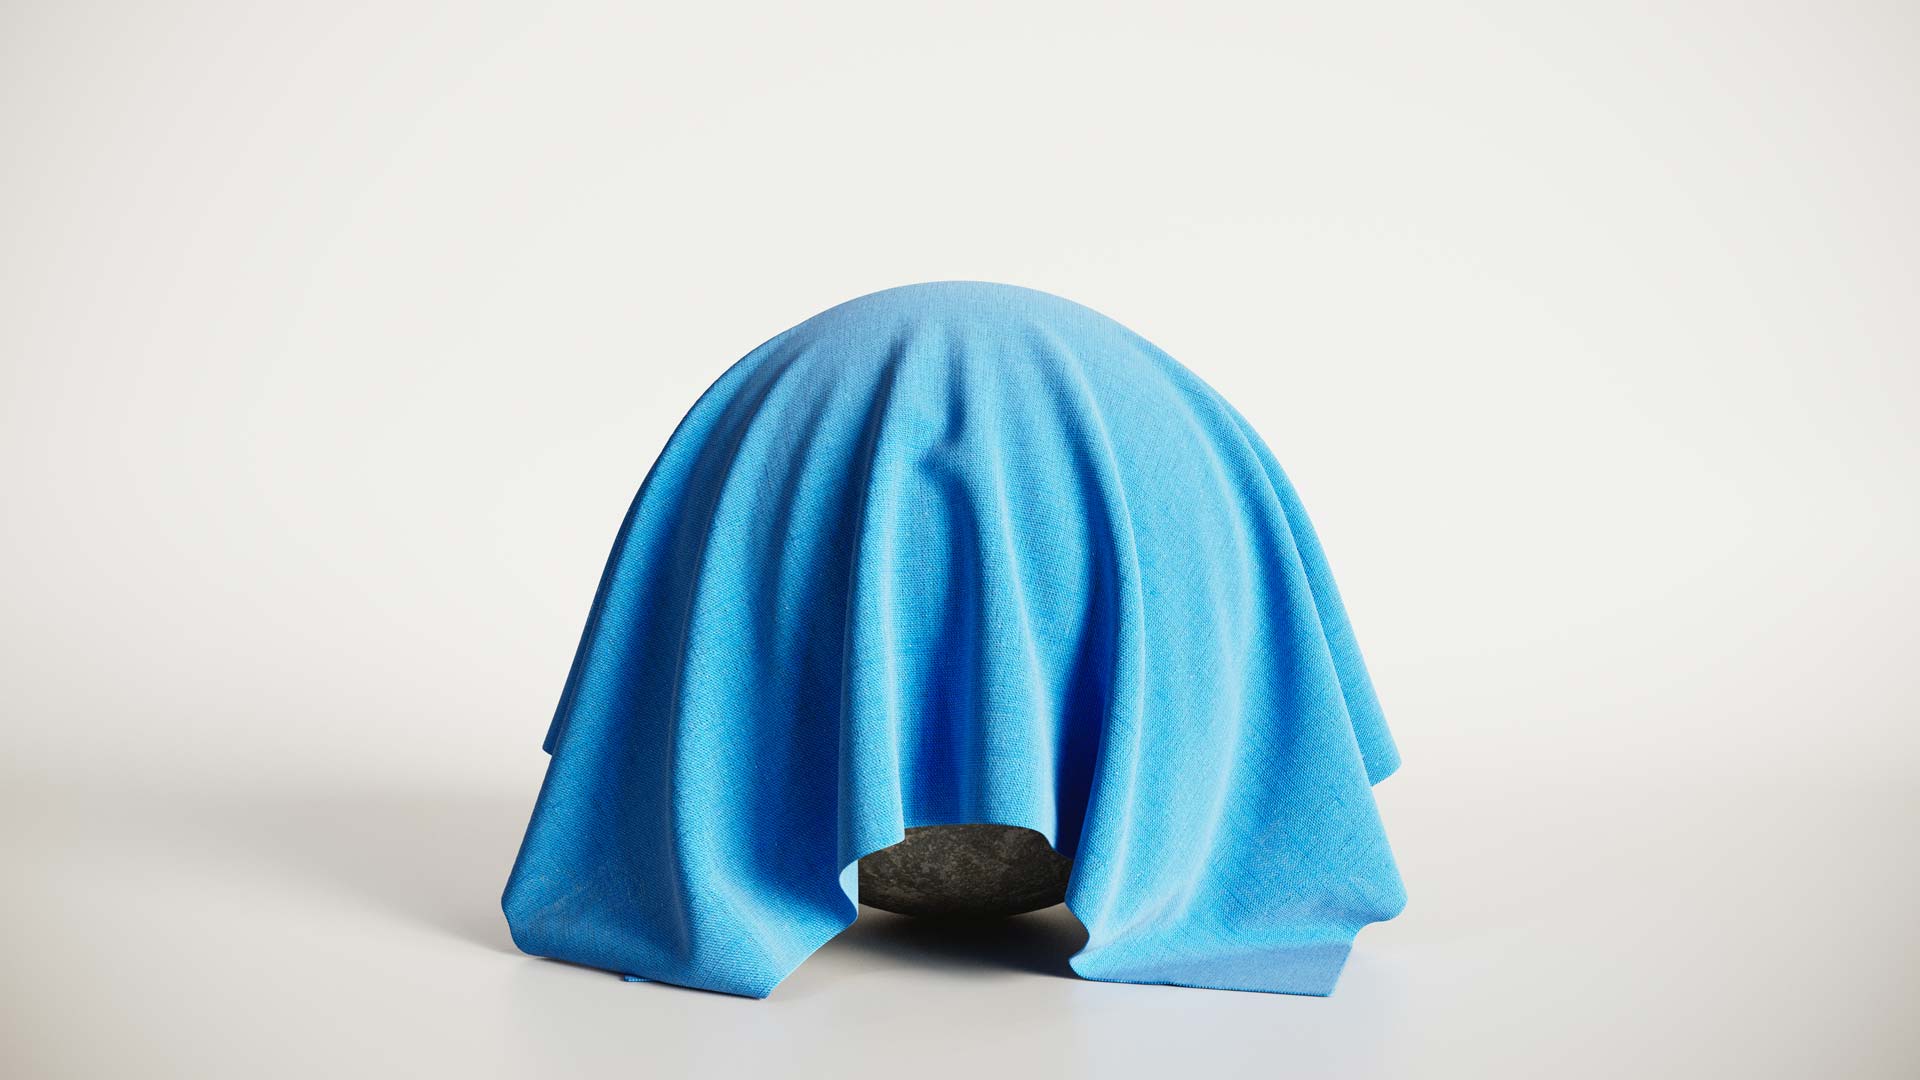
Below you can check the result of the simulation after playing with the various settings.

Export the simulations
Before moving to production models, let’s see how to export our simulation.
In case you need to export just the final resting position of the cloth, select the simulation, then go to Export → Export Selected, and choose the format you need.
If you want to export the full animation, the workflow is almost the same. Be careful not to convert the cloth to an Editable Poly, or you’ll lose the entire animation. Once you’re ready, go to Export → Export Selected and choose a format that can store a sequence of frames – for example, the alembic format (.abc) – specify the range you want to export, and click on OK.
Since I’m working with Corona Renderer, I can also export the animation as a Corona Proxy, by using the Corona Proxy Exporter. Just select the cloth simulation, and click on Run Corona Proxy Exporter from the toolbar. In the exporter settings choose the path where you want to save the file (.cgeo), enable the Animated option and specify if you want to export the entire sequence or just a part of it. I don’t want to replace the source object, so disable Replace Source Objects, then click on Export selected objects.
Add wind simulation
Now that we saw how to simulate a cloth, let’s add a wind effect, which will greatly increase the realism of the simulation once we put this cloth in an animated scene.
In this specific example, I’m gonna add the wind as a separate Event in the tyFlow graph. You can of course keep everything in a single Event. In the tyFlow object I’ll first add a Time Test operator, so I can start the wind effect at a determined point in time; in this case after the frame n°96.
To add a new event, you can just drag an operator from the list. For the wind we need the Force operator, then connect the Time Test operator to the second event.
Since the collisions are not passed from the first event to the second, we need another Collision operator to add the sphere and the ground. In the Collision Radius you can set Shape Radius so the cloth will consider the actual mesh for the collisions.
The operators are set.
Let’s change the setting for the wind. In the Force operator we need again to add the Strength for the gravity (-0.1 cm as before is fine), then under the Built-in Wind we can set the Strength and Direction for the wind. In the Strength I’m using 0.05 cm since I don’t need strong wind, and for the direction I’ve set 1 in X and -0.5 in Z to get a side wind, slightly pointing towards the ground. These X,Y, Z values represent the vector to define the wind direction.
Production assets
Let’s apply what we learned so far on a production asset.
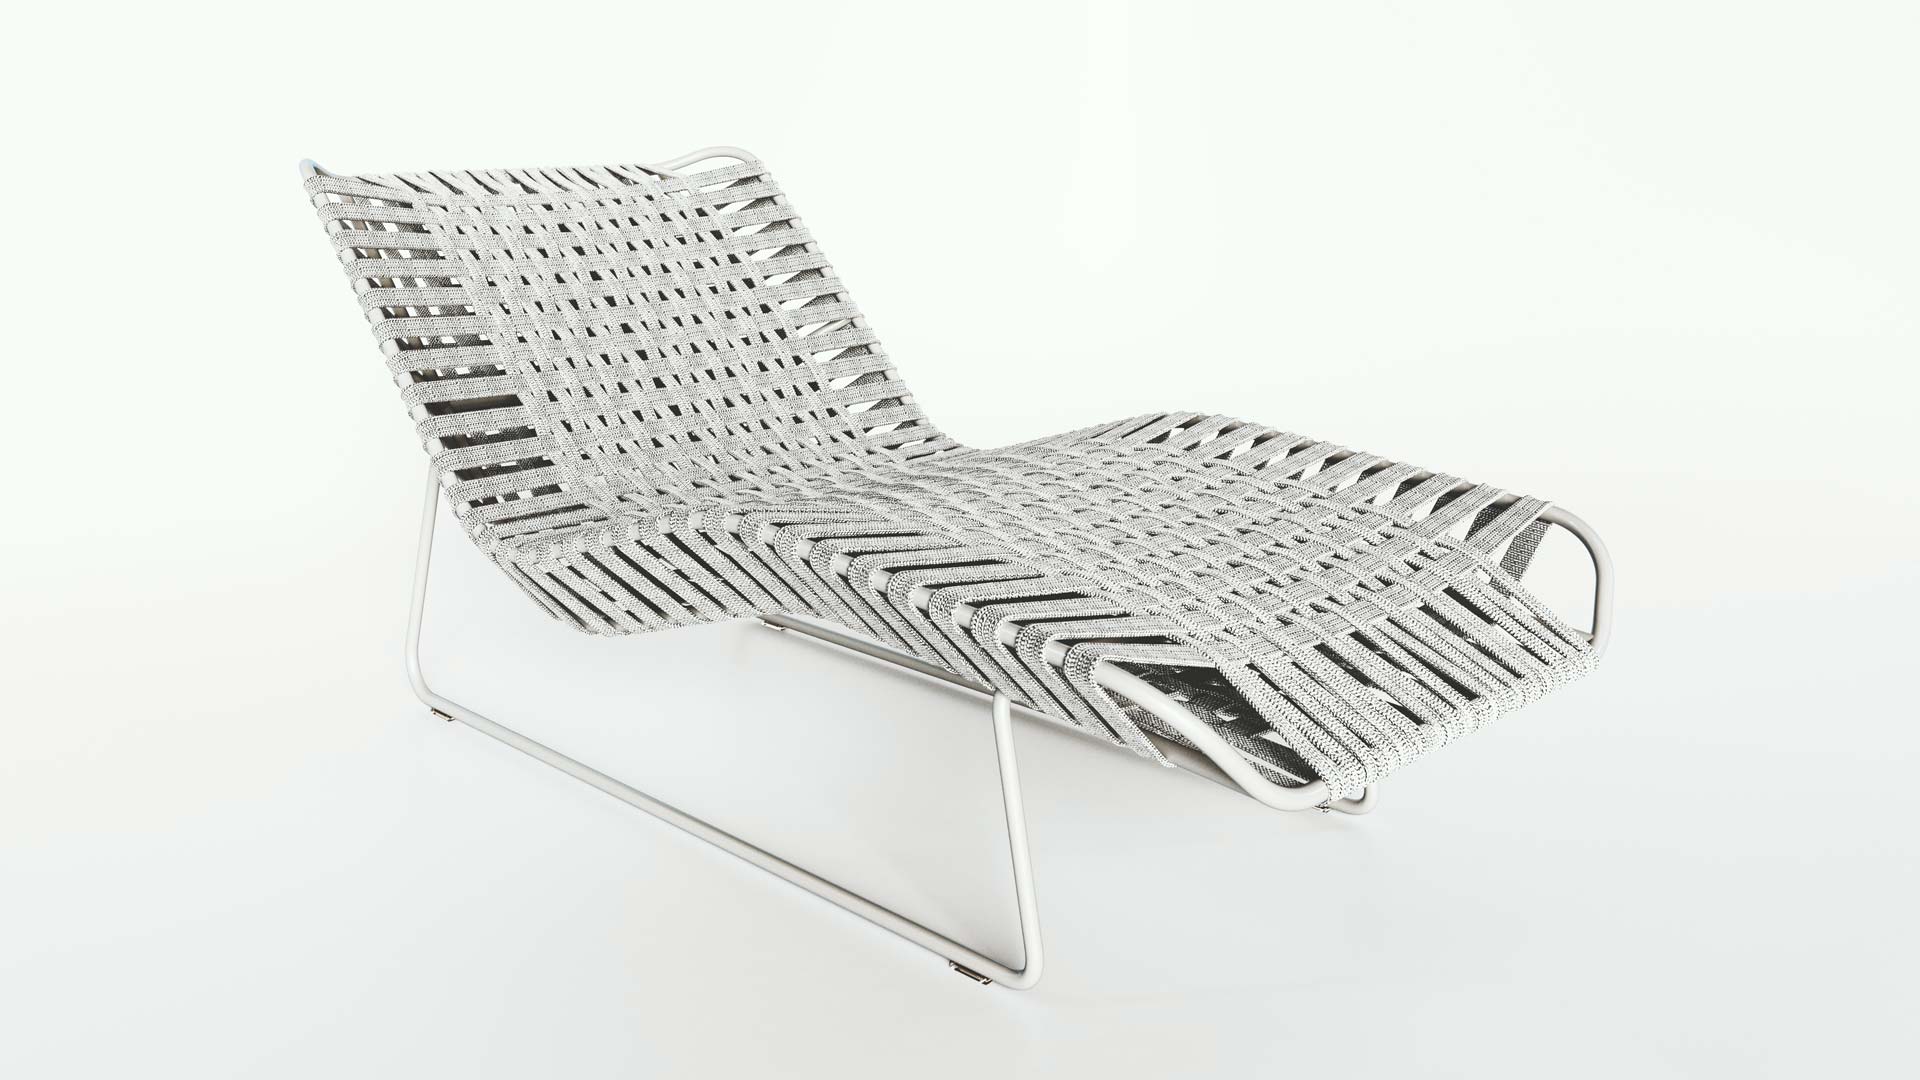
Below you can see the asset I chose. It’s also being used in an ongoing project here at SOA Studio.

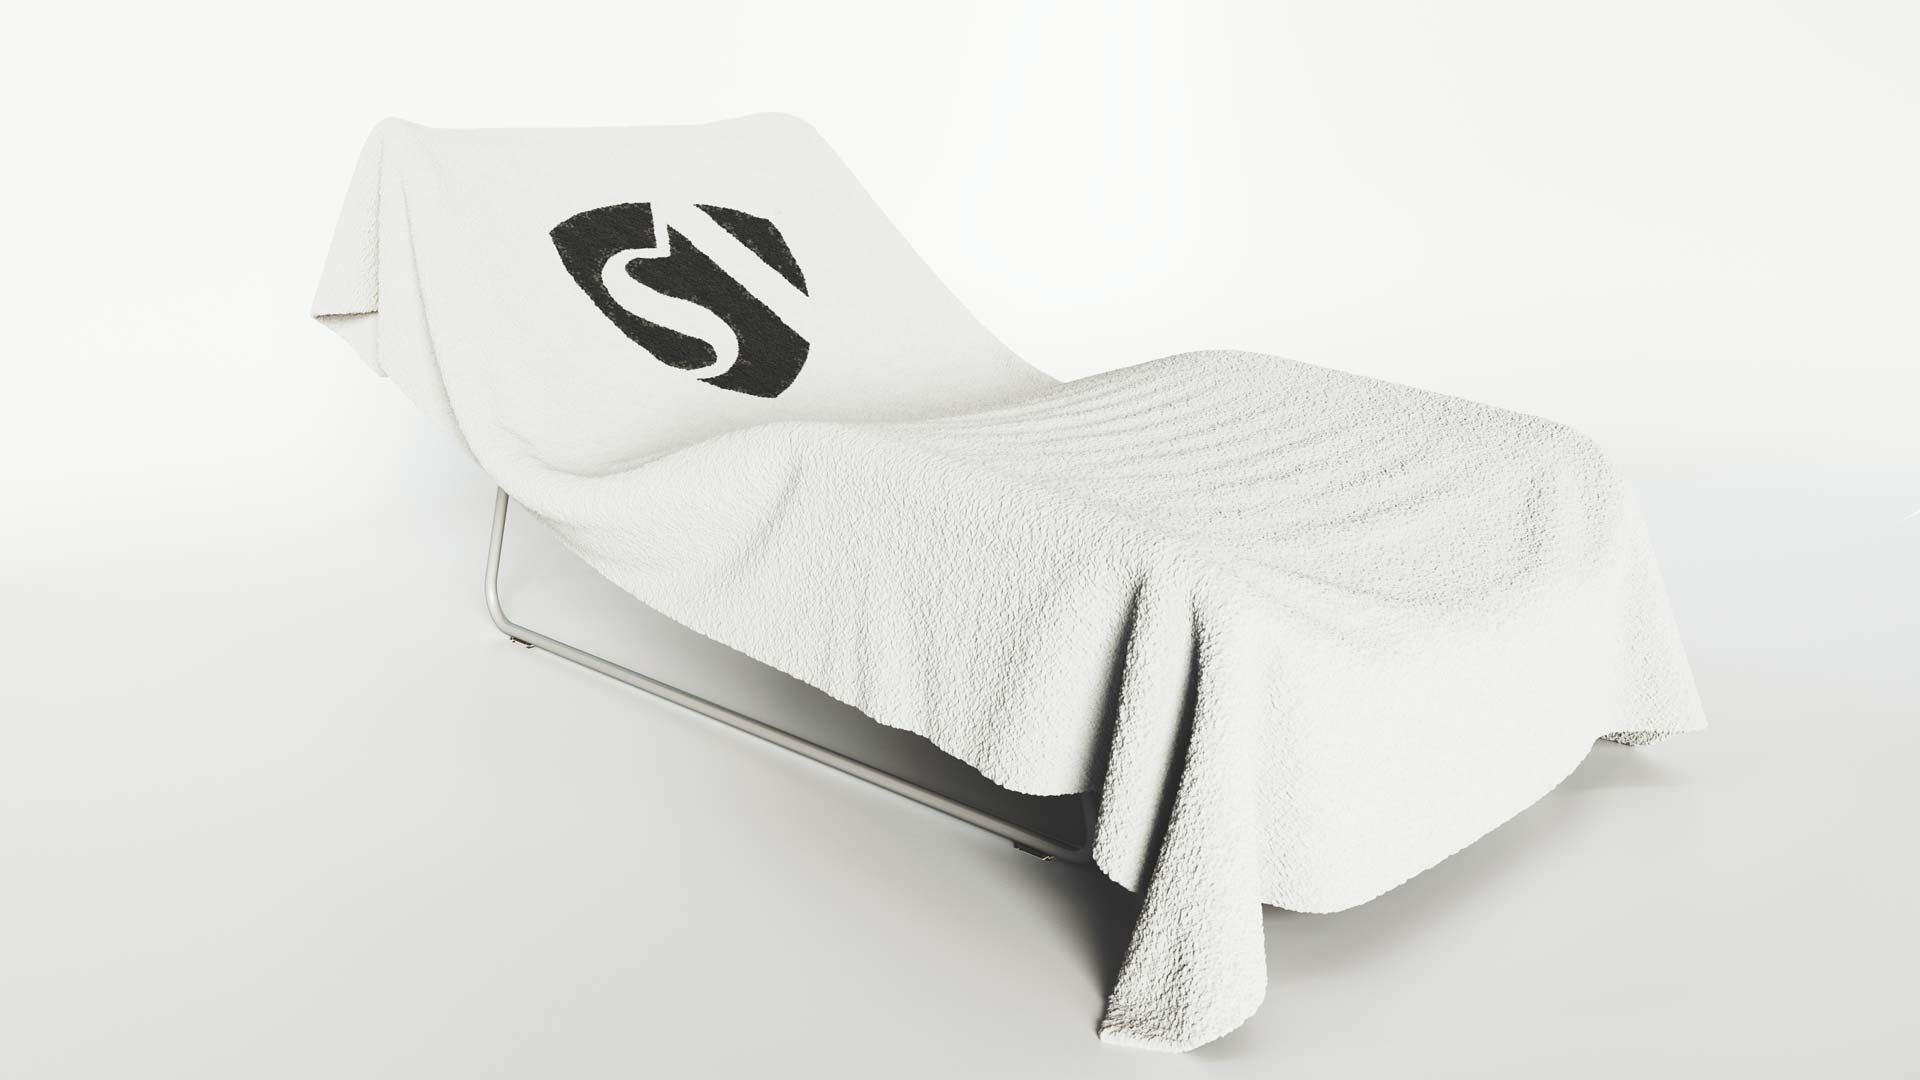
I want to add a beach towel on top.
So, first of all, create the plane to use as a source mesh for the cloth simulation. In this case, I created a plane 240×140 cm, with 24 and 14 segments on length and width respectively, to get a squared topology. To add resolution I’m using a Tessellate modifier. Don’t forget to add an UVW Map modifier to project the textures correctly after the simulation. Then add a tyFlow object to set up the parameters.
The workflow is the same as before, and these are the settings I’m using in the Cloth Bind operator:
- Stretch → 0.4
- Shear → 0.4
- Bend → 0.2
I’ve also enabled the CUDA collision solver, with default values. In the Collision operator I’ve added both the chaise lounge and the ground, and changed the Absolute radius to 0.1 cm.
After the simulation, this is the result:

Curtains
The same setup discussed above can be used to simulate curtains. There’s just one additional step to do.
The previous simulations relied only on gravity, to make the cloth fall down. In this case, we still need gravity, but also a way to avoid the curtain falling on the floor.
I won’t recreate the tyFlow object from scratch as we already know how to do that. Here is how the scene has been set up.
The curtain geometry is just a plane. It can also be something you modeled, simulated with another software or downloaded. The object above is what will be used as a constraint for the curtain. Now, in the tyFlow object, we need to add the Object Bind operator as a separate Event (you’ll see why in a moment), link the object above the curtain, and change the Bind Mode to Lock to Surface.
If you try the simulation, the curtain will fall on the floor, because we need to specify how we want to bind the curtain to the other mesh. From the operators add the Object Test in the Event 01, and link this operator to the Object Bind. In the Object Test link the same mesh as the Bind Object, then change the option under “Test TRUE if “ to “Above object”. You should see the bindings on top of the curtain; if not, move the object up and down until its pivot is below the first line of vertices.
As discussed before, to get a better quality in the simulation, you can enable the CUDA Collision Solver in the Cloth Bind operator, and also change the Time step and Solver Steps values in the tyFlow object.
Now that you know the basics, it’s just a matter of adding more interactions to your simulation, depending on what you want to create.
There’s a lot more that can be done, of course, but we’ll stop here for now.
I hope you enjoyed it.
Feel free to share your experiments with us, either on our Discord Server or on our socials!
See you next time!
Enrico

