With the official release of 3ds Max 2021, here we introduce you to a series of articles covering some of the new features of the software.
First, let’s see in the video below the main features realeased with 3dsMax 2021. You’ll see we move from an updated viewport to bake to textures but also from a weighted normal modifier to the update for Substance plugin. A whole bunch of new aspects to consider to enhance our workflow.
In our series of articles dedicated to 3dsMax 2021, we’ll mainly focus on the features that we expect to use in an ArchViz pipeline.
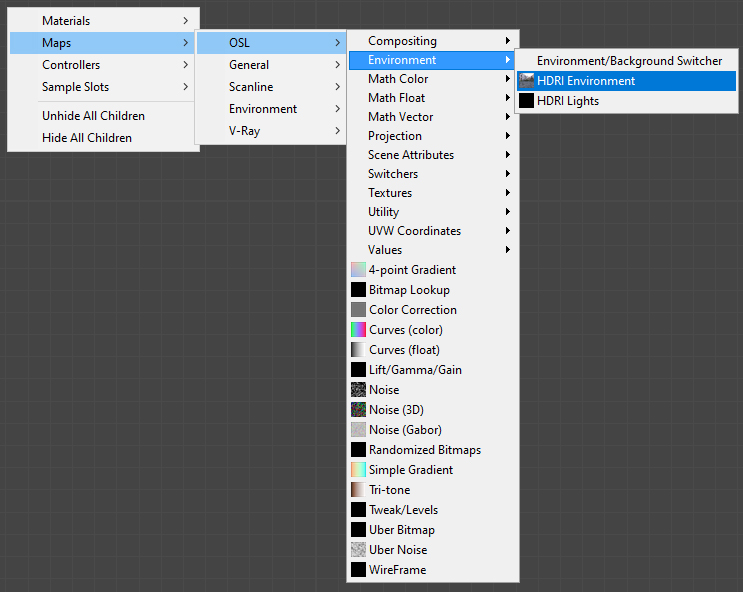
In this first analysis, we’ll have a look at the new OSL HDRI Environment map. With Max 2021 there is a nice reorganization of all the available OSL maps, that are now subdivided in categories. In this case the HDRI Environment map is under the Environment category:
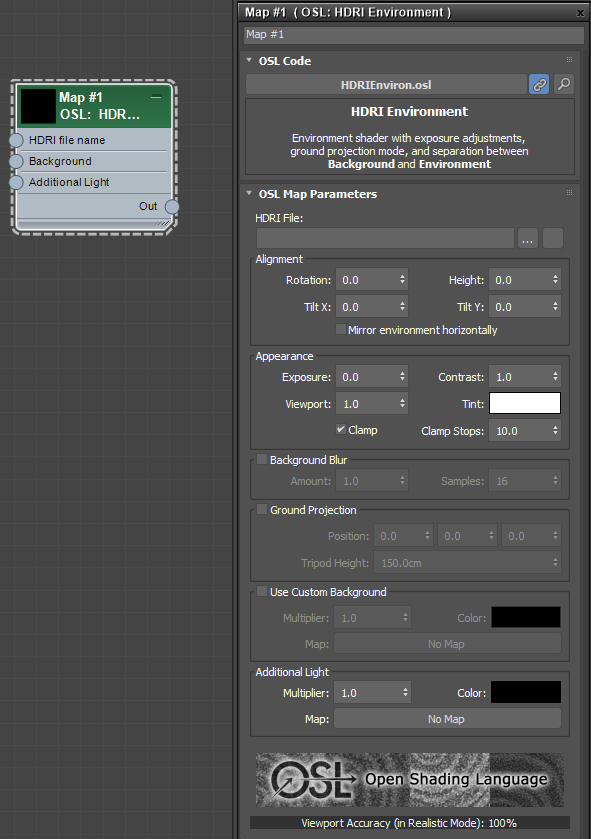
and this is the node with its settings:
There are also some HDRIs, from hdrihaven.com, that come with the installation of 3ds Max, quite useful to start right away the lighting workflow.
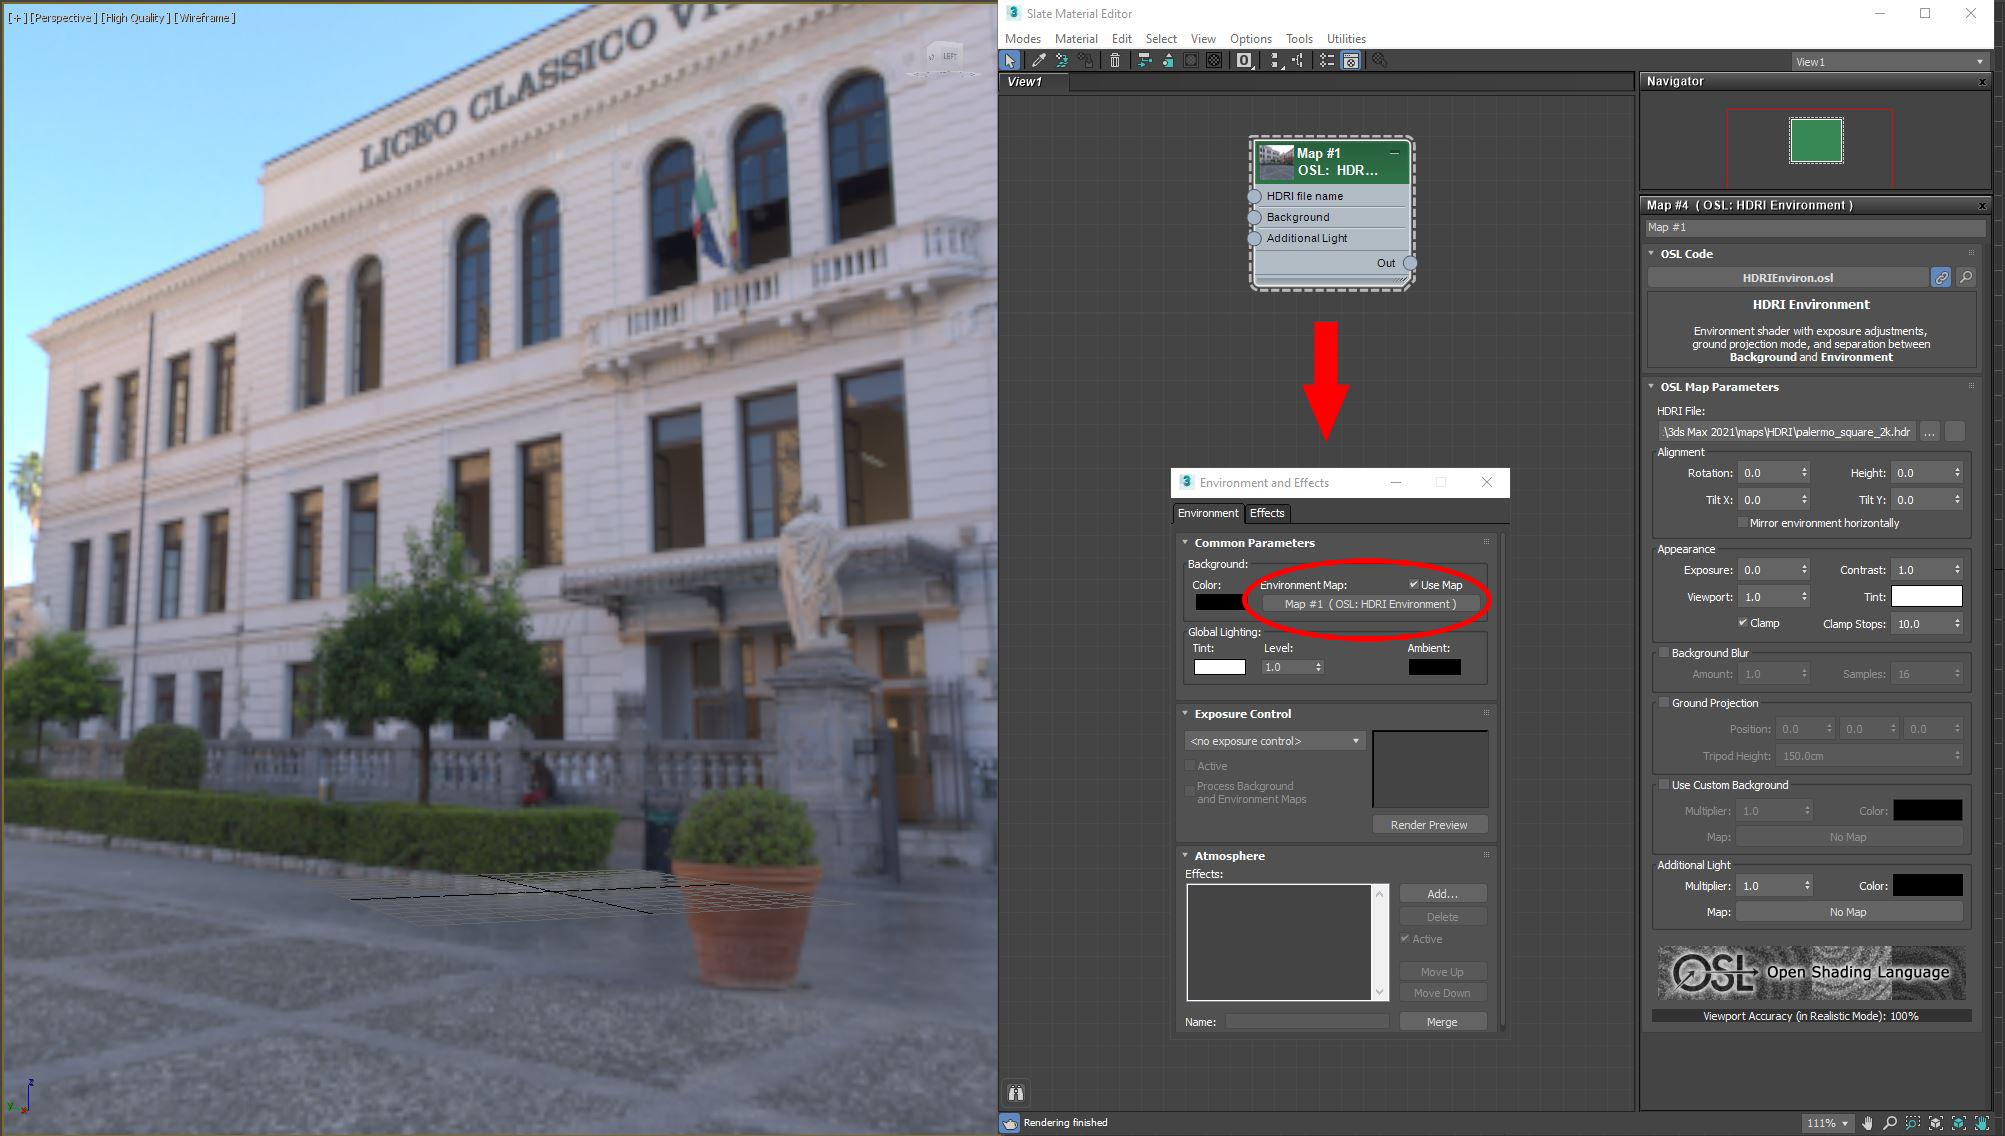
Since 3ds Max 2020 when you connect a map in the Environment Map slot (hotkey → 8), either an HDRI map or a simple texture, it will automatically display the map in the viewport. This will allow us to edit the parameters of the HDRI directly in viewport without the need to launch an interactive rendering:
The first settings control set how the map is positioned and displayed:
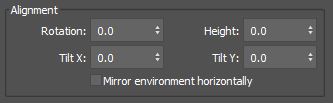
With the Alignment settings we can easily position the texture in the way we want:
Rotation → rotates the HDRI map on the Z axis
Height → shifts the environment map up and down, like shifting the horizon
Tilt X, Y → allows to rotate (tilt) the environment map along the X and Y axis, useful to adjust the rotation of the texture in case it isn’t perfectly straight.
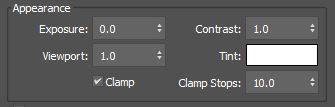
With the Appearance settings we get access to the main adjustments of the image:
Exposure → controls the exposure in the viewport and in the rendering
Viewport → controls the exposure only in the viewport
Contrast → adjusts the contrast of the image both in viewport and rendering
Tint → applies a color tint to the texture
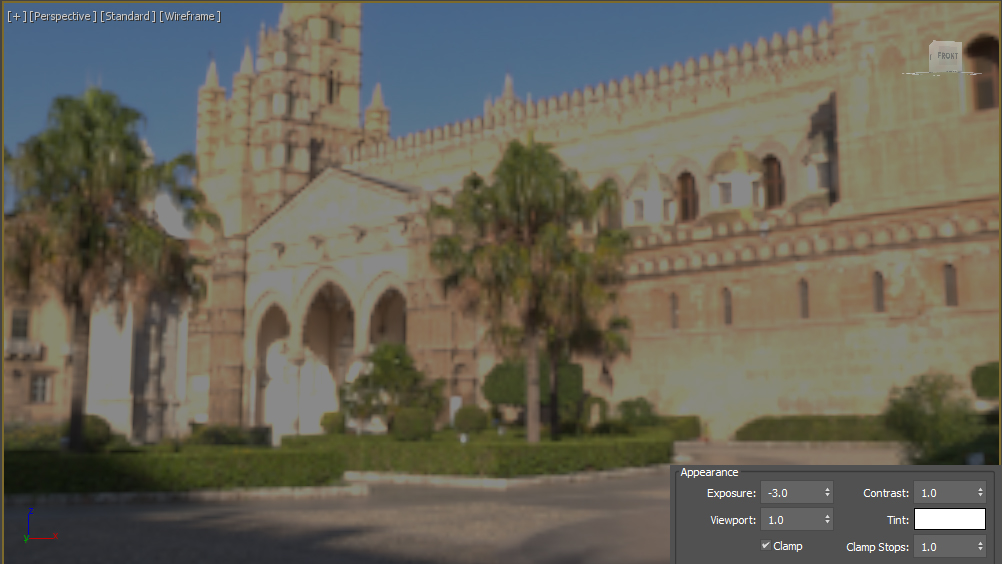
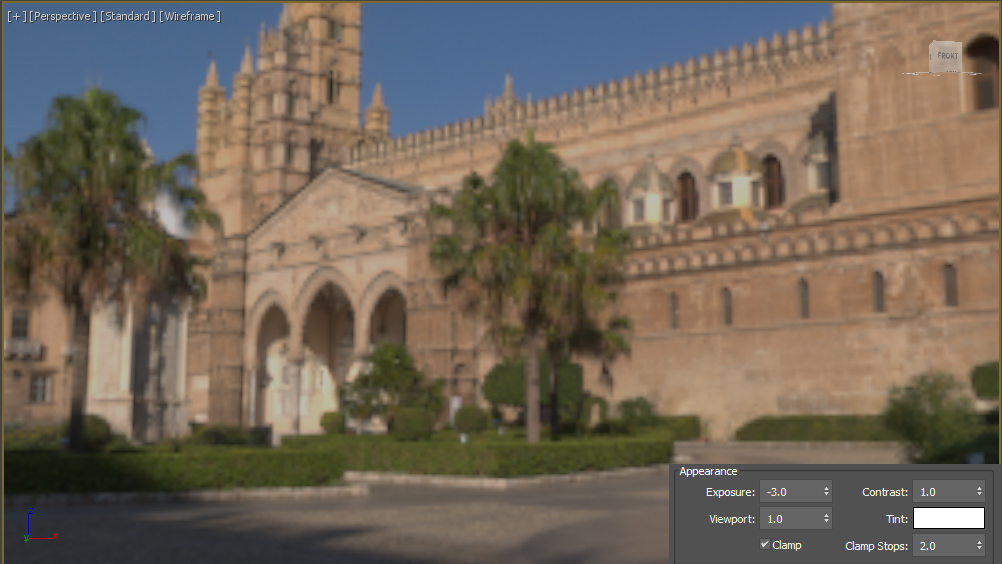
Clamp → this is an option to avoid artifacts in viewport and rendering due to the excessive dynamic range of the hdri map, mostly with bright sunlight. Below there’s an example of how the hdri “palermo_square.hdr”, which comes with 3ds Max, is affected by the Clamp and Clamp Stops options:
As you can see from these three images the sunlight on the facade of the building is clamped because the value of the pixel is way above the value of 1.
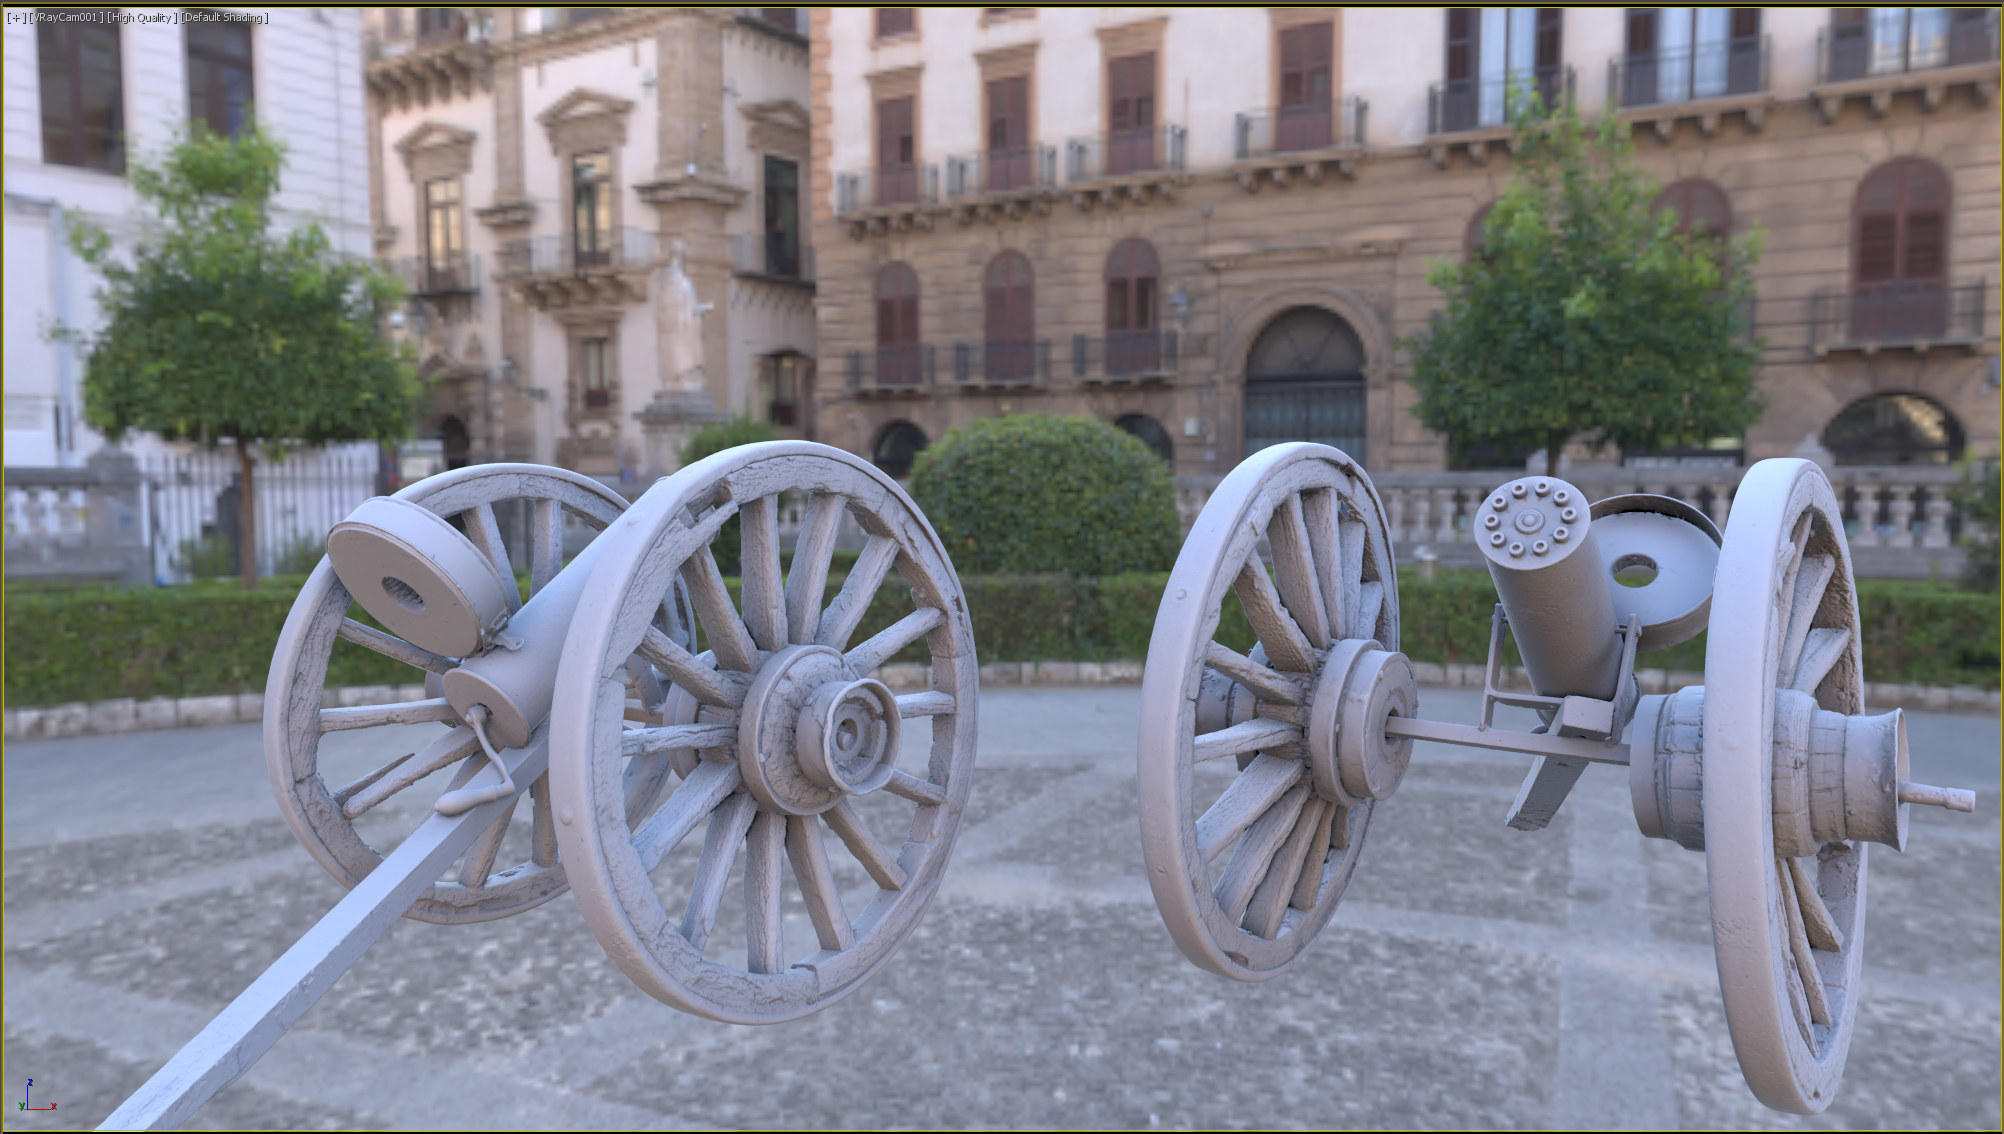
Before moving to the other settings, let’s add an asset from Megascans, and switch the viewport to High Quality:
and thanks to the new viewport improvements we get a really good lighting (complete with shadows and ambient occlusion) directly in the viewport.
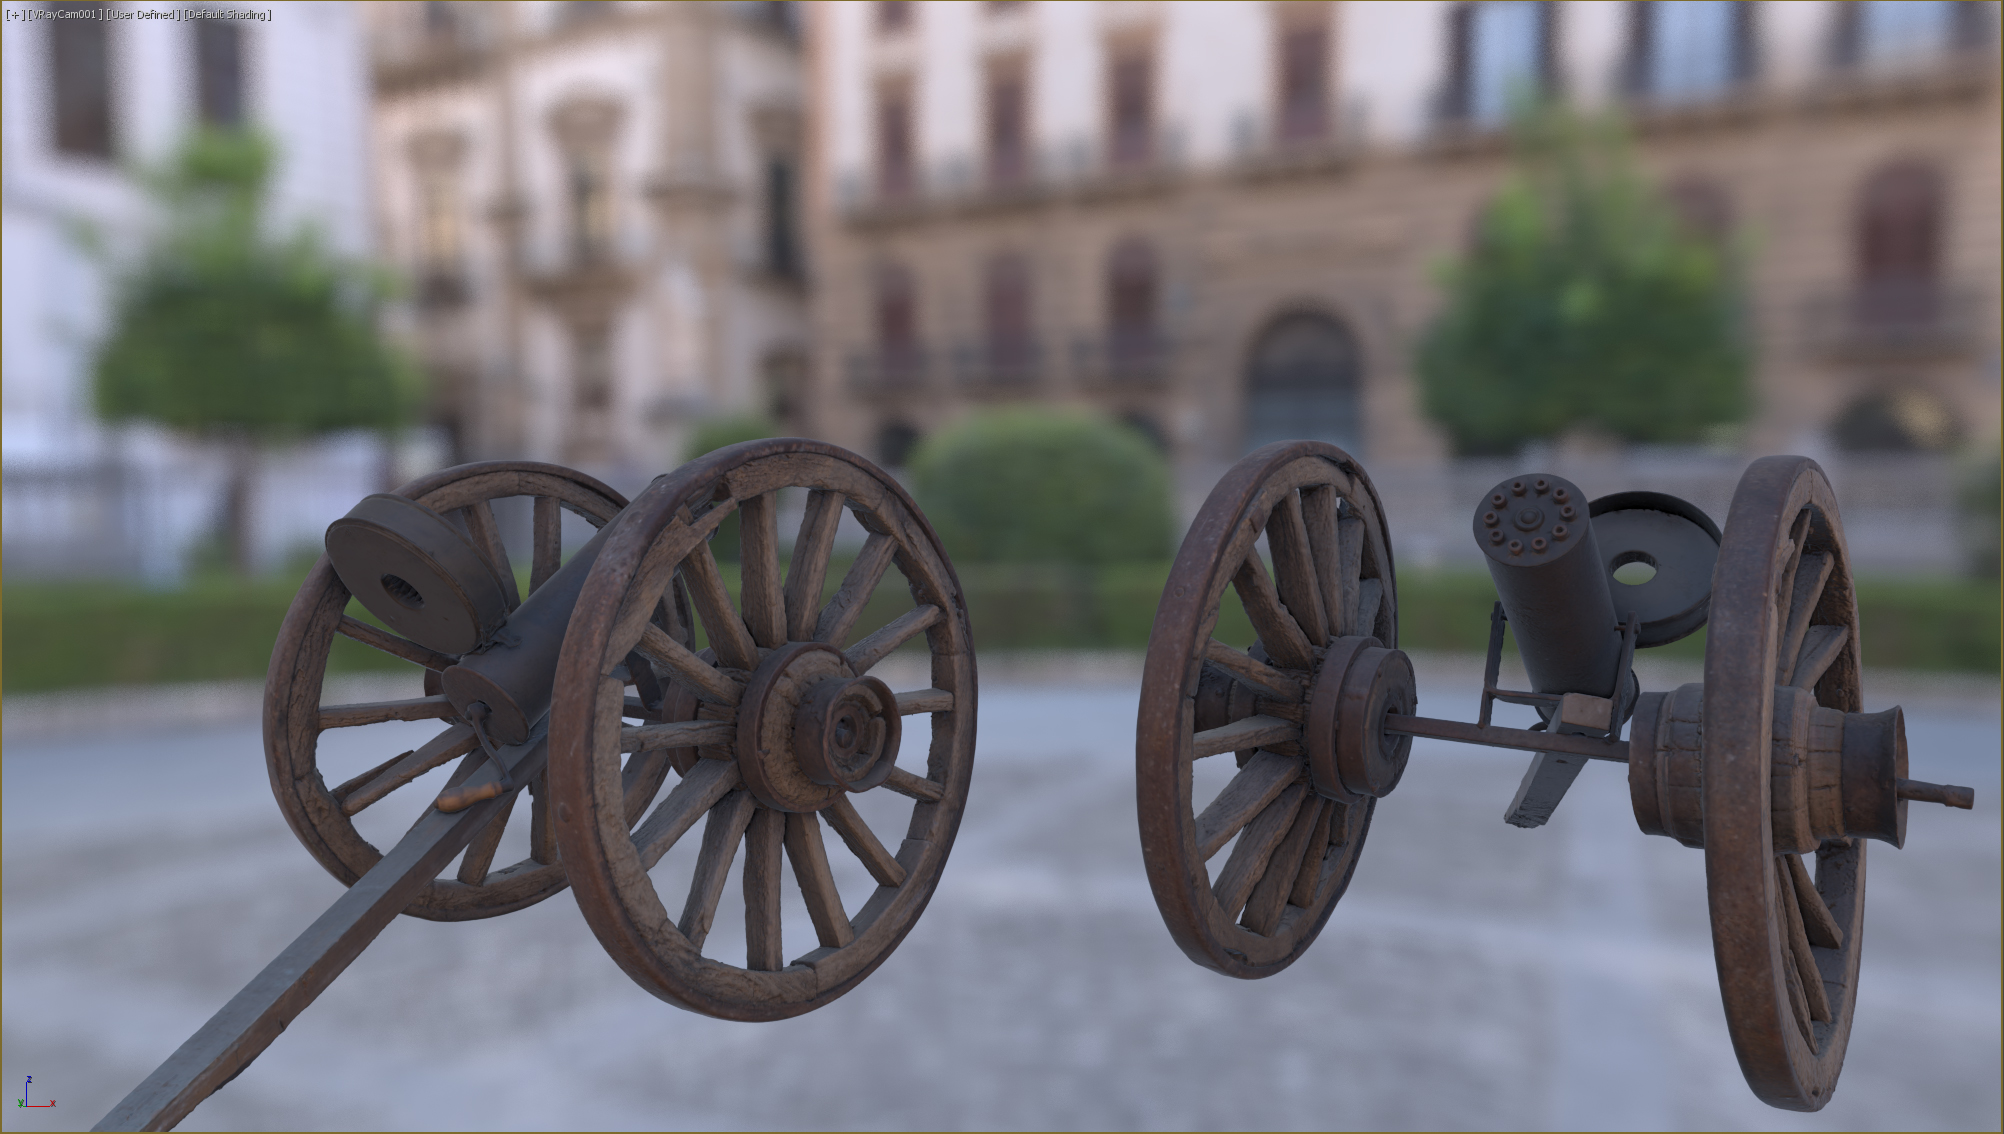
As you can see the assets arefloating in space and if we want to do some look development, it would be quite difficult since the background is perfectly in focus becoming quite disturbing. Luckily with the OSL HDRI Environment we get two settings to avoid these two problems. Let’s enable the Background Blur option and adjust the settings until we find a nice result:
Amount → the amount of blur
Samples → how many samples the viewport render will use for the blur
For this example an amount of 2 looks good enough, but the samples had to be cranked up to 128 to get a nice blurred background in the viewport. And here the result:
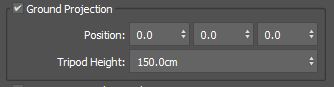
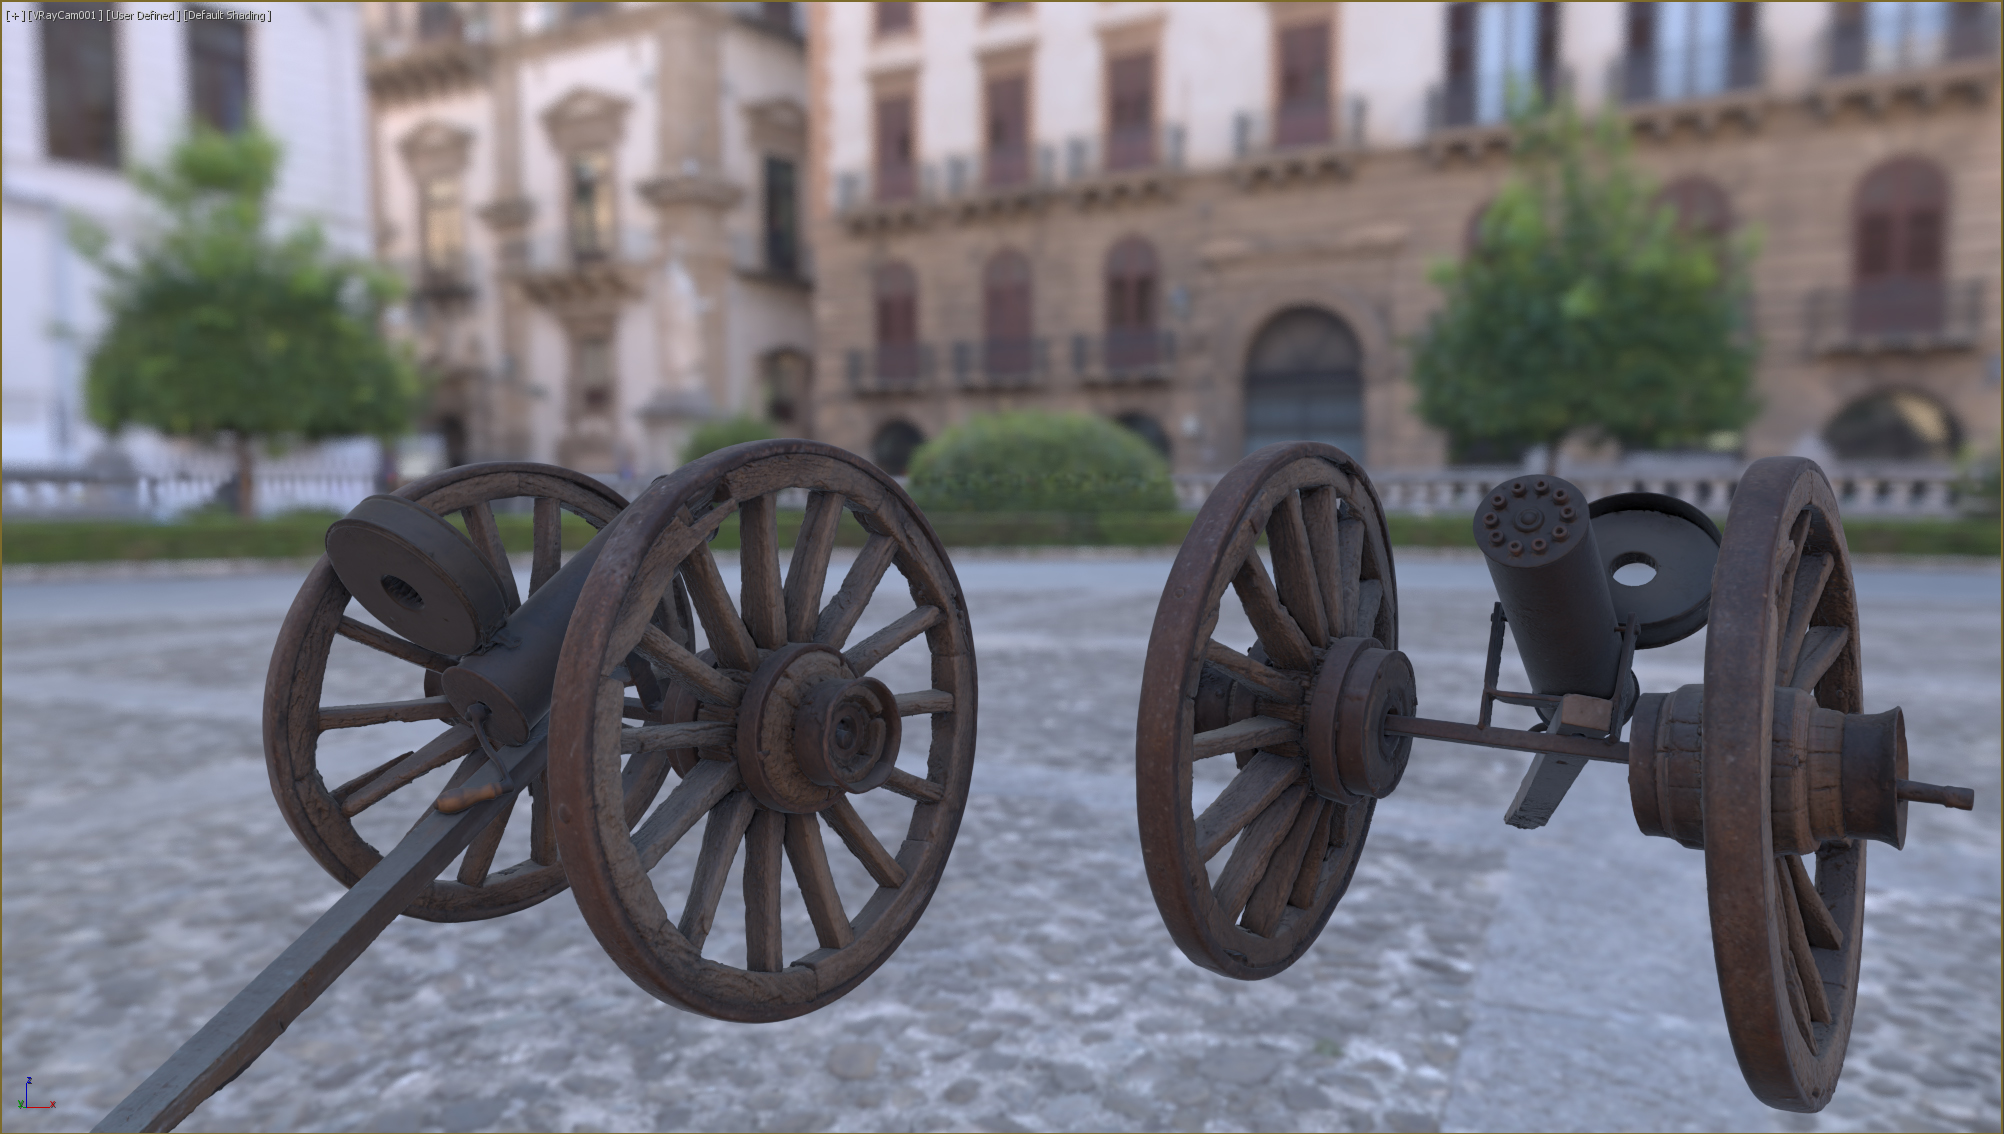
Now enable the Ground Projection option:
Position → adjusts the position of the center of the projected ground, it can be useful to remove some distortions due to the projection
Tripod Height → simulates the height of the camera/observer
There are no right values here. In our sample Position is set to [-90, -200, 20] and Tripod Height to 180cm, to avoid too many distortions in the balustrade and the hedge in the background.
With Background Blur and Ground Projection enabled, we can already get a really nice image in viewport:
If needed we can override the visibility of the map with a solid color or with another texture, like the override option we get both in V-Ray and Corona when dealing with Image Based Lighting:
One last parameter, Additional Light, allows us to add another light effect. In this case we used the OSL HDRI Lights, which we’ll cover in another article, to add a light and brighten up the right side of the asset:
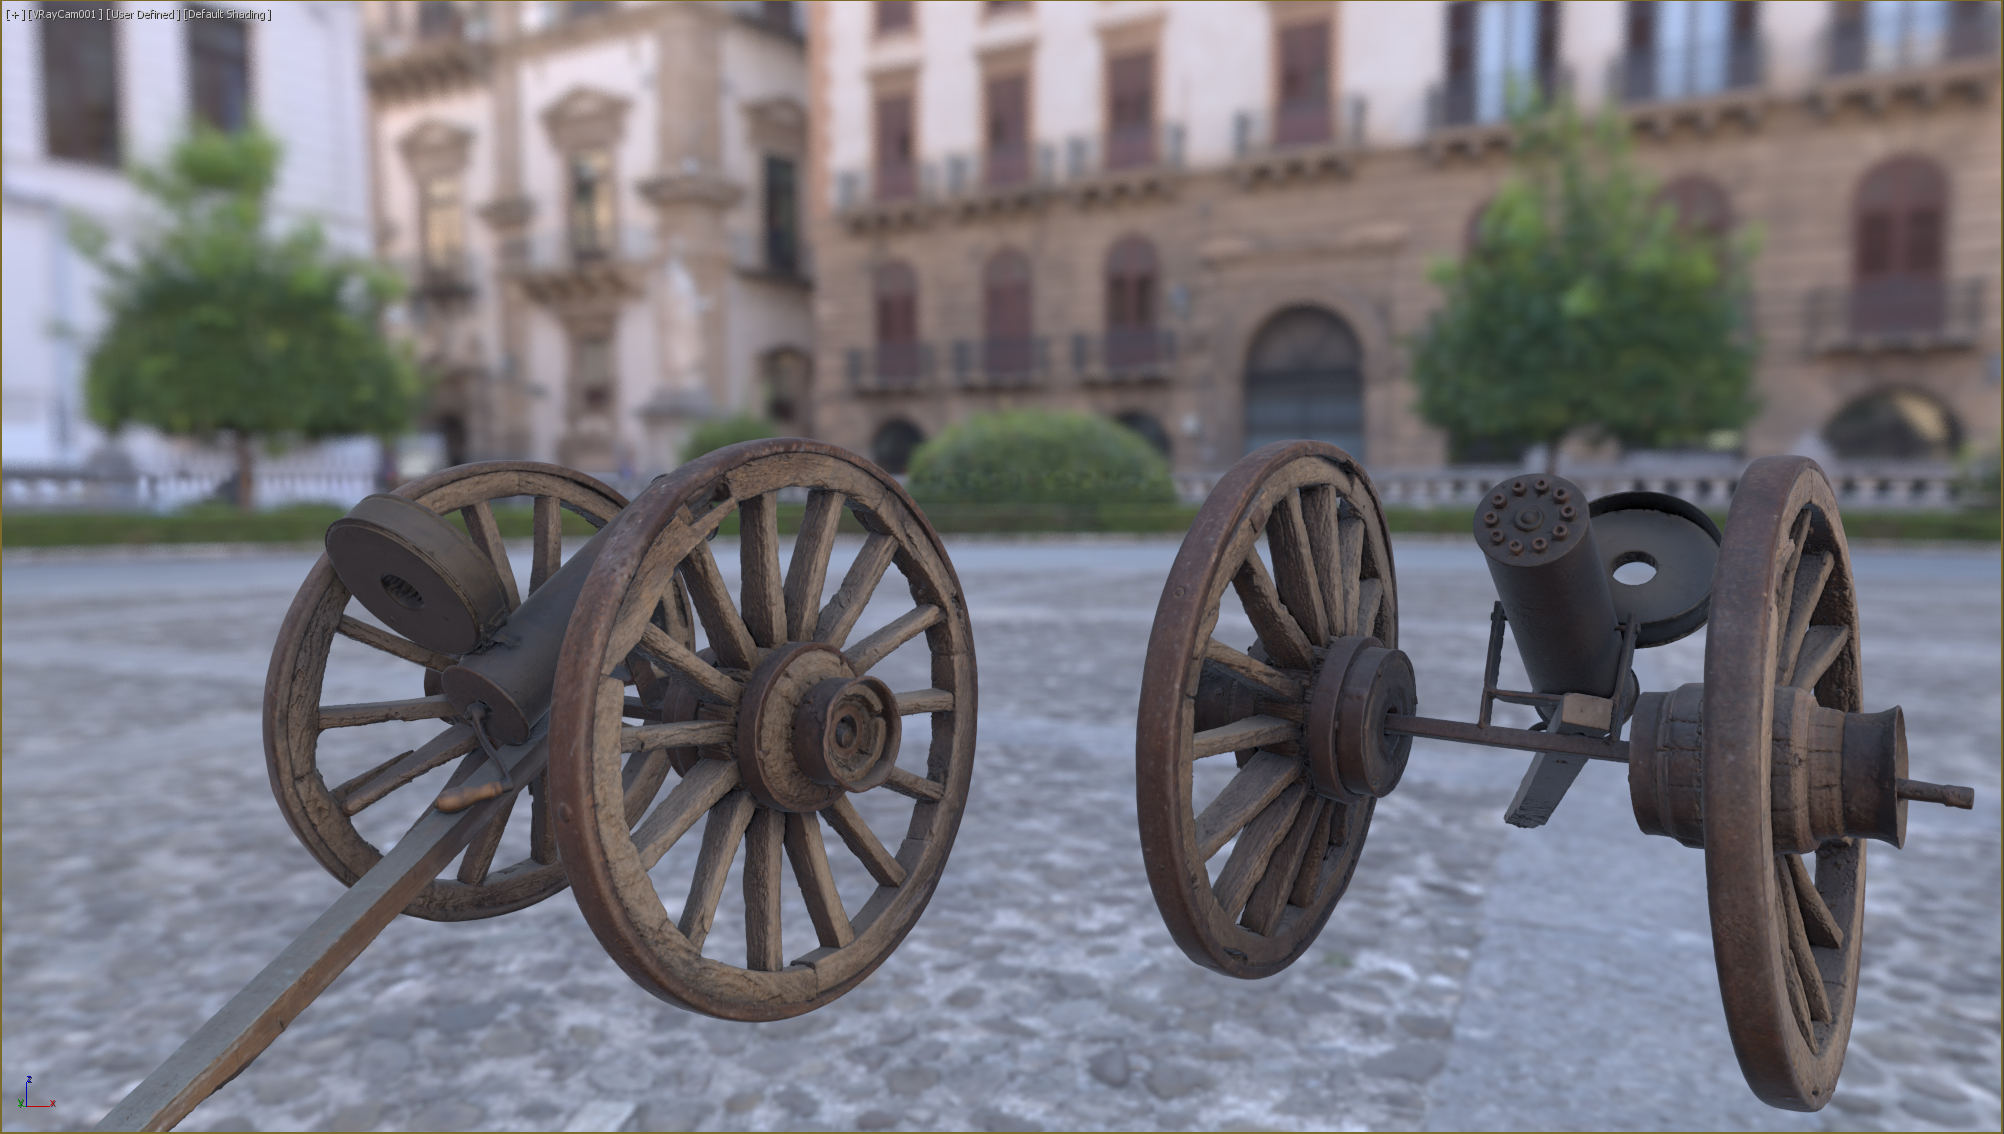
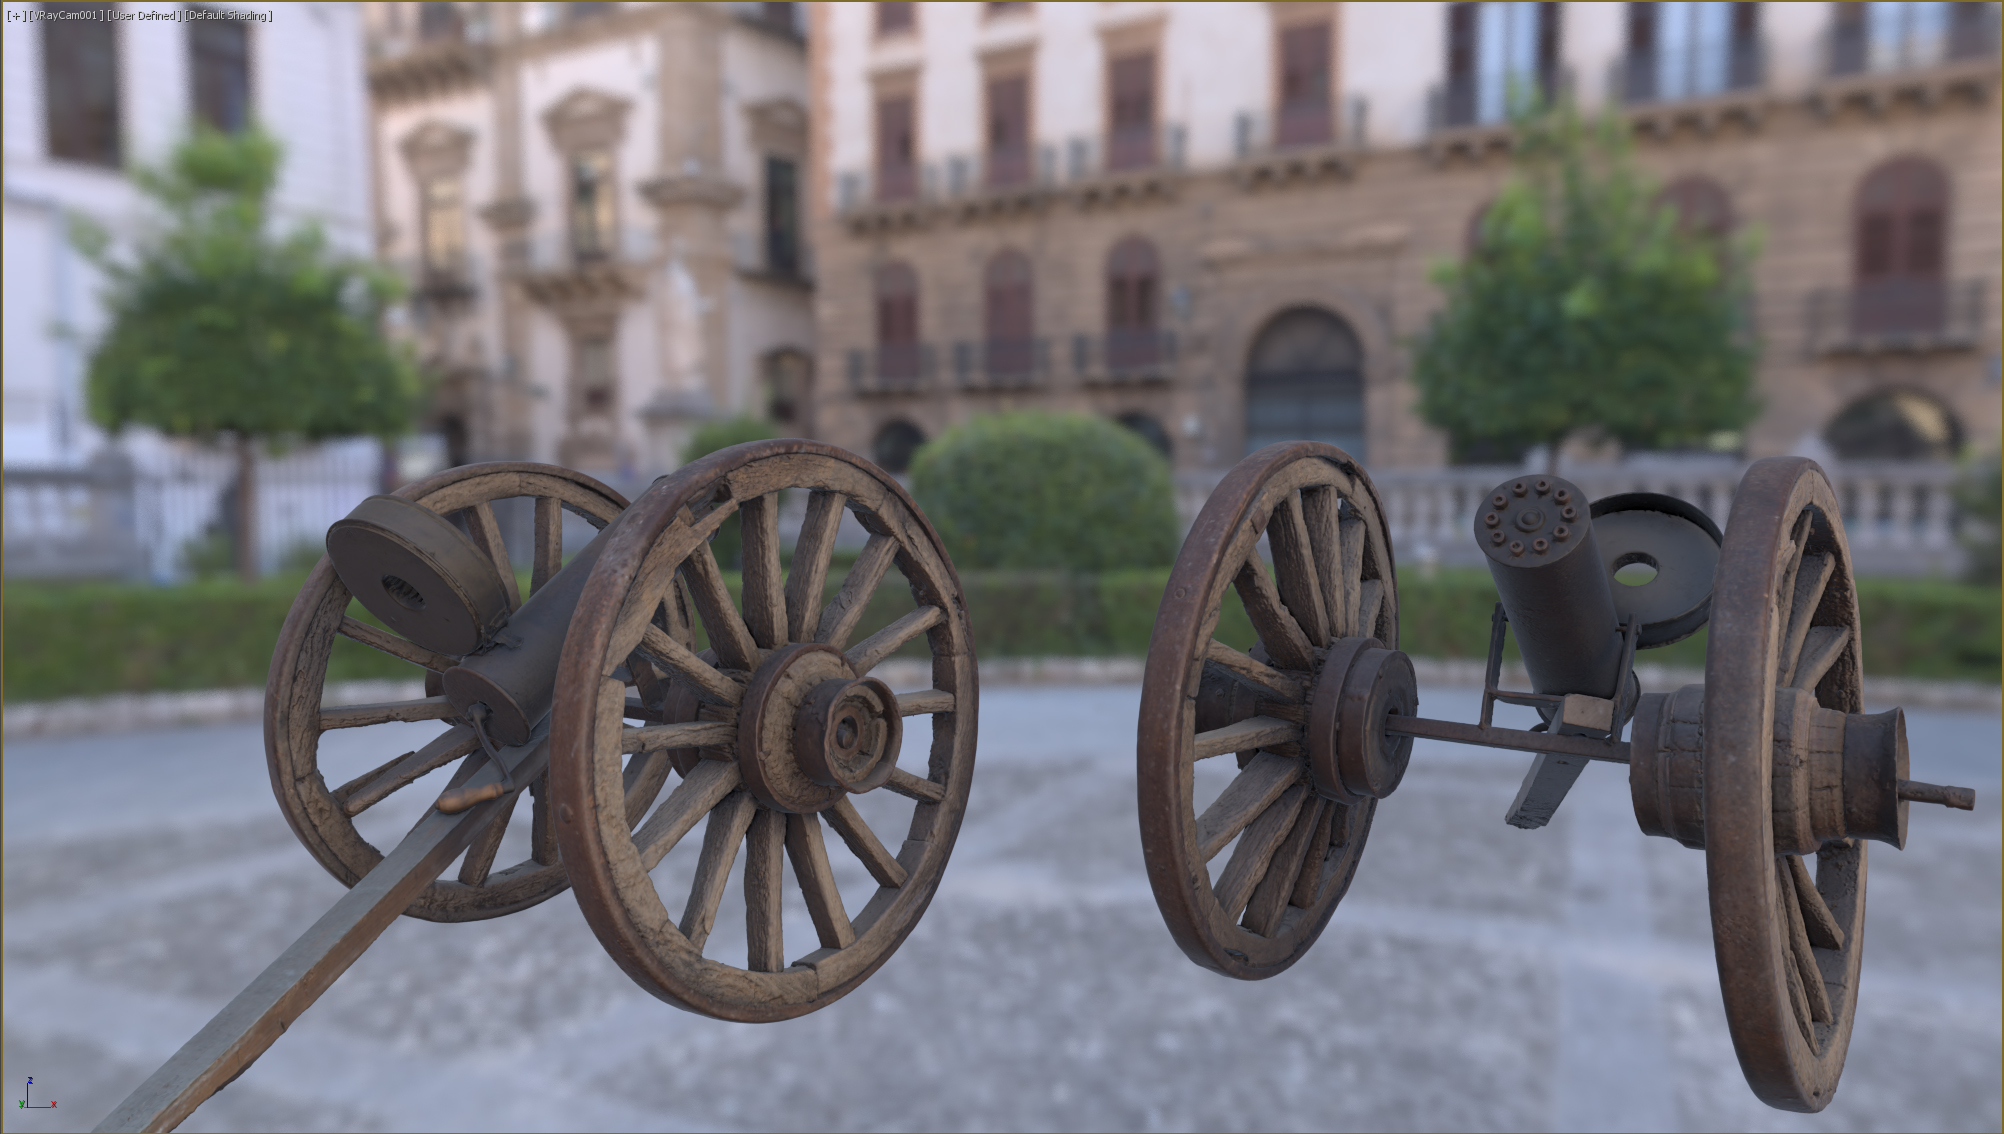
From the release of 3ds Max 2021 forwards, Arnold will be the default render engine, so all the new features will be directly compatible with it. In the image below you can see a comparison between the Max viewport set to High Quality and a render in V-Ray:
V-RAY
3DS MAX
Keep in mind that some of the OSL nodes are not yet fully compatible with V-Ray. We’ll have to wait for an official release of V-Ray for 3ds Max 2021, even though it’s already possible to install V-Ray on the 2021 version.
NOTE: Corona Renderer is not yet available for 3ds Max 2021.
If you are interested in learning more about OSL (Open Shading Language), and how to create your own shaders, check out the official GitHub repository.
Stay tuned for the next article covering OSL HDRI Lights, which are highly used to create advanced lighting setup and simulate the use of real photographic equipments.


 V-RAY
V-RAY
 3DS MAX