
Following the first part of the article in which we talked about setting up the masks, now it’s time to start the post-production with V-Ray 5 VFB.
For the post-processing workflow, I’m gonna use mostly the Cryptomatte and MultiMatte masks. I’ve renamed some of the elements so it’s easier to understand what type of masks are stored in the different elements.
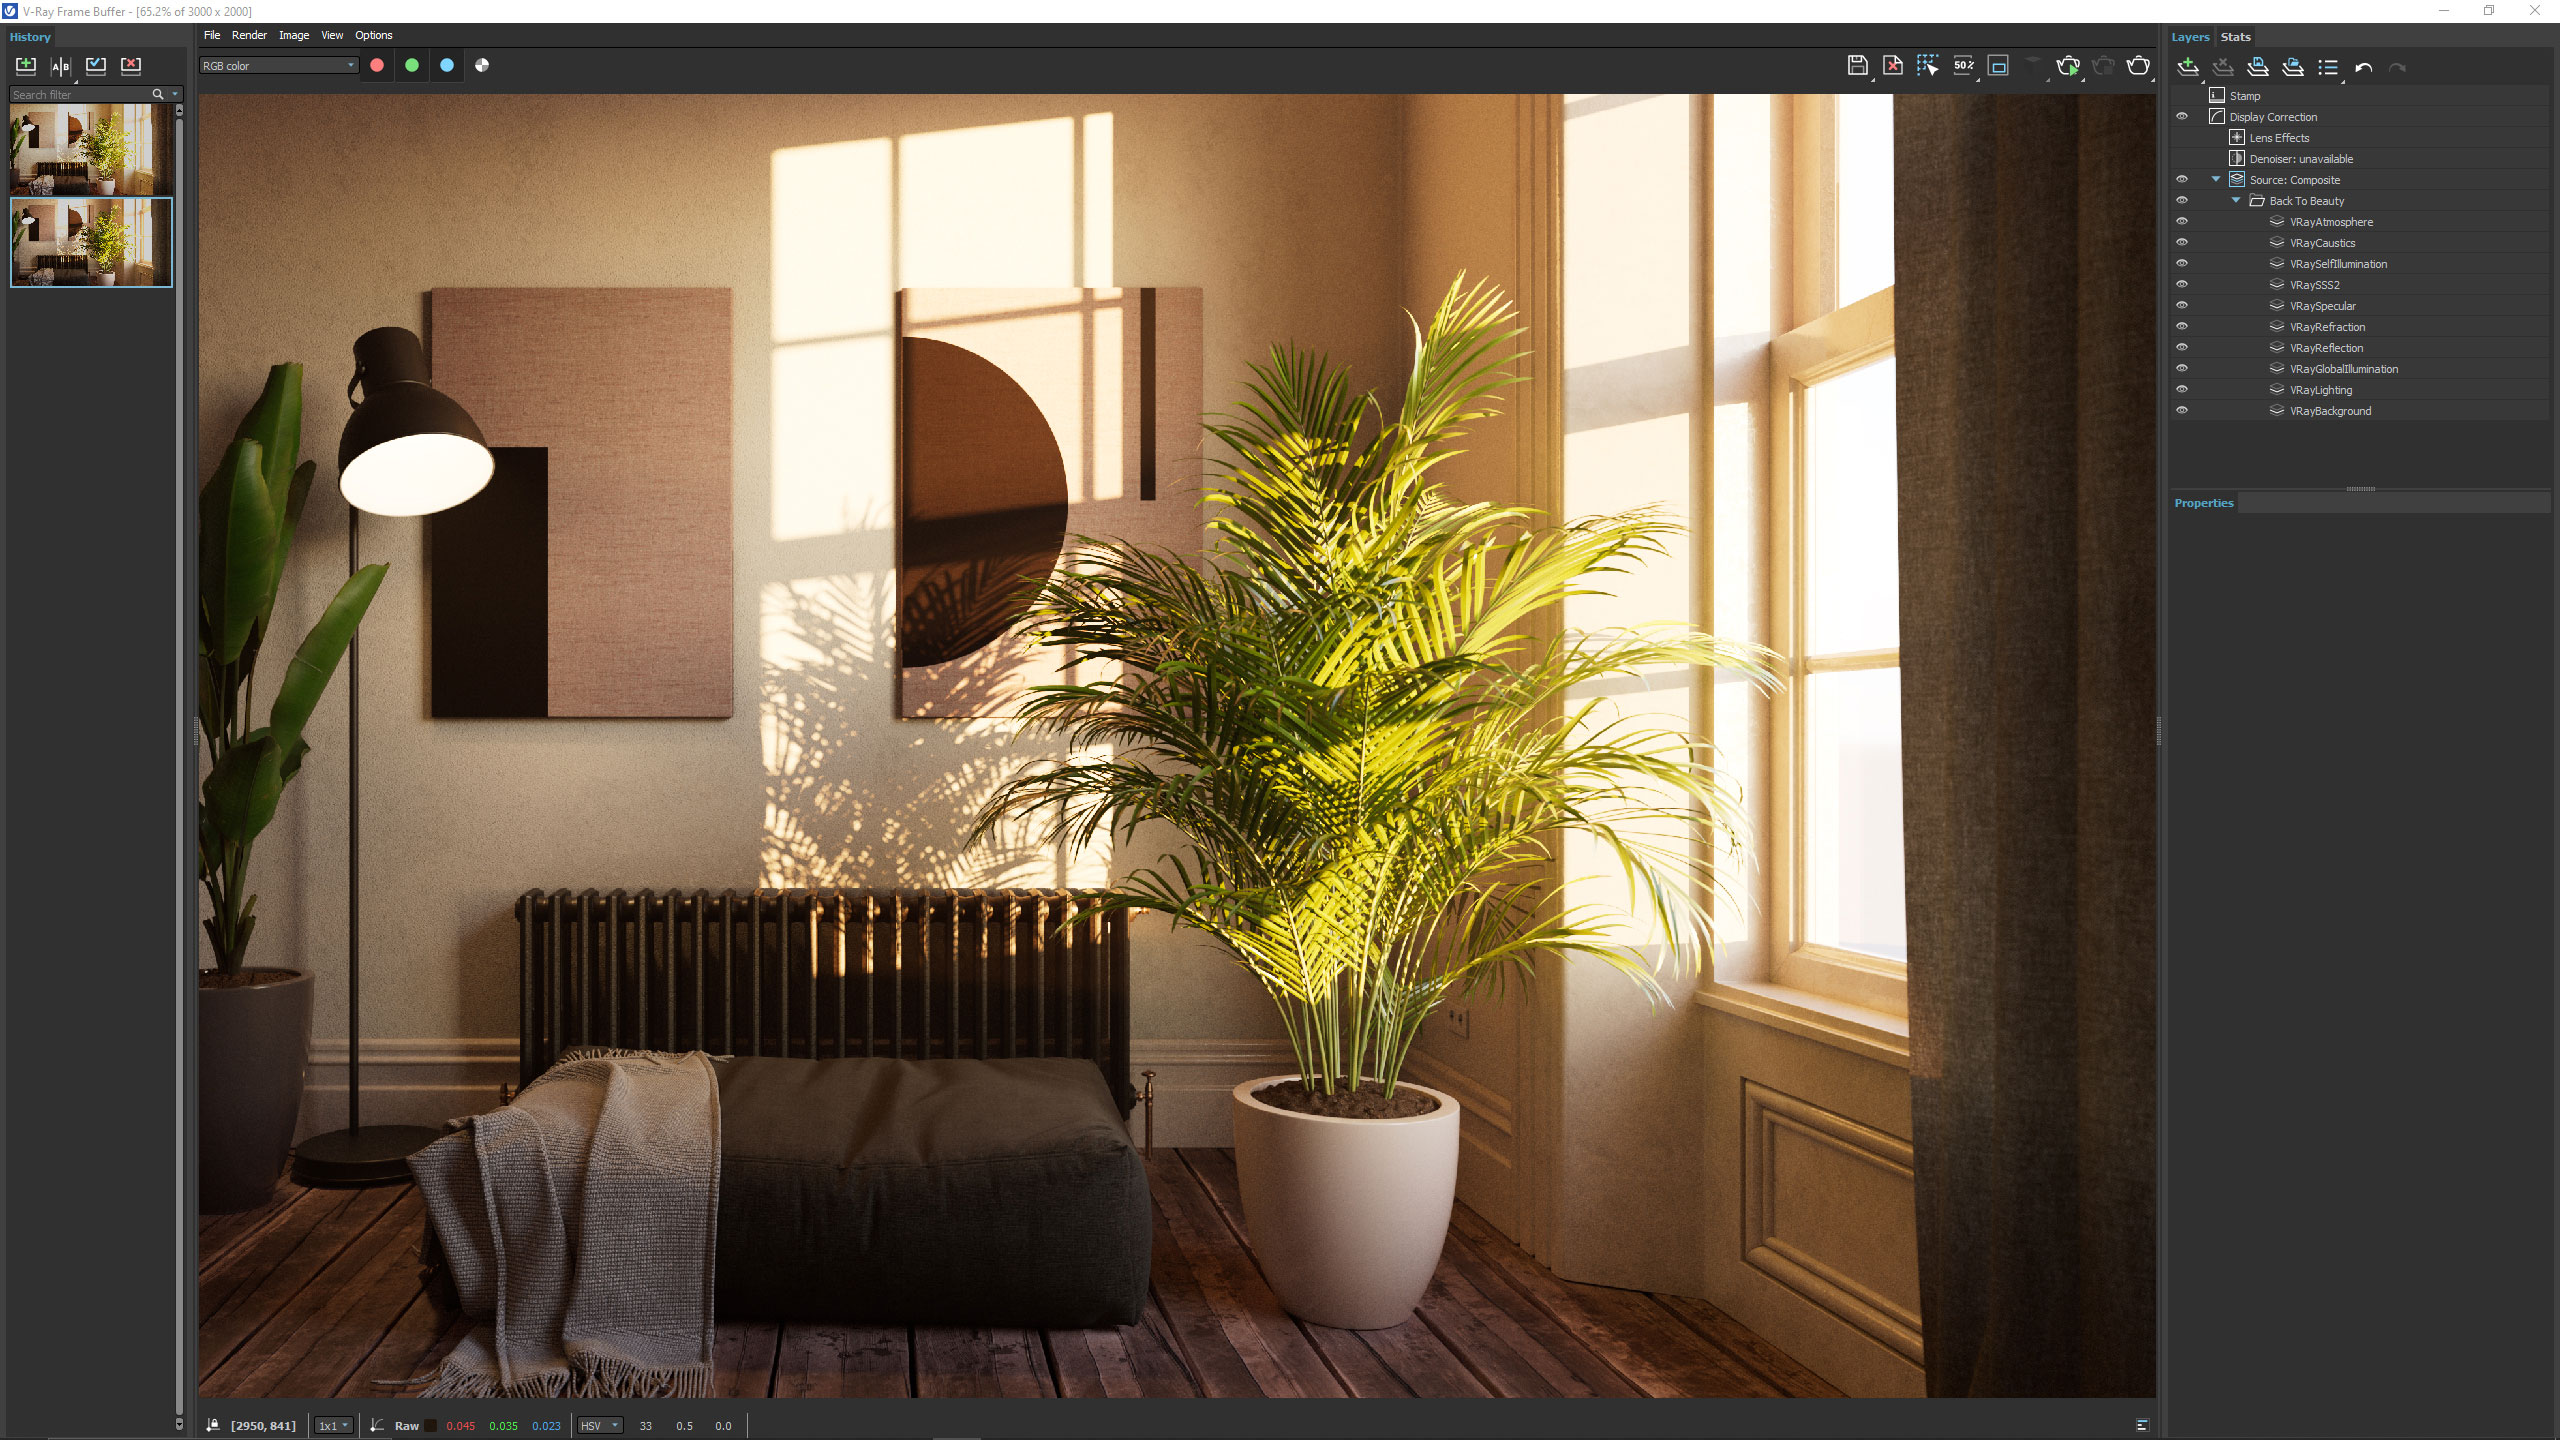
All right, after launching the final render we can start with the post-production. Below you’ll see the starting point in the VFB:
First of all, I’m going to add a Filmic Tonemap layer set to type AMPAS, and Blending to Lighten. This one will be applied to the entire image to add a little bit of contrast and increase the brightness of the image as well.
Notice that since I’m working in ACES there is already a Filmic Tonemap applied under the hood. I’m adding a second one to emphasize the effect. It may not be technically correct but in this case it’s an artistic choice.
If you’re not working in ACES, the Filmic Tonemap it’s mainly useful to remove all the highlight burns where the sun hits directly a surface and to add that cinematic look we like.
I’ll also enable the Lens Effects and change the settings a bit: there are no right numbers here; it depends on what you like.
During the post-processing workflow you can also disable the Lens Effects so they don’t distract you when applying other correction layers.
Now that the base is ready, we can move on enhancing specific areas and objects in the scene.
I’ll start with the Render Elements, since they affect the source image. This step could be even done before the Filmic Tonemap and Lens Effects if you want to be precise.
Now I want to increase the reflections on the moldings.
First let’s find a useful mask: we have one on the MME_IDTool_1 (green channel) element.
Then, duplicate the VRayReflection, move it above the BackToBeauty folder, create a new Folder named ‘Reflections Moldings’ and put the VRayReflection element inside it.
Once it’s done let’s apply a MultiMatte mask to the Folder and choose the correct element and channel from the list.
Now, I want to add a little bit of specular reflection to the radiator, the lamp and the plant on the left.
With the same method we just saw, let’s find a useful mask (remember that you can also use multiple masks applied to a layer if you don’t have one that contains everything you need). In this case I’ll use the VRayCryptomatte_Materials. In this way the specular effect will be applied only on the materials instead of the entire object.
So, as before, duplicate the VRaySpecular, move it above the Reflections Moldings folder, create a new Folder, name it ‘Specular Enhance’, put the VRaySpecular inside and apply the mask to the folder.
The last step is to use the +Pick button to select the materials in the scene.
All right, one last change with the Render Elements. I want to use the VRayLighting to increase the brightness of the floor a bit.
The workflow is the same as before: we can use the mask MME_IDTool_1 with the red channel.
I lowered the overall power to 0.4 to make it more real.
I’m done with the Render Elements so we can move to the Correction layers.
I want to add some contrast to the curtain and to the plant on the right: we can use either the Curves or Exposure layer. I usually prefer to use curves.
Let’s add a Curves layer and with the VrayCryptomatte mask, we can isolate the plant and the curtain. Then, I can edit the curve graph with the classical ‘S-shape’ to create more contrast.
We are almost done!
Let’s reduce the saturation a bit on the plant on the left, but only on the leaves. At this point you should be pretty familiar with the workflow: find the mask (in this case the VrayCryptomatte_Materials is perfect), create the Hue/Saturation layer, apply the mask to it and select the materials from the scene, then adjust the settings as you like.
Of course we can go on an entire day doing post-production.
Here, I’ll only add a White Balance layer set to 7000 to give a bit of warmth to the image, and don’t forget to re-enable the Lens Effects layer.
Save the image as a .exr file to keep the bit depth (for archiving purposes) and we are done!
As you can see for certain post-production workflow the new V-Ray 5 VFB is perfect and we didn’t even touch the LightMix.
There are quite a lot of possibilities. I’ll leave it to you to explore all the other tools that we didn’t have the chance to look at in these articles. Here you can take a look at the final result.

Watch the video below for a full recap of the post-production workflow to use with V-Ray 5 VFB.
I hope you found this article useful and interesting. See you next time! Enrico