
Hello everyone!
It is time for another article from our R&D pipe, and since winter is coming, why not learning how to simulate snow for your project?
We’re gonna use tyFlow once again. Our previous article with tyFlow was about cloth simulations.Go check it out, if you missed it.
TyFlow is a plugin for 3ds Max which you can download here. It is mostly used for simulations, like cloth, snow, but also destruction. The version I’m using for this tutorial is the v0.16128, together with 3ds Max 2022 and Corona Renderer 7.
Introduction
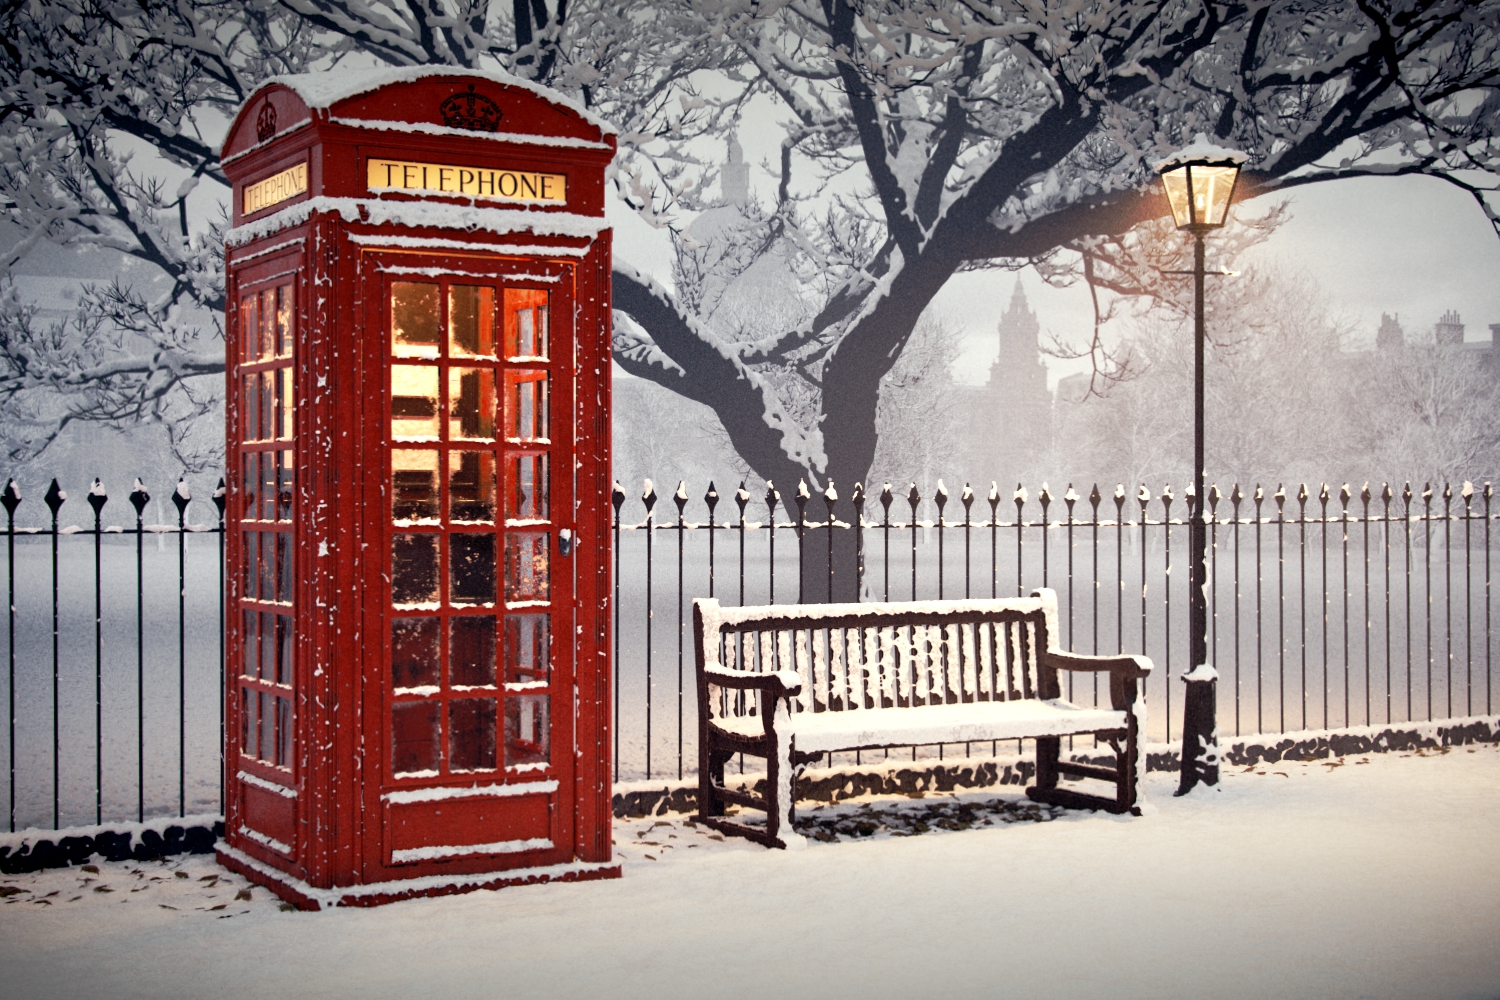
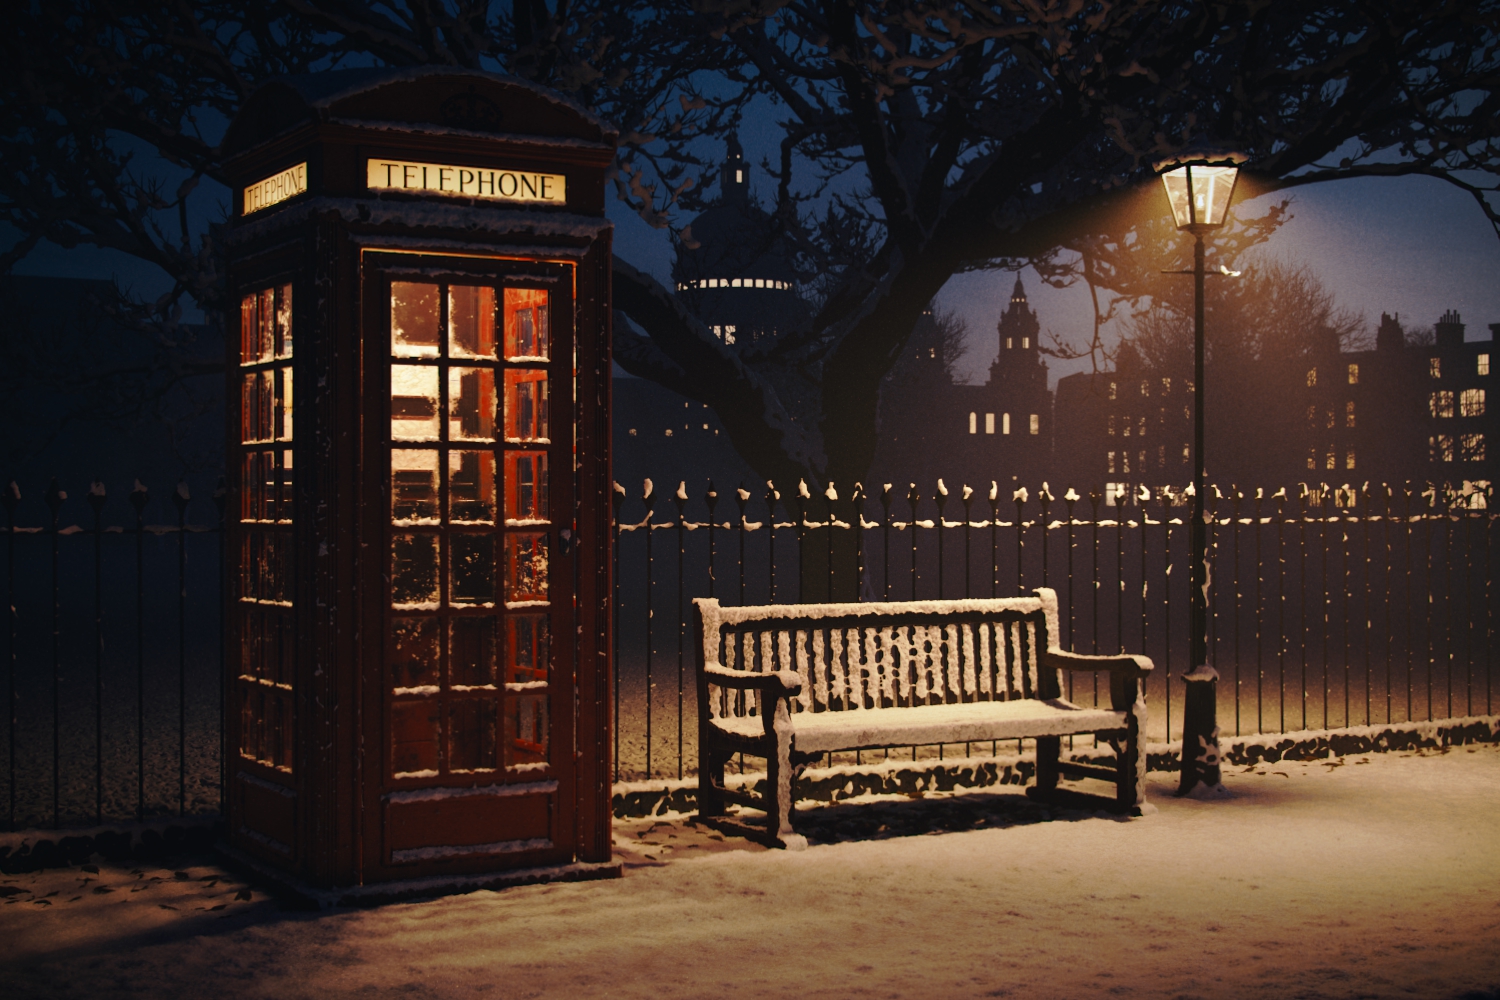
Throughout this tutorial we’ll first see how to set up the simulation on a simple scene, and learn how to control the parameters to get the result we want. Then we’ll apply that knowledge to recreate the scene you see below, and finish by learning how to create a snow shader. The material is done in Corona Renderer 7 but the workflow can be applied to other render engines as well.
Snow simulation setup
The snow simulation is divided into two parts: the first one to simulate the accumulation of snow on objects, the second one to simulate snow falling from the sky. It could be done as one single simulation but I prefer to keep them separated and control them independently.
I’ll use a simple scene with a plane, as a ground surface, and a teapot, as a generic object. Some parameters in the simulation can have different values depending on the scene you’re working on, since the shape of the geometry affects how the snow falls on the object.
Snow accumulation
Let’s start by adding a tyFlow object in the scene, it’s in the Create > Geometry tab, under the Command Panel. You can also use X from the keyboard to search for it. Always rename your objects, this one will be “tyFlow_SnowAccumulation”.
Open the editor by using the Open Editor button from the Modify panel, and drag and drop a Birth operator in the graph. We’ll come back to this one later. Now, to get the snow on the surface, we need the Position Raycast operator.
This operator shoots rays from a reference object, and creates a point (or rather a particle) where it hits the surface of the geometry. In the settings of the Position Raycast operator we need to specify from where we want to shoot rays, and which geometries we want to hit. Under the Raycast Origin Object you can either click on Create New Icon, or create a tyIcon in the scene, then link it in the None button. You can create a tyIcon from the Helpers section. The area of the tyIcon defines the total surface from where the rays will be generated and where snow will accumulate. So, change the size of the icon to cover the entire area, the place it right above.
In the Position Raycast remember to add all the Target Objects where you want the snow to accumulate.
The amount of particles that are generated is controlled in the Birth operator, with the Total parameter. By increasing it you should start to see more particles on the surface.
These particles are then used to generate a mesh for the snow.
Add a tyMesher object, it’s in the tyFlow category of the Create > Geometry panel. In the tyMesher link the tyFlow object under the Input Objects and Particles. When you scroll down in the Blobmesh section, you have a few parameters to control how the mesh is generated. Here there are no right values, since it depends on the parameters set in the tyFlow object, and the result you want to reach. We’ll take an overview of the parameters you need to change right after this video.
The Voxel Filtering has multiple options to decide how the voxels (volumetric pixels) are filtered, it helps to smooth the final result and avoid possible spikes on the mesh. For example, the Gaussian option is quite useful if you need to reach a uniform distribution on the entire surface of the mesh, while the other options (None, Mean, Median) create a more uneven result.
The values under the Radius section, Absolute and Multiplier, control the radius of the voxels, the bigger the value, the bigger the voxel. While the Absolute value sets a specific amount for the size, with Multiplier you can set an overall multiplier of the previous value, similar to a “scale” value.
There’s also a Voxel size parameter, right under the previous two. This option controls the resolution of the mesh being generated, so it doesn’t affect the dimension of the voxels. It can be used to smooth the mesh.
If the final result is too rough you can also apply a Turbosmooth modifier on top of the tyMesher.
To check the result while rendering I’m gonna apply a simple CoronaPhysicalMtl to the tyMehser with a slightly white Base Color. We’ll set up the snow shader after all the simulations are ready.
Falling snow
Let’s now simulate the snow falling from the sky. In this case the two simulations won’t interact with each other, meaning the snow falling on the ground is not accumulated, but it can be done.
The initial setup is similar to the previous one, start by adding a new tyFlow object, and rename it to “tyFlow_Snowfall”. Then add a tyIcon, and rename it “tyIcon_snowfallSource”. This is the surface from where the snow will start falling, so set the size to cover the area where the snow will fall.
Before moving on with the tyFlow simulation we need to create some geometry for the snowflakes. I want to create large snowflakes, like in this reference video. To do it I’ll start by making a simple plane, in my case a plane 8×8 cm and set the same amount of segments to keep the proportions. We can always scale the mesh later, in tyFlow. Let’s add a Noise modifier to get something more natural. We can also play with the Bend and Twist modifiers to add even more distortion. Once the first mesh is ready, create multiple copies, and then change the values in each one to get different variations.
Similar to what we do with vegetation, we now need a texture of the snowflake to apply on this plane. I’m using Substance Designer to generate multiple variations, by blending together a radial gradient and a noise, to get the result I want. Once the setup is done, I just need to change the Random Seed value and export all the textures I want.
Back in 3ds Max, open the Material Editor, create a CoronaPhysicalMtl and load all the snowflake textures by using a CoronaMultiMap. In the Mode change the option to Mesh Element, so it will automatically recognize the single snowflakes from the simulation. To add a little bit of variation to each texture also increase the Gamma random to 10%.
Now connect the CoronaMultiMap to the CoronaPhysicalMtl, specifically the Opacity color. Then, in the shader, increase the Base color to something more white, enable the Thin shell option, and change the Translucency Fraction to something around 0.15, depending on the result you’re looking for. Without the translucency the snowflakes will be quite dark, and look more like dust, rather than snow.
Let’s go back to tyFlow.
I’ll start again with a Birth operator and set a frame range for the simulation, and the amount of particles. Right now we just need to see something in the scene, we’ll come back to these values later. Then add a Position Icon operator and link the tyIcon_SnowfallSource object we created earlier. tyFlow will now use this surface to emit particles, you can see them by moving the timeline.
Now add a Force operator so they can fall down, by setting a negative Strength value. To get a little bit of randomization on these particles we can also enable the Built-In Noise available in the Force operator. For now I’ll set the Strength values to 0.2 cm in Layer 1 and Layer 2. Before the Force operator let’s use a Speed operator to randomize the velocity of the particles. For now, I’m only increasing the Noise Strength value to 1.
To use the meshes of the snowflakes we created add a Shape operator and link all the objects by using the Add Selected button.
The basic setup is ready, but there’s room for improvement. To get more control on the falling particles let’s add the Spin and Slow operators. The Spin operator is used to introduce some randomness to the rotation of the particles by changing the Spin Rate and Variation values. I’m using 10 for both parameters.
The Slow operator decreases the particle’s velocity by using a percentage value, for example I’m using 15% for the Velocity and 5% for the Velocity Variation.
Then, instead of adjusting the scale of the snowflakes by scaling the source objects, let’s use a Scale operator, so we can manage both the overall scale and its randomization.
If you start an interactive rendering it may not work, so add a Mesh operator, and everything should be visible.
One last thing I want to add is an event to control what happens when the snowflakes hit the ground, or other geometries. Right now they’re just passing through everything. First, add a Collision operator in the main event, and link all the meshes you want to use as colliders, like the ground and the teapot. Then, create a new event by using a Delete operator. Since I don’t want the snowflakes to be removed as soon as they hit the surface I’ll set the Range from 60 to 90, so they’ll disappear after at least 2 seconds (the animation is running at 30 fps).
There’s a problem though. During those 2 second the particles are still affected by the velocity and spin set in the operators of the main event. To “freeze” the particles while they’re on the ground add a Stop operator, and enable all the checkboxes in the Stop Motion section. Now the snowflakes will stop moving after they hit a surface, and then disappear.
Below there’s a short video of the final simulation.
Adding snow to a full scene
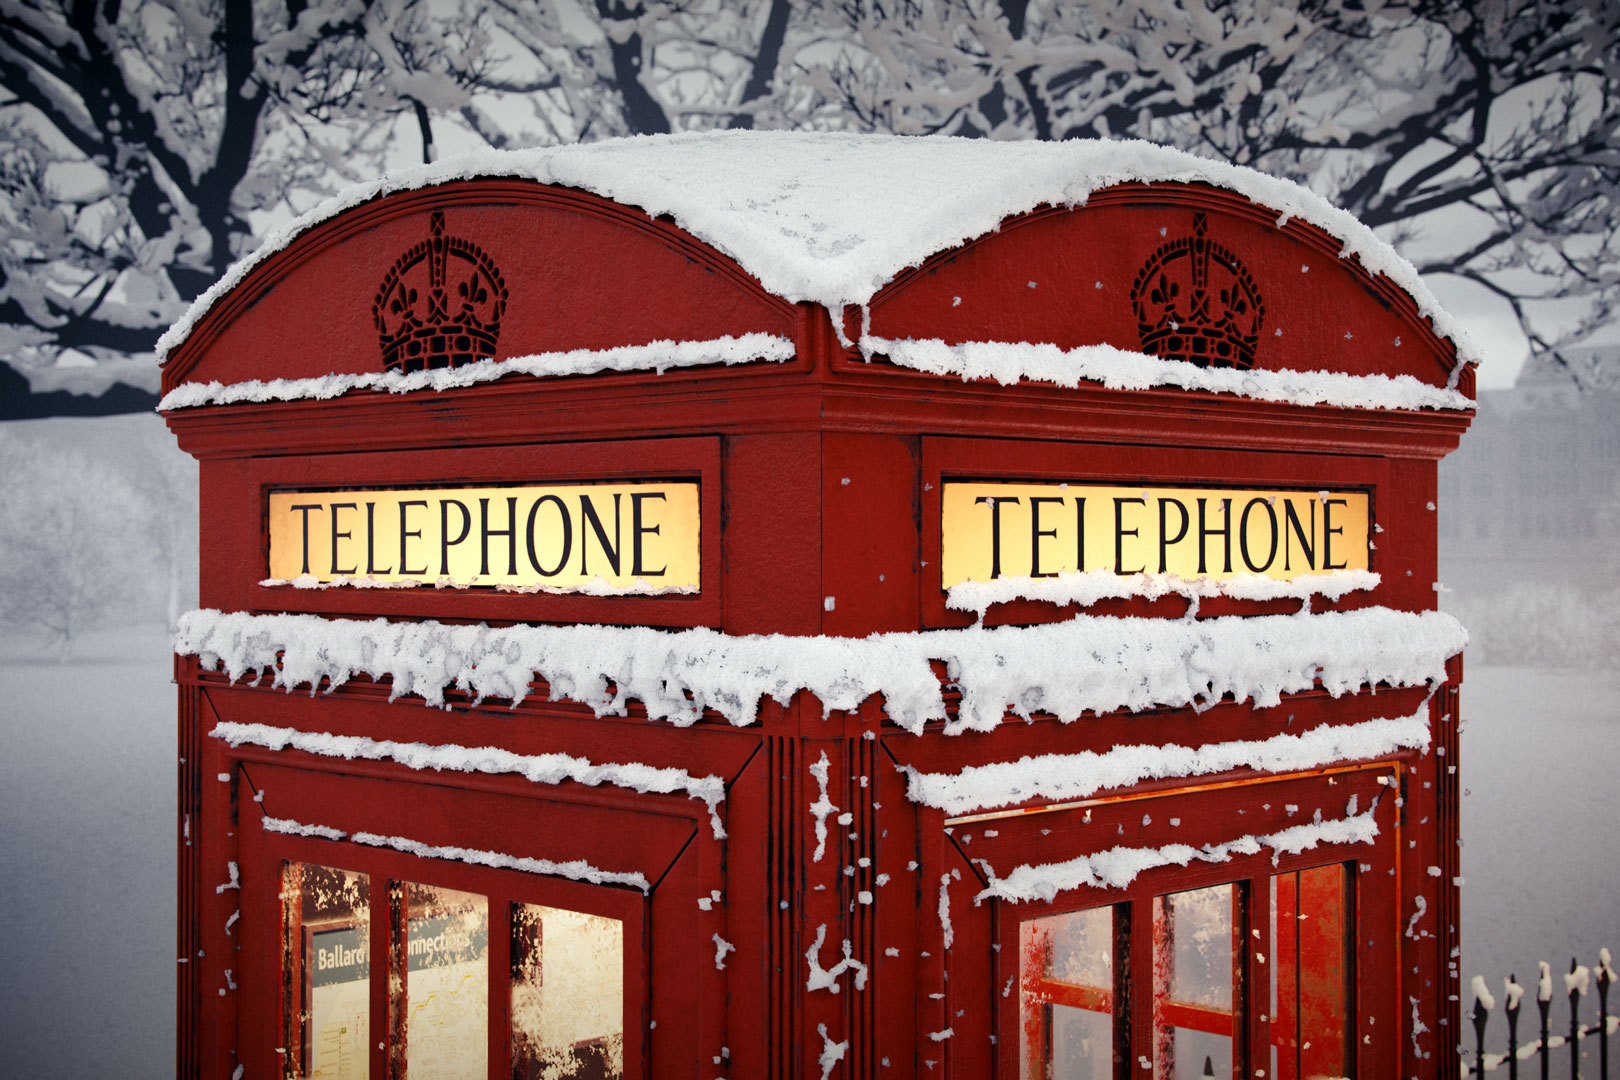
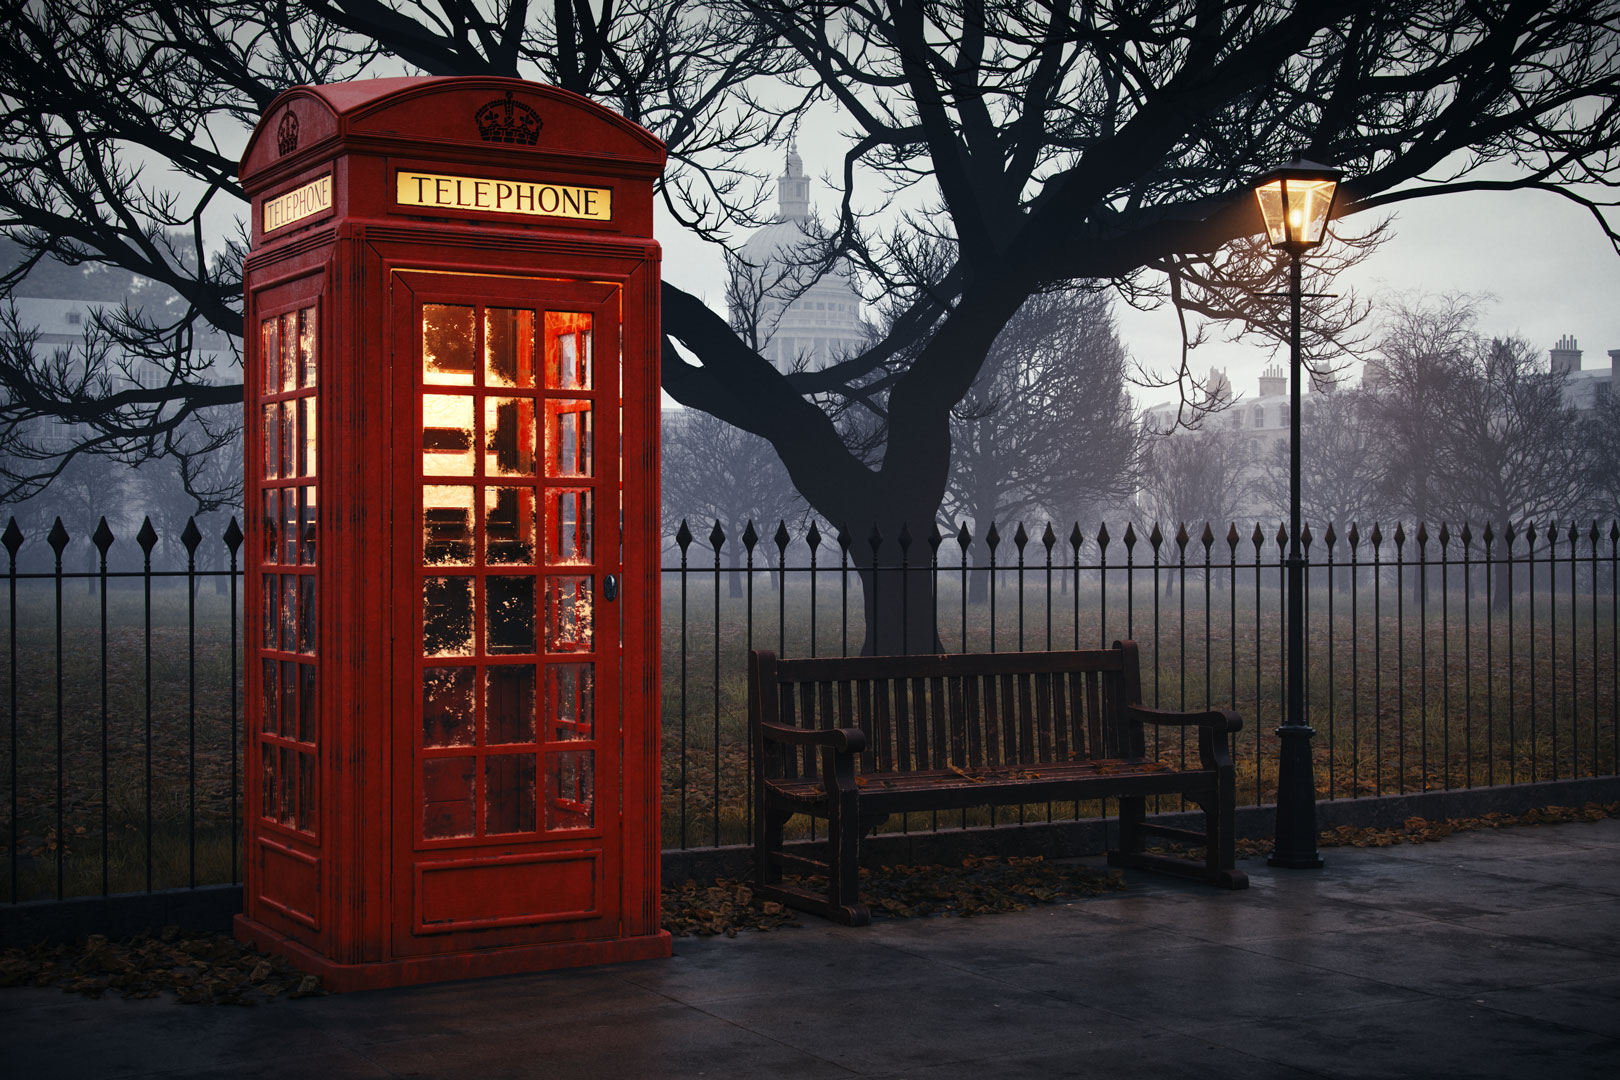
All right, time to move to something a bit more interesting. Below you can see a rendering of the scene we’re gonna use, without the snow simulation.

As before, I’ll keep the simulation separate, one for the accumulation, and one for the snowfall. Now, about the snowfall, I’m using two tyFlow objects, one for the foreground and one for the background. For the accumulation, I’ll keep a tyFlow simulation for each object, to have a bit more control on how the snow sticks to the geometries.
Snow accumulation
You already know how to do it, so I won’t go over each step. The tyIcon objects I created, renamed “tyIcon_snowAccumulation_source*”, are slightly tilted, to give the impression that during the snowfall there has been some wind. The reason why I’m using multiple tyIcon objects instead of one, is because the size of the plane will affect the amount of particles needed to simulate the snow. So the smaller the size of the tyIcon, the lower the amount of particles.
Before creating the tyFlow objects and adding the operators, it’s better to analyze what we are trying to do.
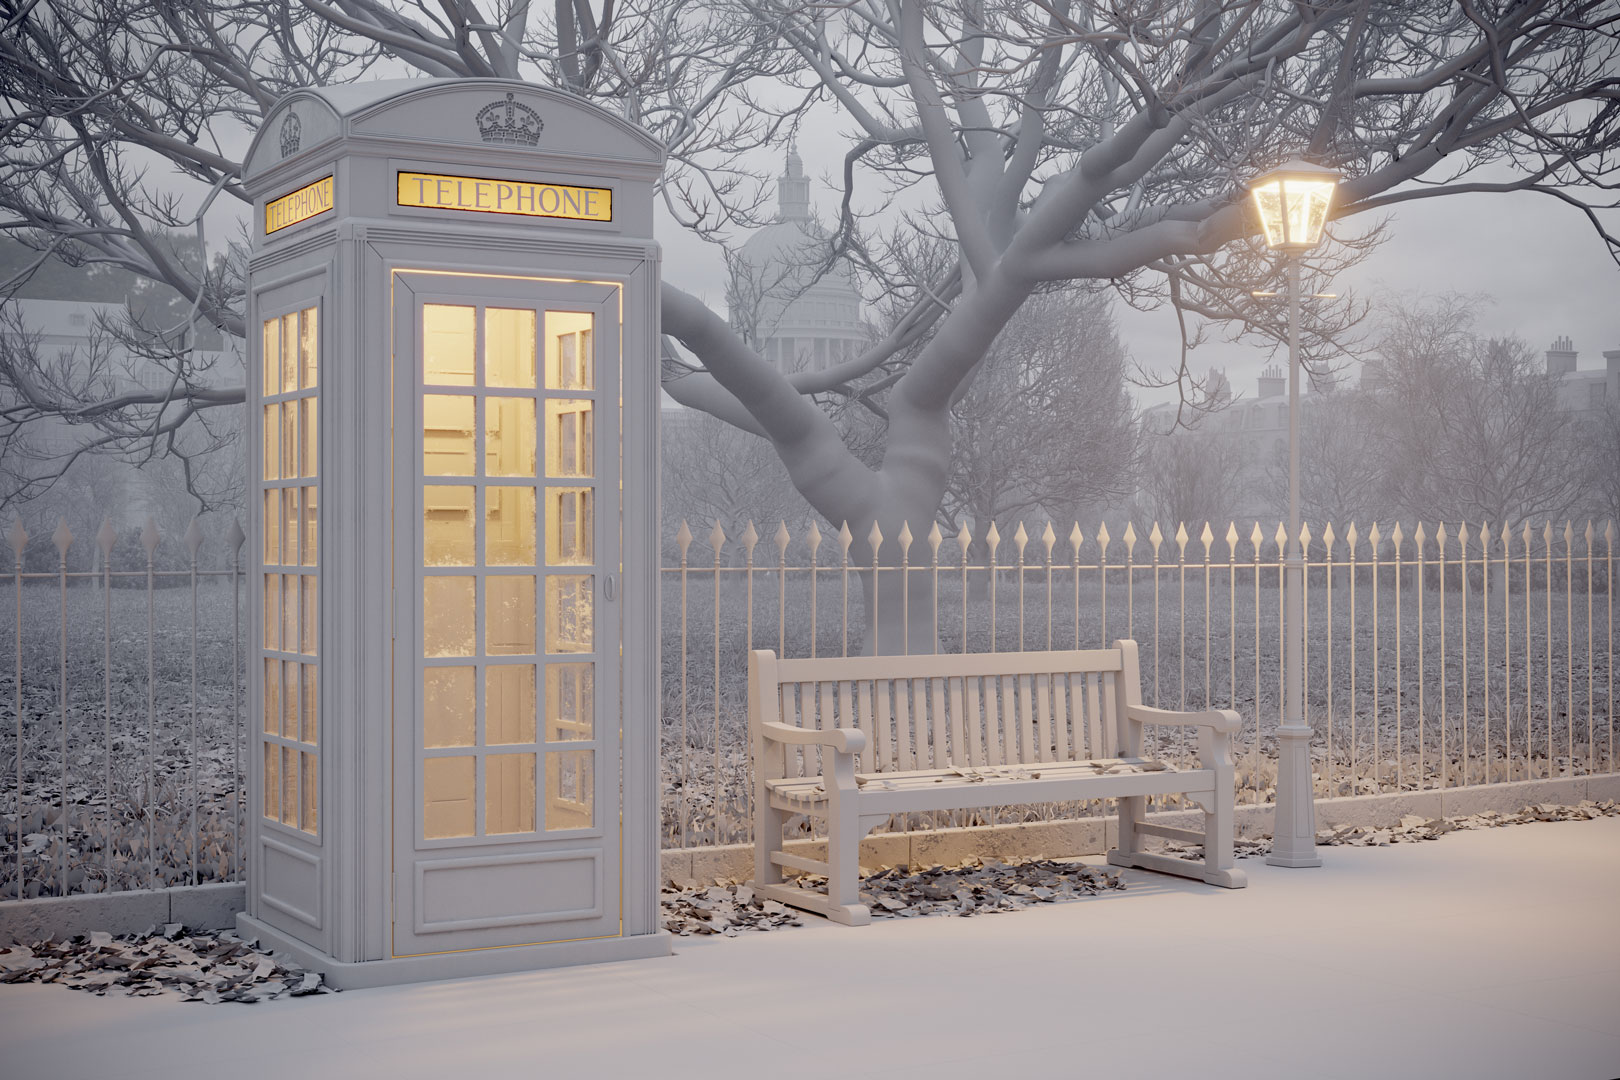
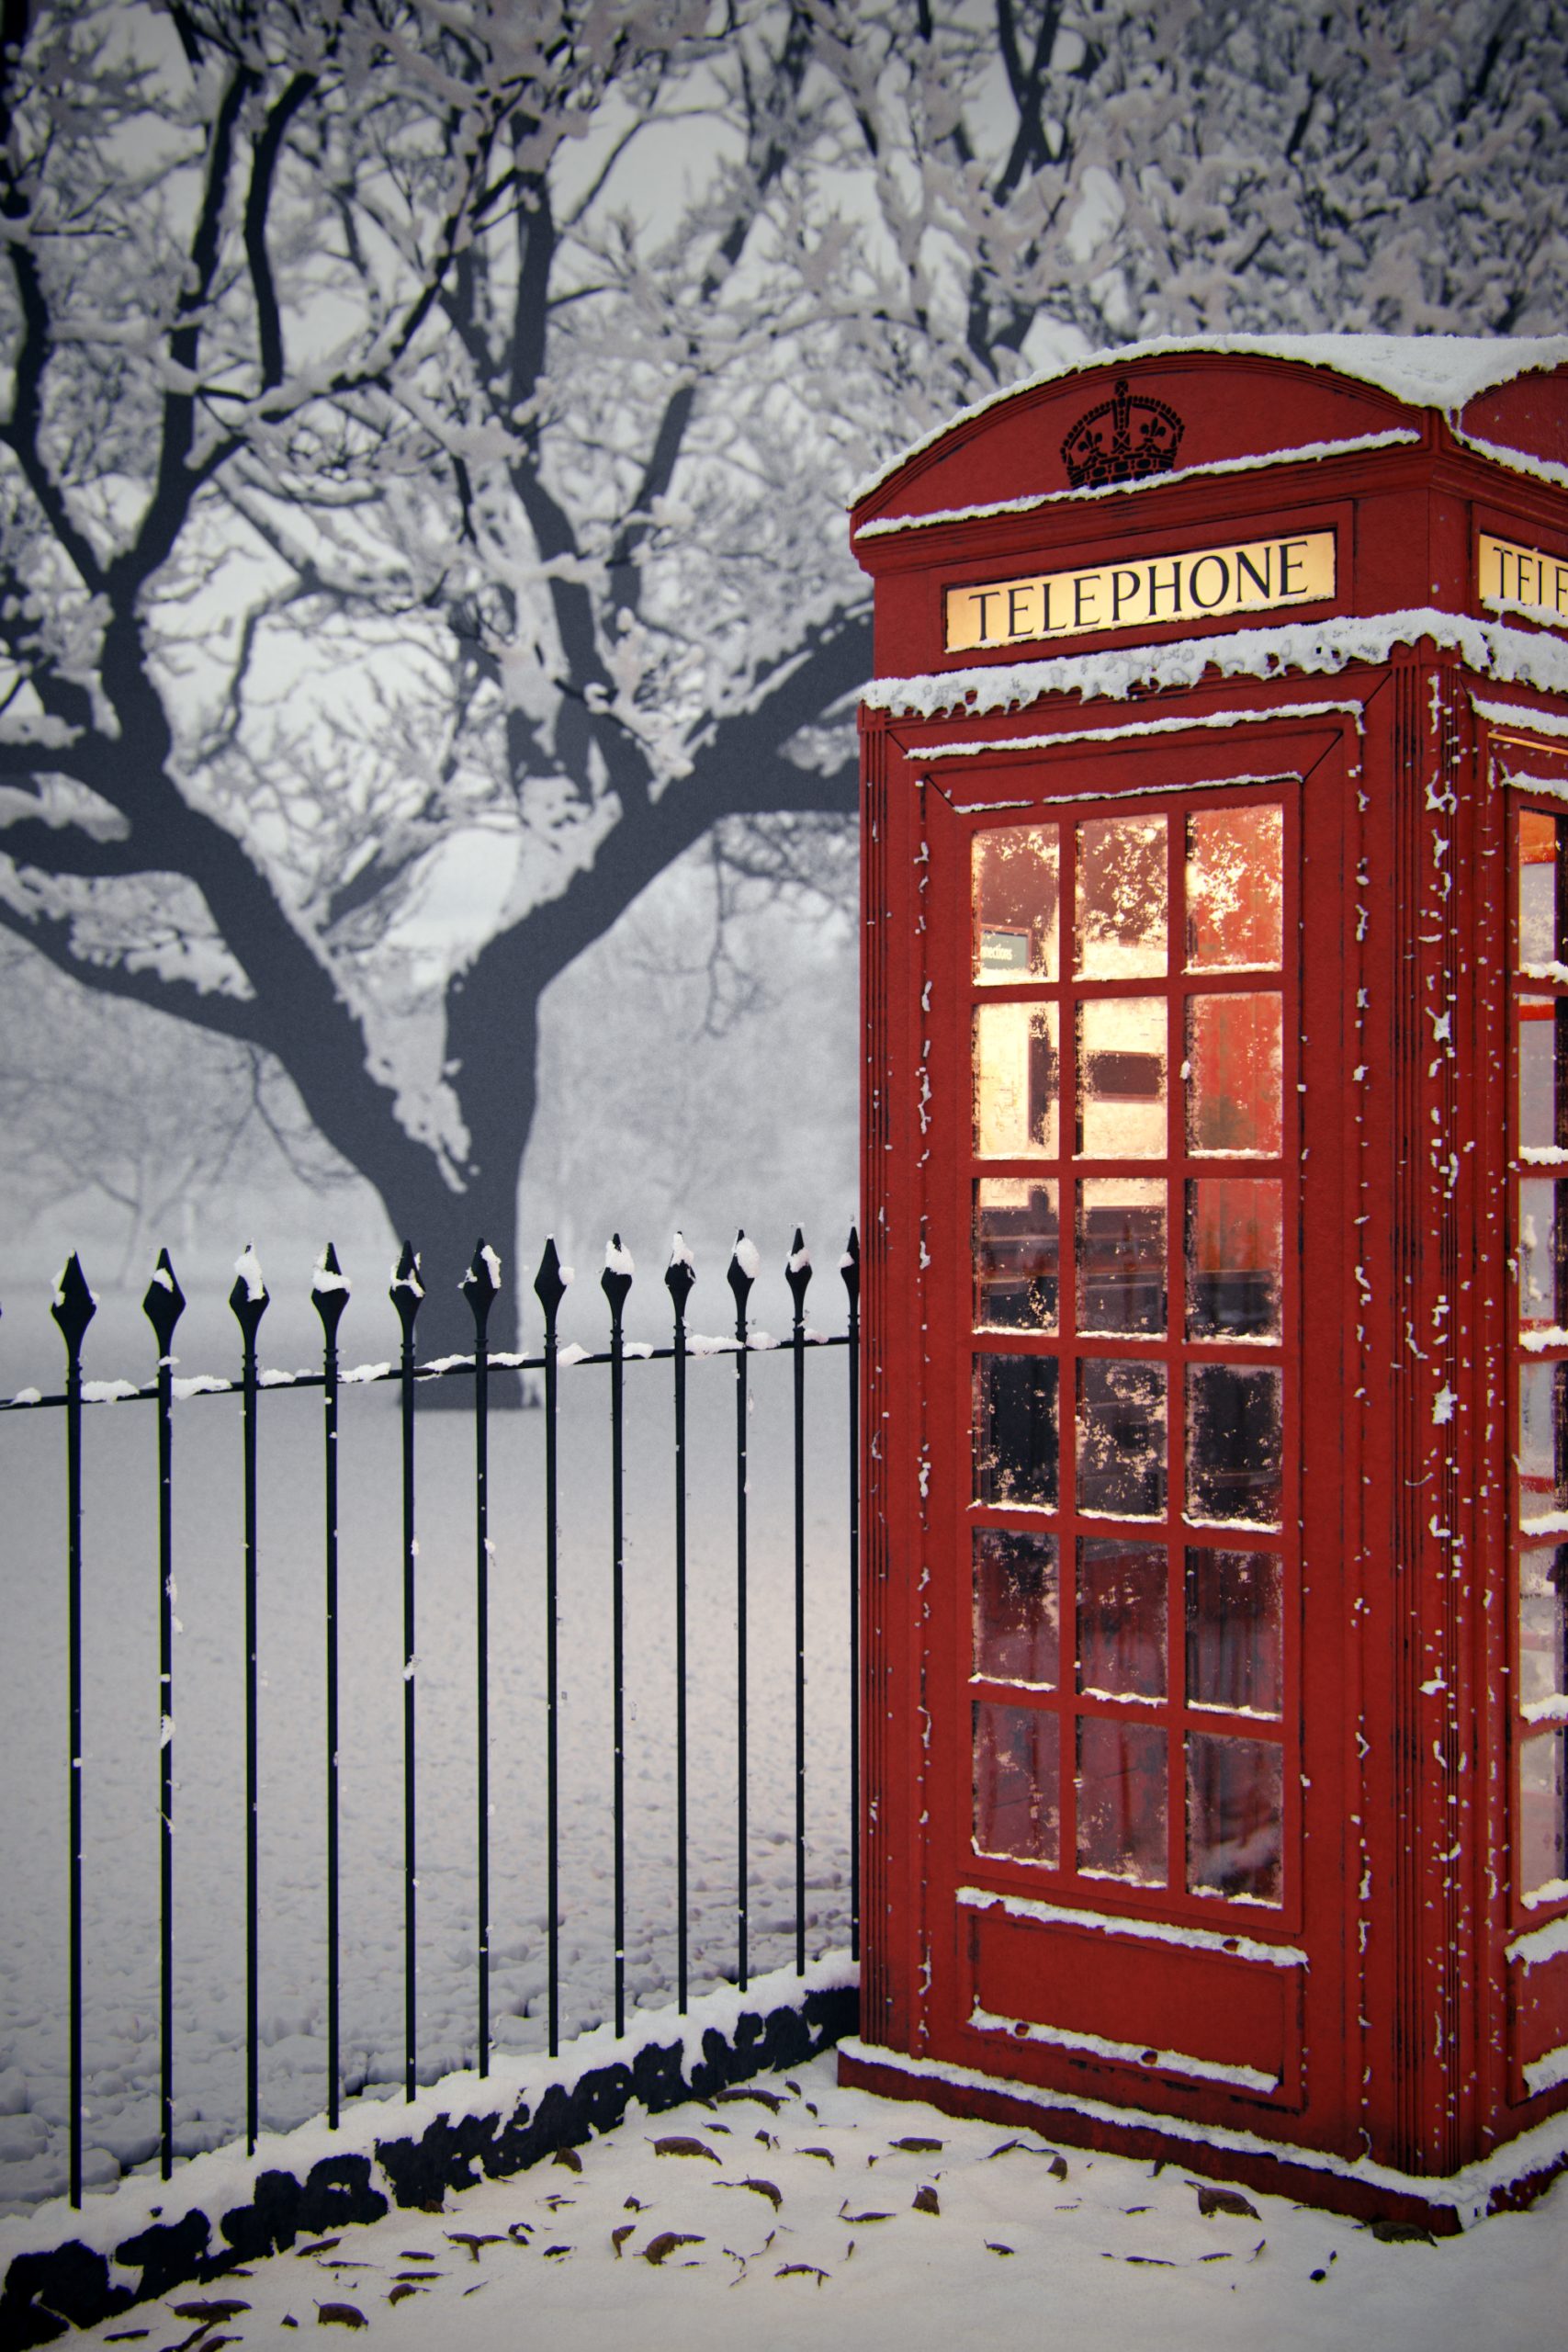
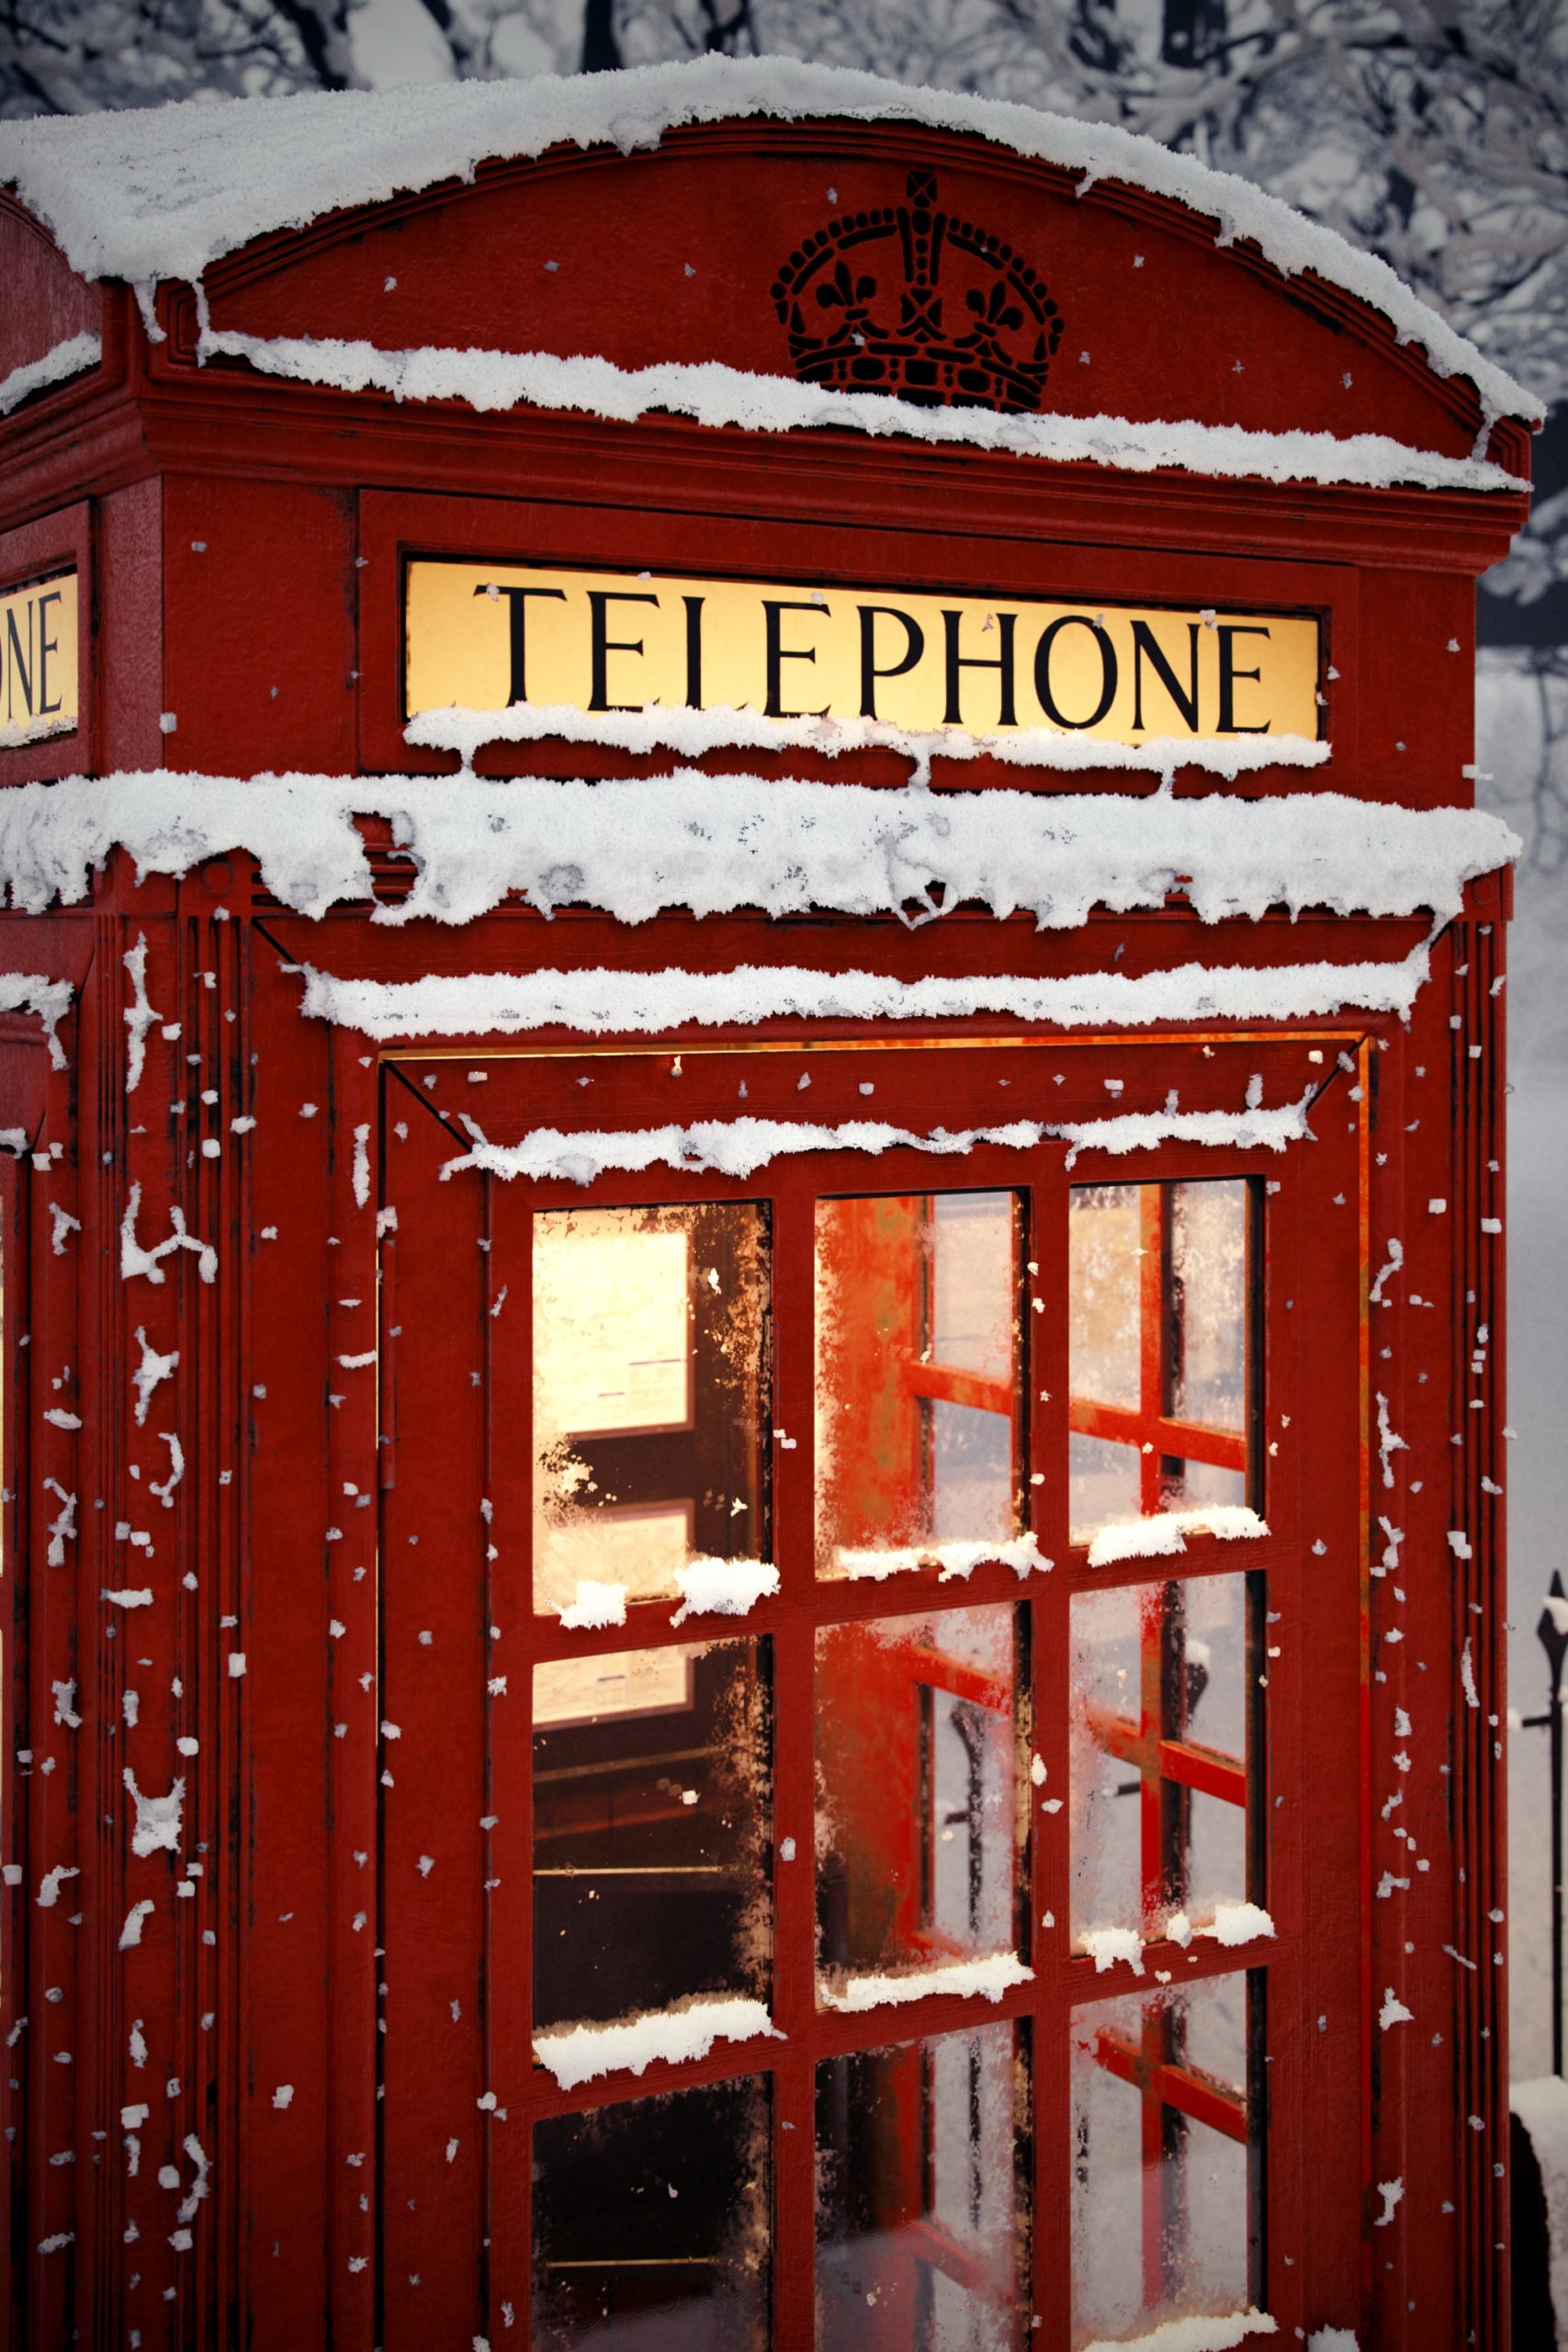
I want snow basically everywhere, but it wouldn’t be very efficient to simulate snow in the entire scene. So, instead of doing that, I’ll use tyFlow to add snow in the foreground (street, bench, phone booth, lamp post, and the main tree), then scatter with Forest Pack different patches of snow, created with tyFlow, to cover the lawn in the background.
About the buildings in the background , we won’t see any major difference by adding the snow on the surface, so I’m keeping them as they are. They’re too far away and the fog helps to cover the missing details.
For the trees and shrubs I’m using the old trick of the Falloff map in the Base Color to get a white color in the areas pointing upwards.
A quick note about the street setup. To avoid the snow accumulating below the phone booth, the bench, and the lamp post, I added a Surface Test operator, set to Raycast (Hit), then linked those 3 meshes in the Objects list. From the Surface Test I then created a new event with a Delete operator, so the particles under those areas are removed. And notice that I still get some snow passing through the bench seat, as it should be.
The simulations for the other assets in the scene are done in the same way, the only differences are the amount of particles and the settings in the tyMesher object, depending on each case.
Snowfall
As mentioned before, the snowfall simulation is split in two, one for the foreground, with a smaller tyIcon as source, and a bigger amount of particles, and one for the background, with a bigger tyIcon object (that cover most of the lawn), and a smaller amount of particles, to keep it performant enough, without losing the desired effect of a big snowfall.
The setup for the simulation is done in the same way as introduced at the beginning of the article.
Chaching the simulation
Working with lots of simulation can be heavy on the computer, especially the computation, and if you keep the tyFlow objects as they are right now, every time you start a rendering, the tyFlow object needs to be recomputed. So, a better solution would be to cache the simulation on disk.
Caching with tyFlow is pretty easy. In each tyFlow object add an Export Particles operator, choose the Export type, in this case I’m using tyCache, set the Frame range to export depending on how much of the simulation needs to be rendered, and the Output path, where tyFlow will save the cache files.
Then click on the Generate tyCache files button at the bottom.
Once the cache is ready we can use a tyCache object to read the cache files from disk.
There’s also an option to automatically create the tyCache object in the Export Particles operator, right under the Generate button.
The meshes generated for the snow accumulation are instead exported as Corona Proxy.
Setting up the Snow shader
Snow can be a little bit tricky to create. So, let’s see how we can achieve a realistic result.
I’m gonna work on a separate project, and focus only on the snow shader, we can apply it to the scene once it’s ready.
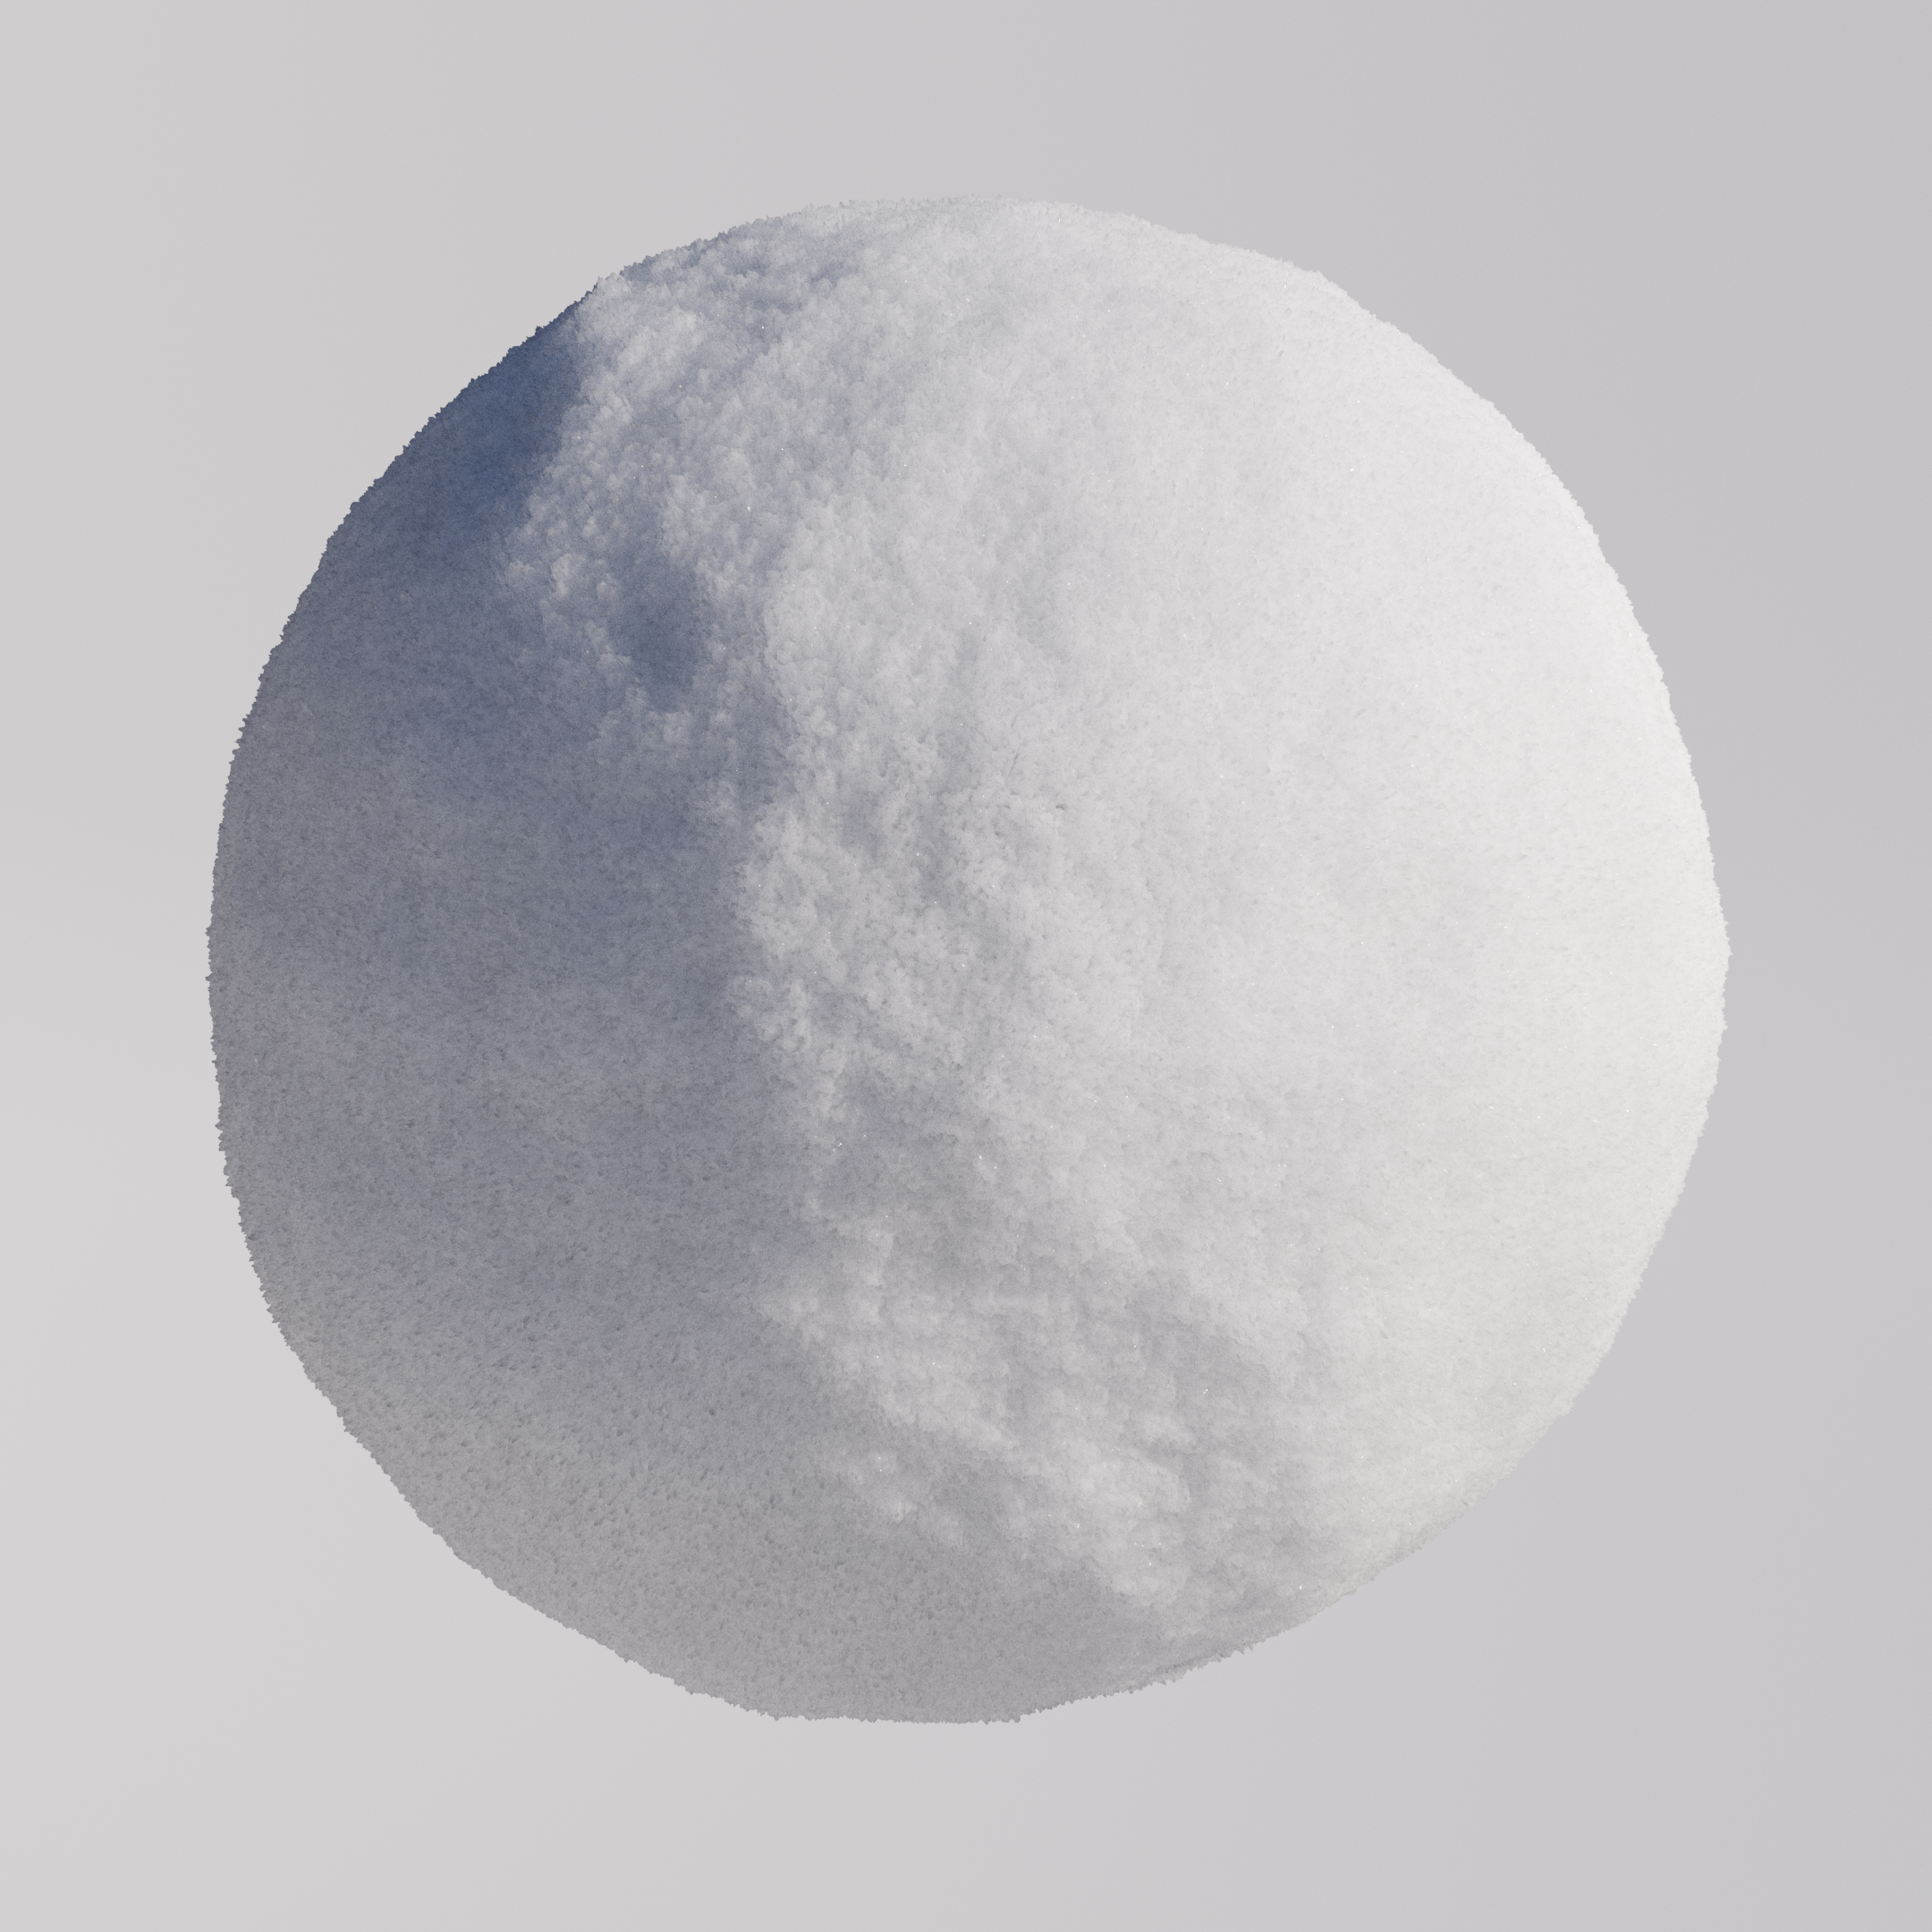
The scene I’ve set up has a GeoSphere with a Noise modifier, to get some randomness on the geometry, and an HDRI map to light the environment.
Base shader setup
Let’s jump right into the Material Editor! I’m working with Corona Renderer 7, so, create a CoronaPhysicalMtl, rename it to “Snow Mtl”, then apply it to the sphere in the scene.
For the Base color, create a CoronaColor node (so it’s easy to reuse this color somewhere else), and in this case I’m using a Value of 200. We don’t want glossy reflections, so keep the Glossiness to a low value, below 0.2 should be fine, or if you’re using Roughness, keep it above 0.8. The result is a white rough sphere.
Large/Medium surface details
Now we need to add the surface details, like some bumpiness, and the effect of the small flakes that make up the snowball.
It’s better to separate these details between large/medium and small. The easiest way to generate the information we want is by using displacement textures. For this example I’m using two texture maps from Substance Designer, specifically, the Cloud 02, to create the large/medium details, and the Fractal Sum 1, to create the small details.
The two textures are imported in 3ds Max with a CoronaBitmap node. Now, connect the medium details texture to the Displace input of the Corona shader. Since I don’t have UVs on the geometry I’m using the CoronaTriplanar to project the texture. To control the amount of displacement adjust the values under the Displacement section of the CoronaPhysicalMtl. The values you choose depend on the size of the geometry you’re working on. For example, right now I’ve set the two values to -1.5 e 1.5.
Small surface details
The small details are done in the same way. To merge the two textures together we can use a CoronaMix node, set to Multiply, or Overlay. The CoronaMix is then connected to the shader.
I want to control the size of the second texture separately, so I’ll add another CoronaTriplanar before connecting the texture to the CoronaMix. This one has to be smaller to reach a good result in simulating the flakes. We also need to add something to control the displacement of the small details, since we only have one parameter in the shader that controls the height of the displacement. So, let’s add a CoronaColorCorrect node right after the CoronaBitmap with the small details. I tend to use Curves to adjust textures, but you’re free to use the method you prefer. Enable the Curve Editor of the CoronaColorCorrect and slightly reduce the range of the darkest and brightest pixels, in this way we can avoid huge spikes in the flakes.
SubSurface Scattering
Right now the surface is reflecting most of the light, but we want some of it to scatter inside the geometry, and give the impression that the light is being refracted by the small flakes inside the volume.
In the CoronaPhysicalMtl under the Subsurface Scattering section, enable it by increasing the Amount value to 1. As before, I’ll use a CoronaColor to set the color for the scattering, for now let’s just input a simple white color. With the Radius value we specify how deep in the geometry the color can go. The radius will of course be influenced by the size of the object. You can take a look at the images below.
The Scatter color can also be used to simulate the compacted ice inside the snowball, by setting a color with a slight blue tint.
Specular Highlights
The last missing step is to set up the specular highlights that generate the glitter effect when the sun hits the surface of the snow.
We can do it by using the Clearcoat options available in the CoronaPhysicalMtl. The glitter effect has to be visible only on the high peaks of the flakes, not everywhere. An easy way to control it is to use the same texture from the small details, and with a CoronaColorCorrect adjust it so only the brightest pixels are carried through. This map is then connected to the Clearcoat amount. The Roughness value can be kept quite low, like 0.1, and we can also change the IOR to 1.3, so it’s the same as water.
And down here you can see a short lookdev turntable of the snow shader. To get a better look at the shader details you can stop the video and scroll manually through the timeline.
All right, now that the shader is done, we can apply it to the snow meshes of the other project. Down here there are a few test renderings of the scene, with close up shots to better see the snow shader.
If you want to try the snow shader right away download the package down here with everything already set up, with custom textures made by Roberto in Substance Designer! The minimum requirements to open the scene are 3ds Max 2018 and Corona Renderer 7. The texture used for the lighting is available on Poly Haven.
This article has been long enough, but I hope it was full of interesting information. Now that you know how to make and render snow, it’s time to go outside and jump right into a snowdrift. There’s no better way to learn about the real world than by experiencing it!
See you next time!
Enrico