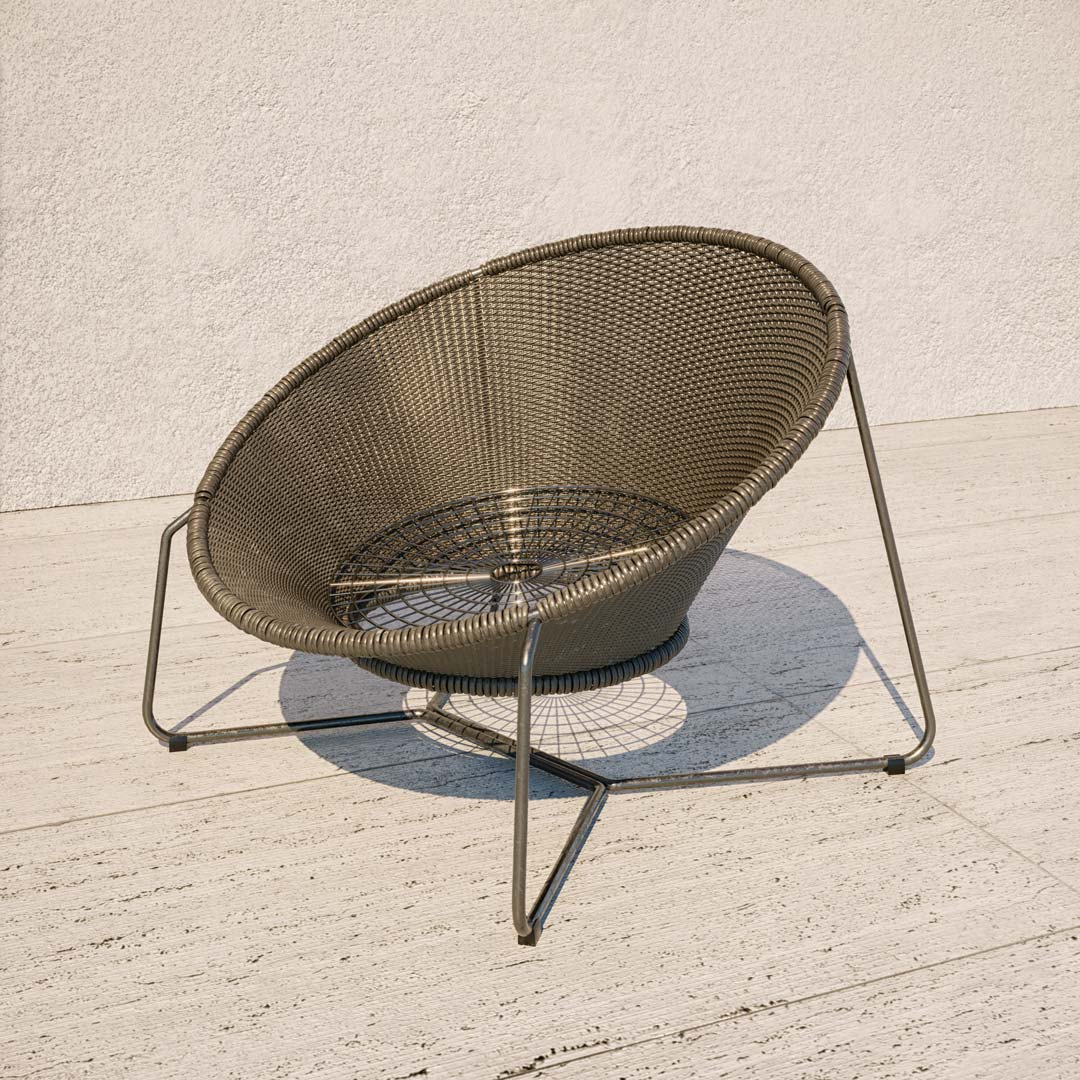
We present a short tutorial on the Morocco Oval Lounge Chair. Few minutes and some important steps to get a great result.
Quick Tutorial: Morocco Oval Lounge Chair
Time: 15 minutes
Plug-ins used:
Railclone
Vu_CaneBasket Script
Modifiers used:
Spline+editable spline
Sweep
Symmetry
Turbosmooth
Renderer: Corona Renderer 2.0
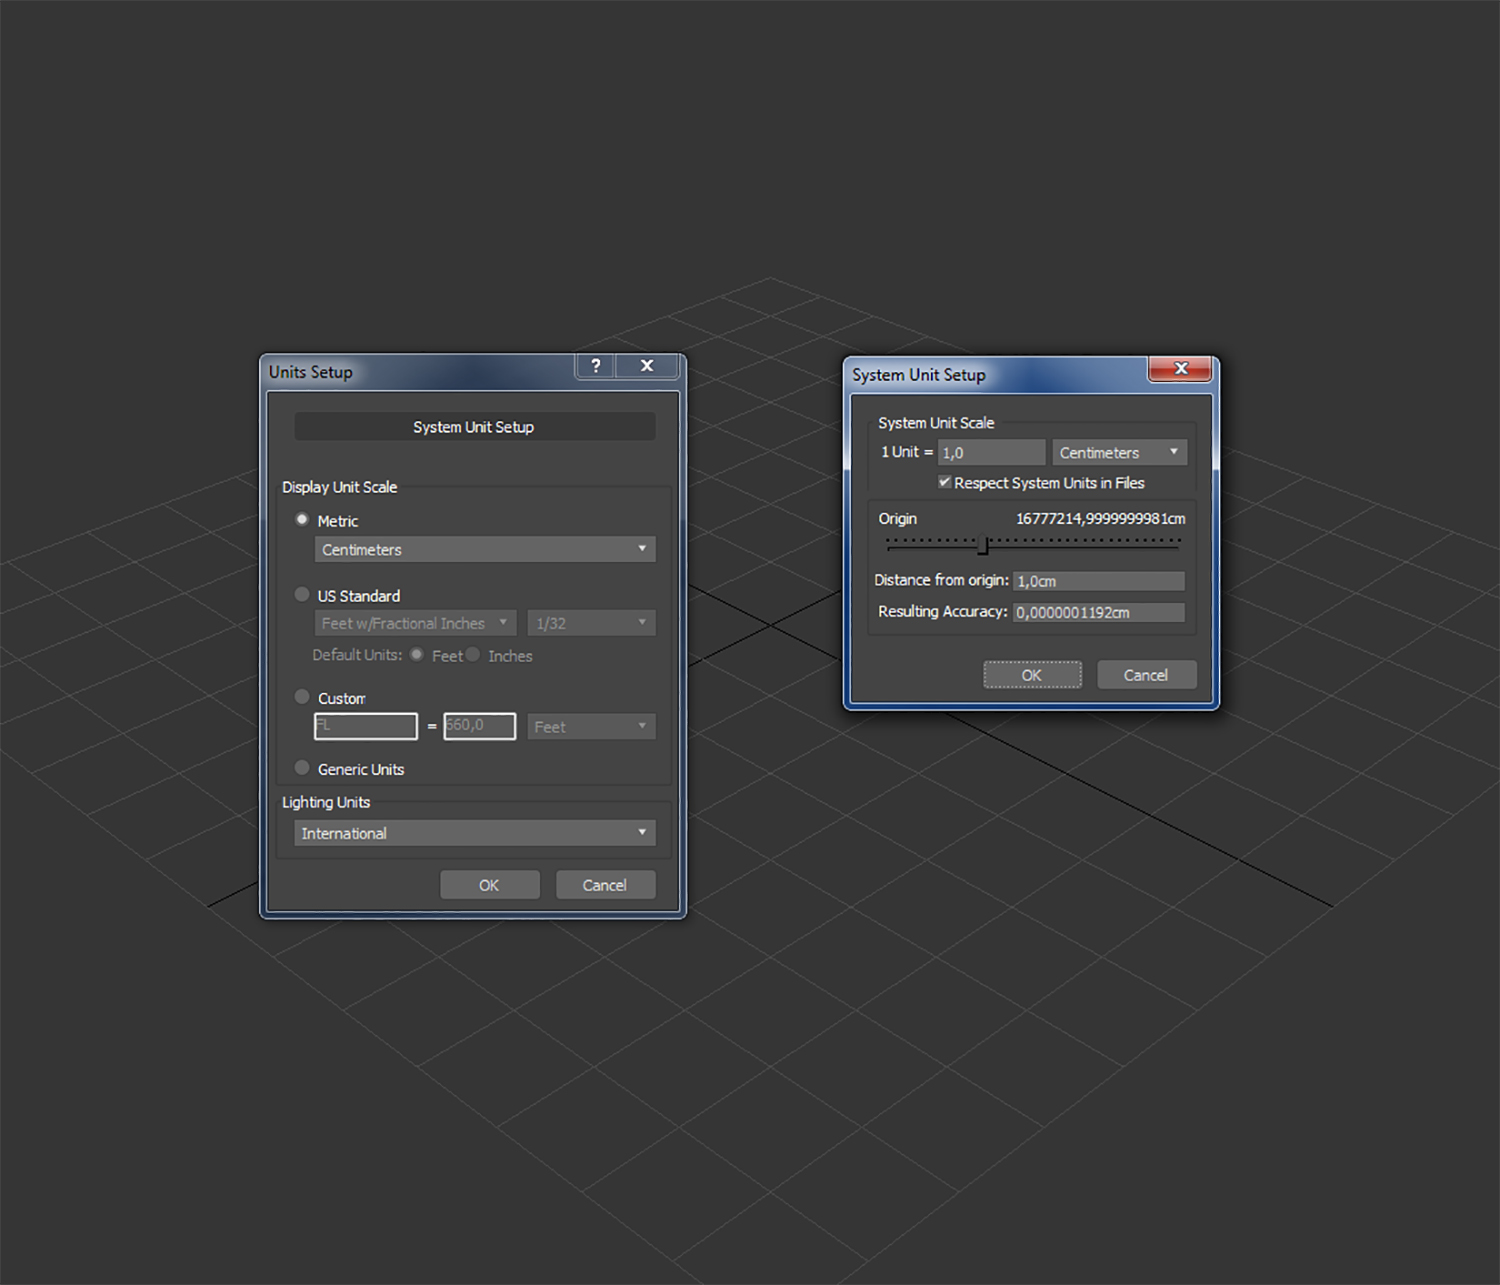
Before starting with this project, remember that its scale in 3dsMax is important, in particular for the modelling of details. In this case, since the elements that make up the chair are pretty simple, I used a scale in centimetres. In general consider that for any project, you have to choose its appropriate scale, which hasn’t to generate too big coordinates and dimensions of the elements. In fact, Max works better when dealing with numbers with a small order of magnitude.
System Unit Setup
Legs and structure of the chair
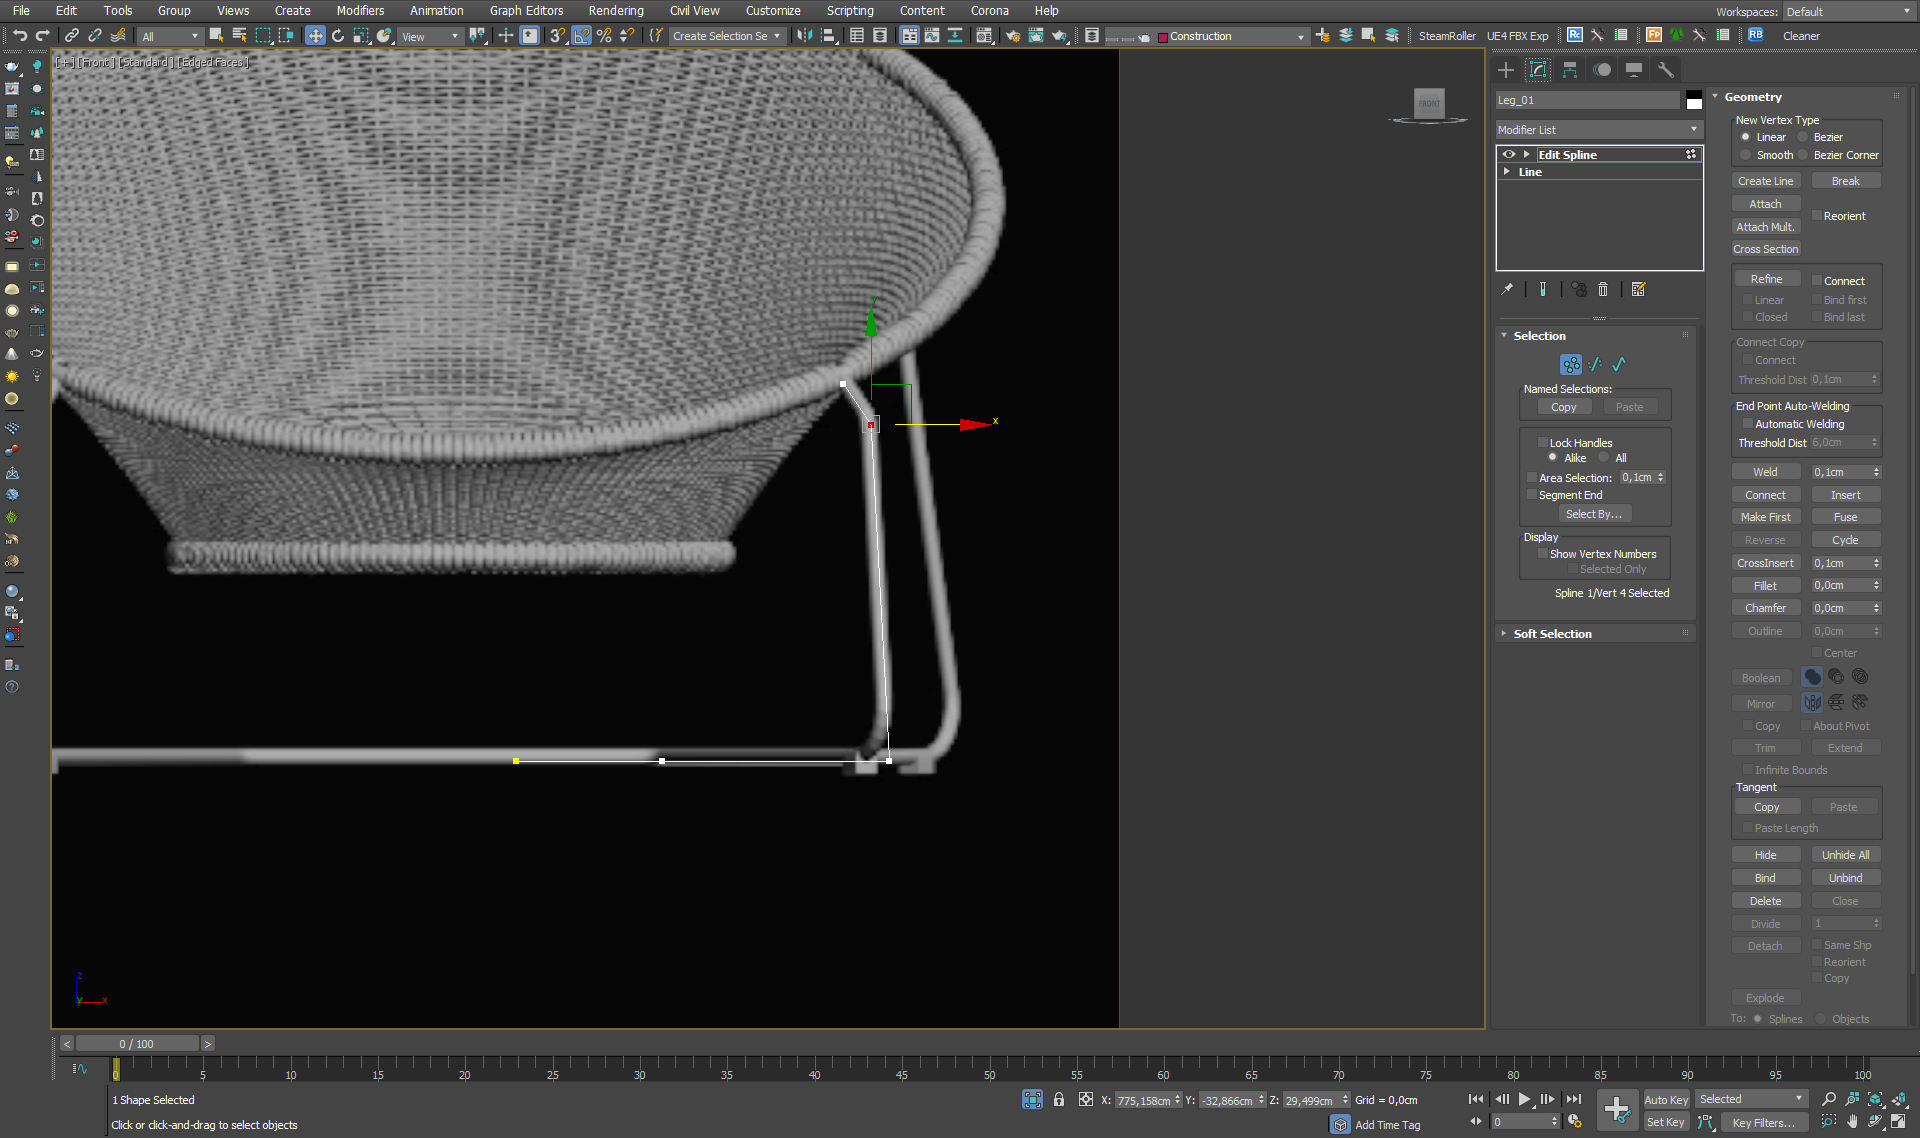
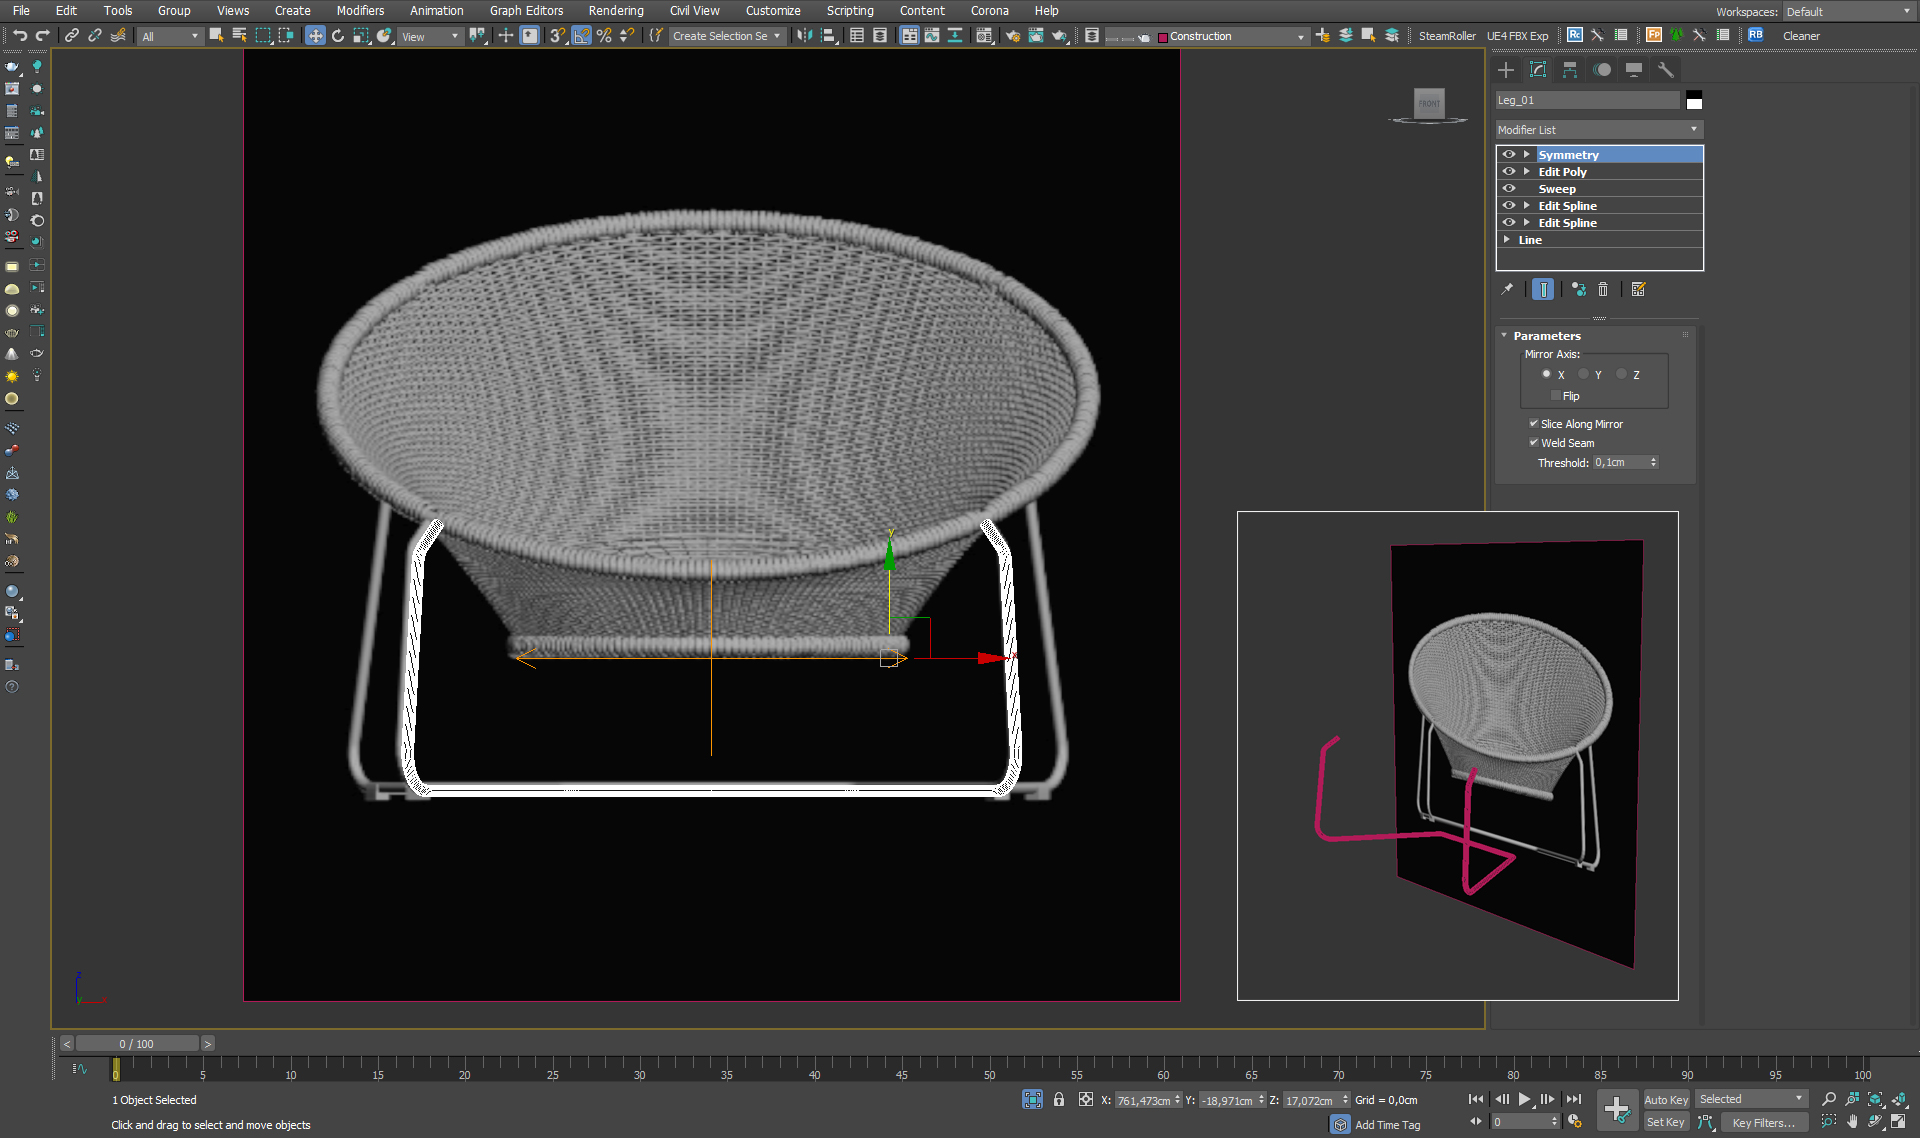
The legs and the structure of the chair have been created from simple splines, to which I applied a sweep modifier with cylindrical section. To make it accurate I used a couple of orthogonal views that I had found on the website of the company that produces this chair. The top and bottom metal rings are splines with sweep applied while the superstructure of the seat is made from the underside of a cylinder converted in a spline and then finished with a sweep.
Blueprint image overlapping the spline
At the corners of the spline I used the fillet in an edit spline modifier placed exactly above the editable spline modifier. Then, once finished the entire outline, I used a Symmetry to mirror the leg in the opposite direction. I did the same for the back leg and its opposite.
Now let’s see the intertwined part.
Spline with fillet applied
Tutorial: Morocco Oval Lounge Chair
Intertwined part
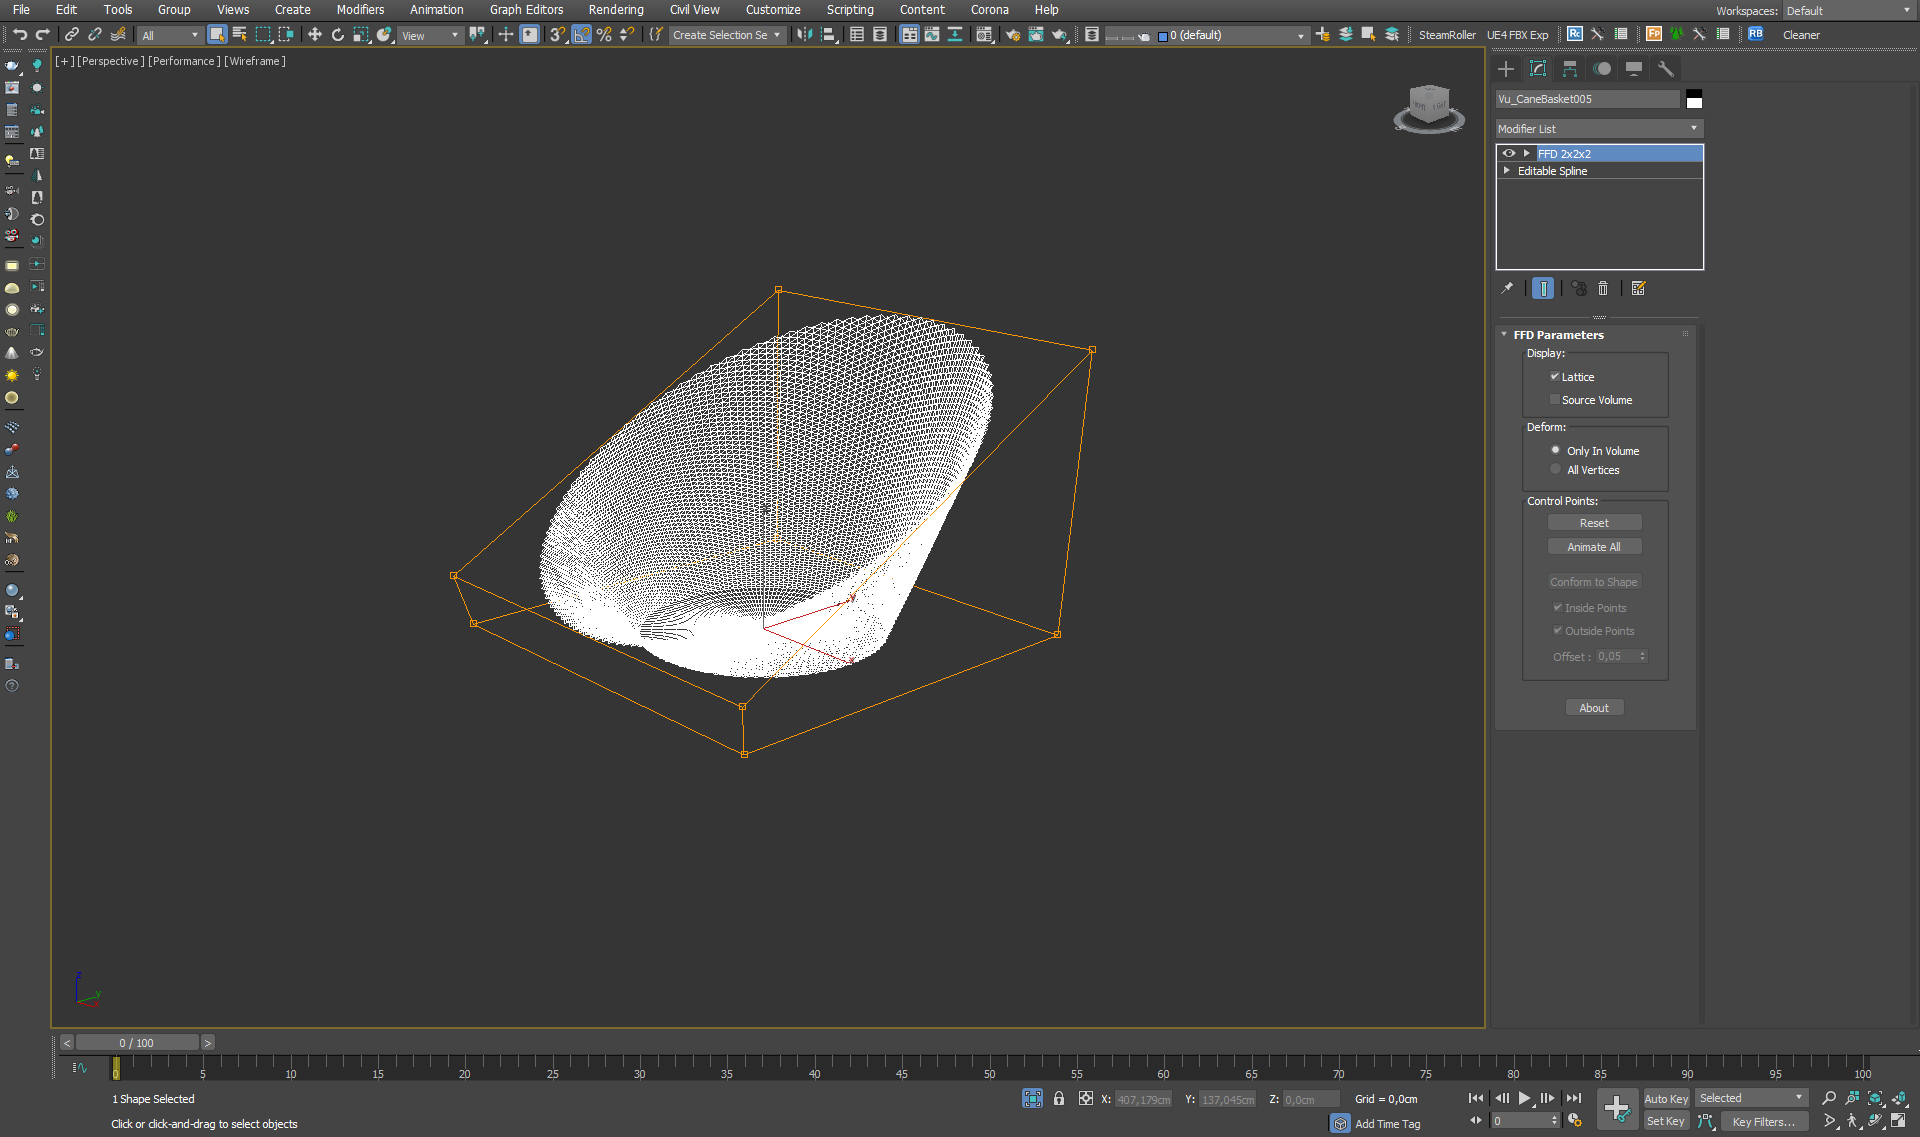
For the intertwined part I used 2 plug-ins, Railclone and Vu can basket. Vu can basket is a free script that thanks to an easy interface, lets you create braided baskets. Being it a parametric modelling tool, you’ll see in real time what each of the parameters in the viewport modifies.
The next step was to convert the geometry in editable spline and then modify the development of the side area in upside-down cone. To do it, I used a FFD 2x2x2, scaled and moved the top points. To the spline object I applied a sweep to create the thickness of the braided twine and then a turbosmooth to soften their outline. NB: before going on, it’s better to separate the upper braided part from the bottom of the basket so you can handle them separately.
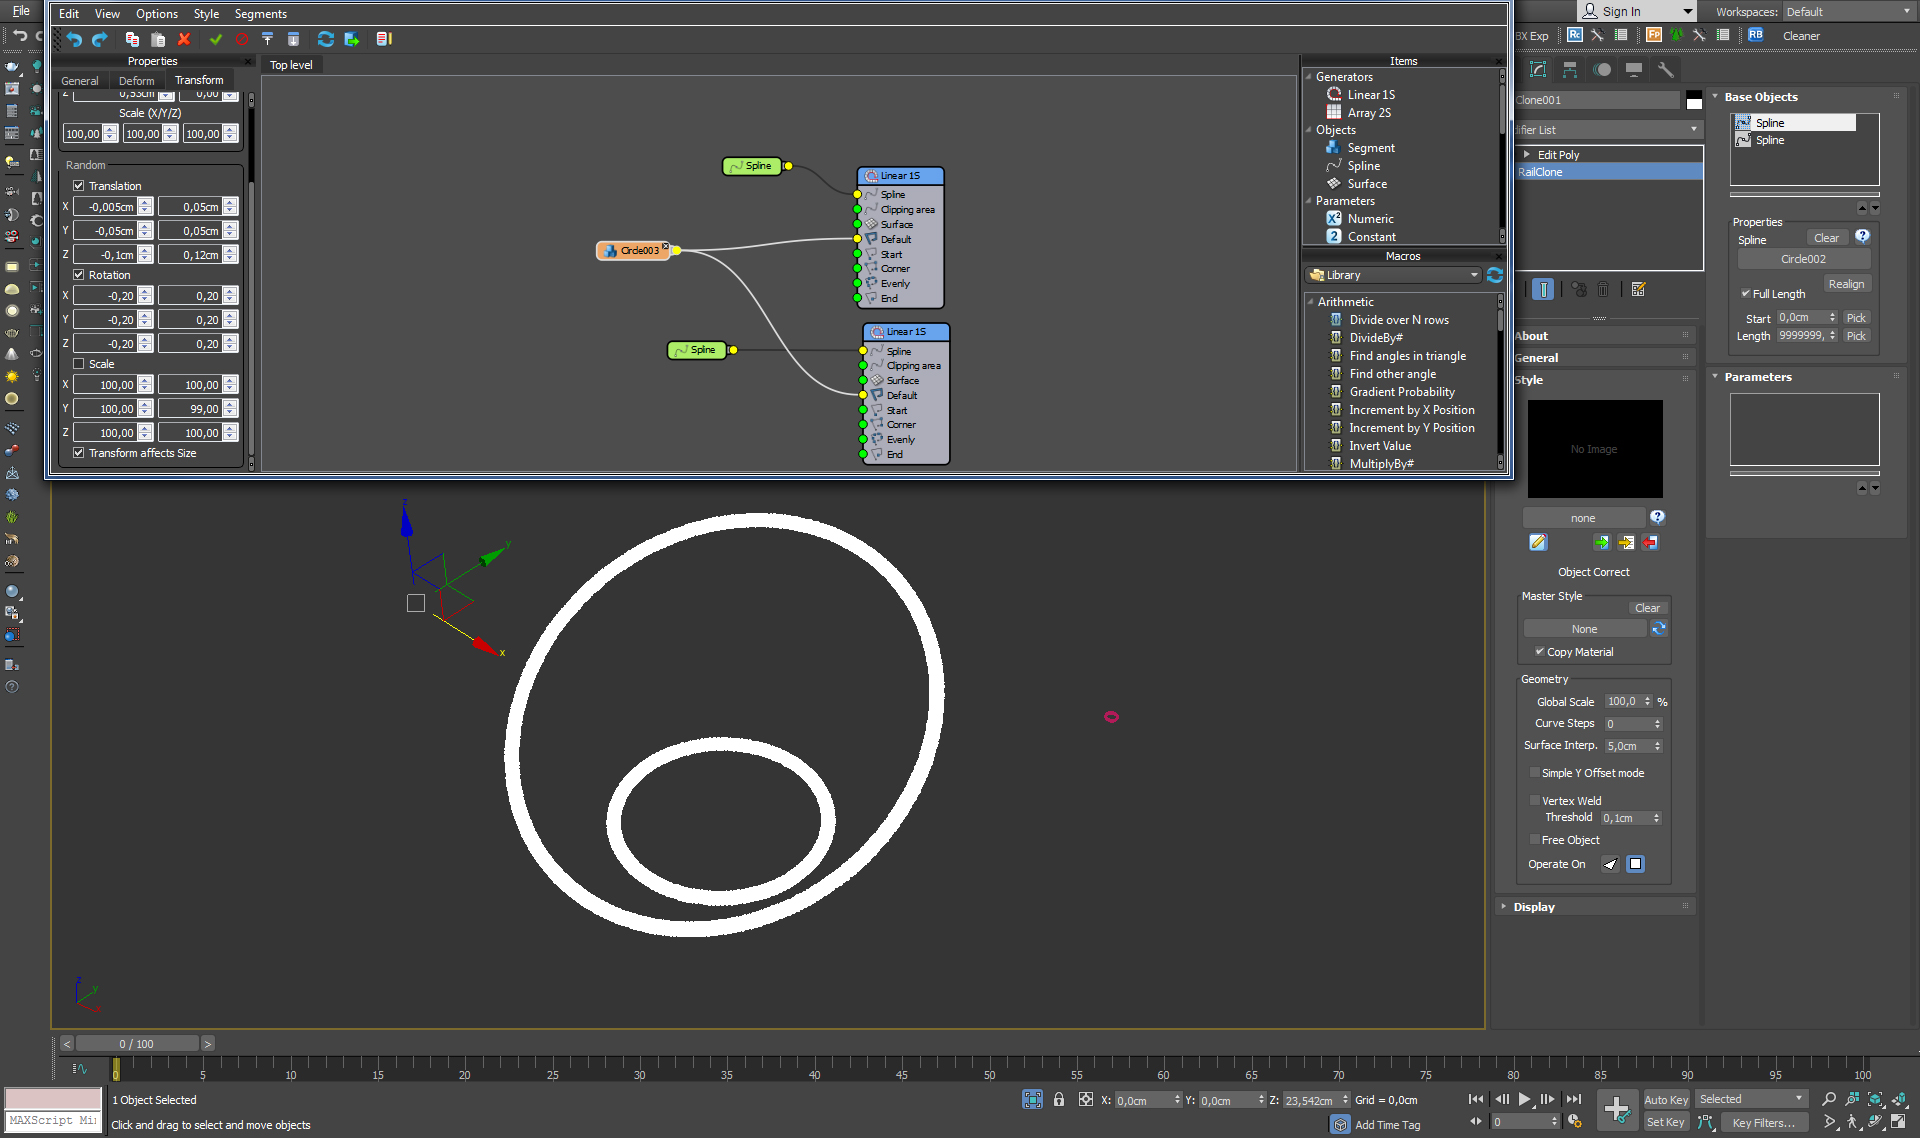
The connection to the metal structure was made with some Railclone linear 1s. First I made two tilted circles identical to the ones made for the metal structure. Then I copied through these elements a small circle working as connection. To increase the geometry realism, I used random variations in translation and rotation, as you can see from the settings.
Rendering
For the final scene I used the triplanar map in all Corona materials to apply the texture correctly without unwrapping.
Keep following our blog for new tutorials and useful information on the Arch-Viz world. Thanks for the attention.