With 3ds Max 2020 we got many improvements in the Chamfer Modifier, widely used in ArchViz to add realism and details to 3d models.
In this article we’ll focus on the parameters available.
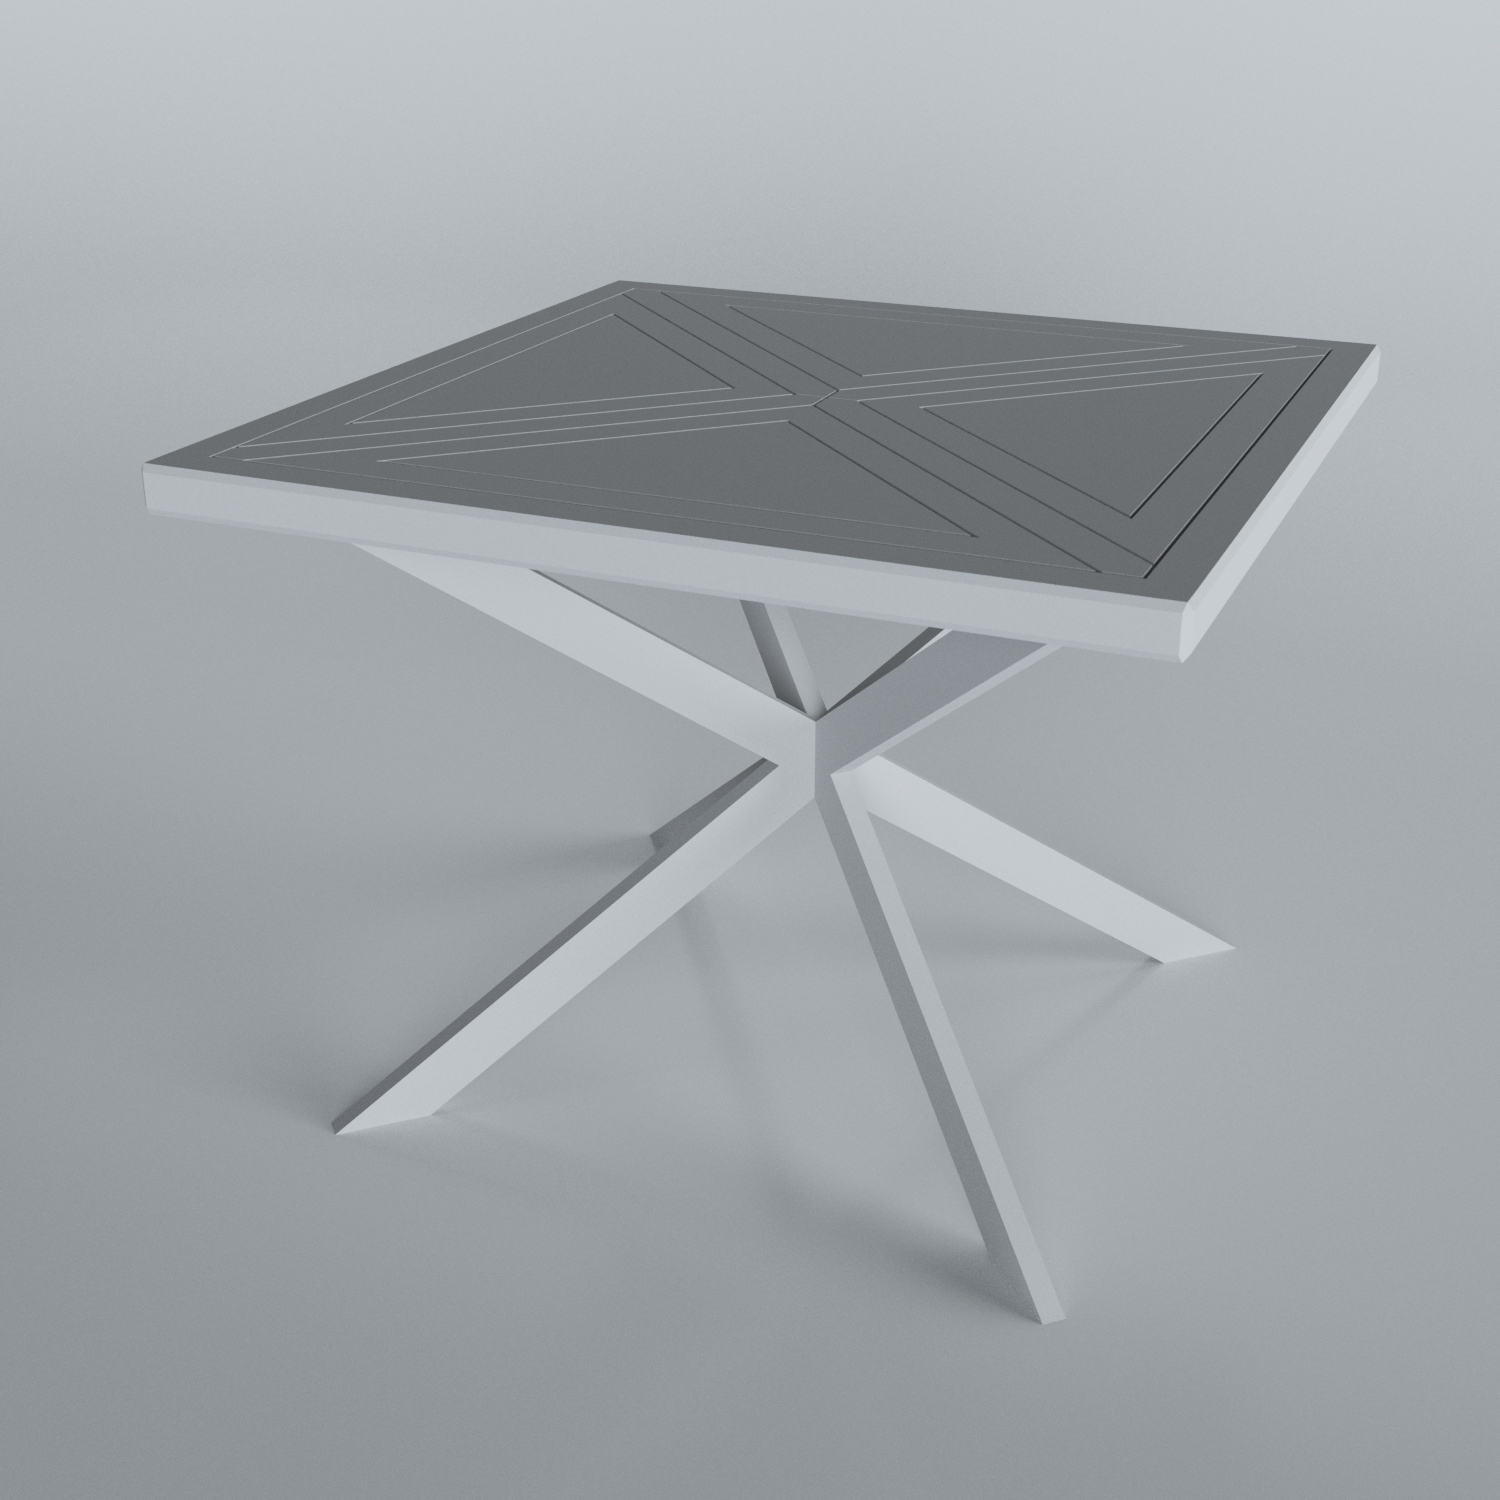
We’ll use the model of this table to see how the chamfer modifier can increase its quality:
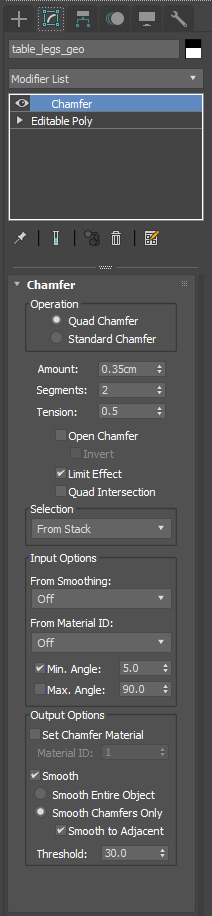
First let’s take a look at how the interface of the Chamfer Modifier has changed between Max 2018 and 2020:
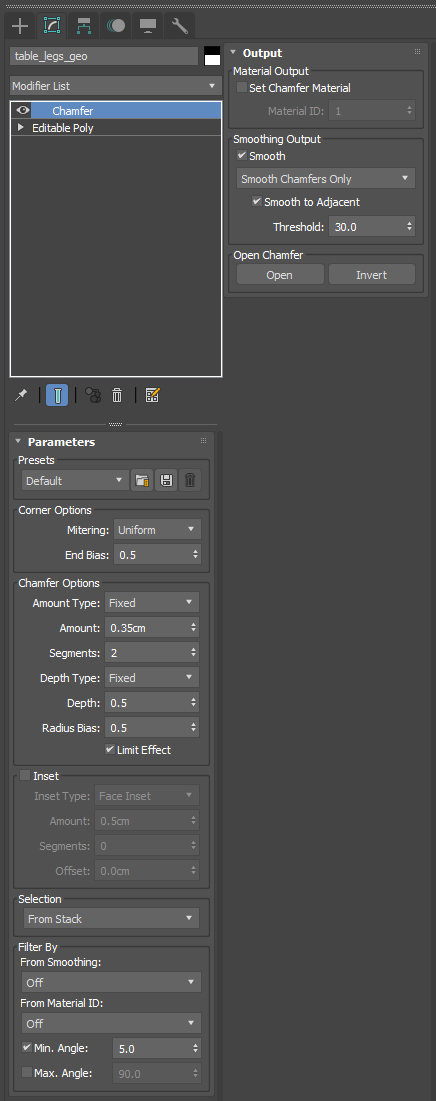
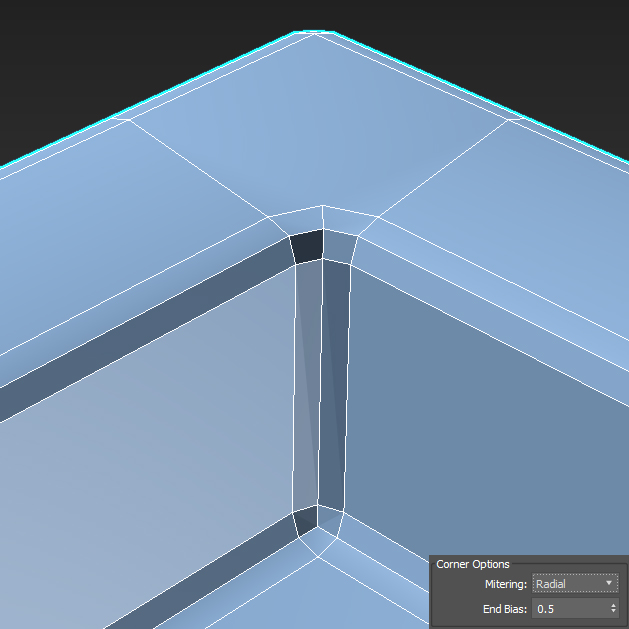
From now on we’ll focus on the 2020 version. Under the Corner Options we can decide the type of Mitering, so how the chamfer will be created on the edges:
Tri: replicates the ‘Standard’ option in previous versions.
Quad: creates quadrilateral polygons for each chamfered edge.
Uniform: creates a uniform corner with quadrilateral intersections. Notice that with this option we can keep a quad topology on the mesh.
Patch (new): creates a patch corner with quadrilateral intersections, it can provide higher resolution results and remove artifacts.
Radial (new): creates a corner similar to Patch, but it produces an arc in the corners to avoid connecting bevel edge vertices to non-bevel edge vertices.
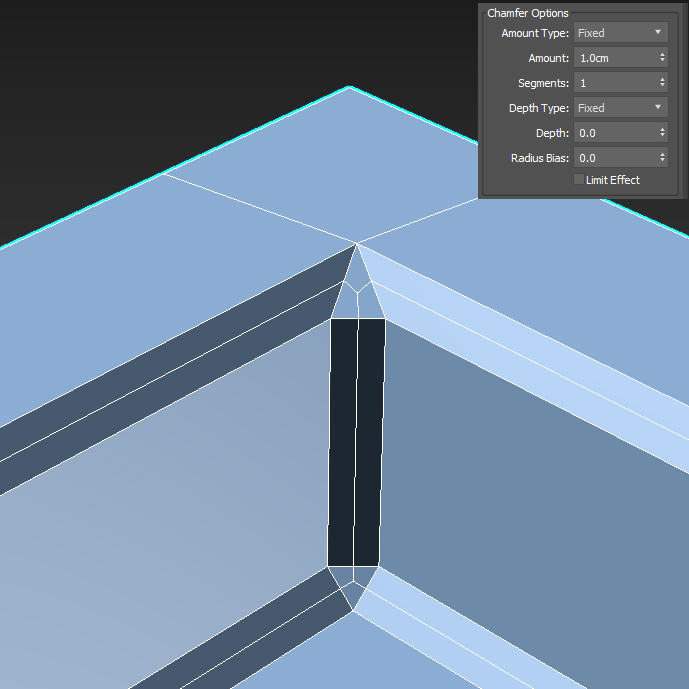
For this example we keep the metering to Uniform and move to Chamfer Options.
Set the Amount Type & Depth Type to Fixed for now, in this way all the edges will be chamfered equally:
Amount: same parameter as previous versions, it’s the width of the chamfer
Segments: sets the number of segments within the chamfer, helpful to increase the resolution of the chamfer
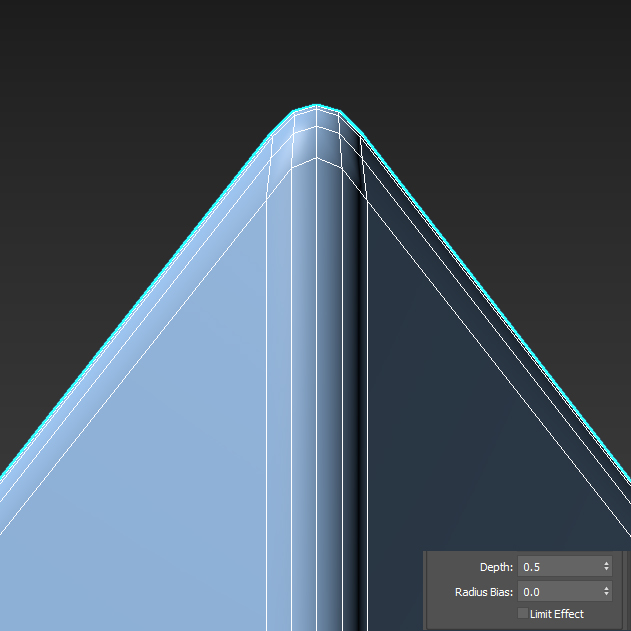
Depth: this is the old Tension parameter in previous versions. It controls the depth of the chamfer:
1.0 → sharp corner
0.0 → flat surface
0.5 → curved chamfer
-0.5 → concave curved chamfer (on convex edges)
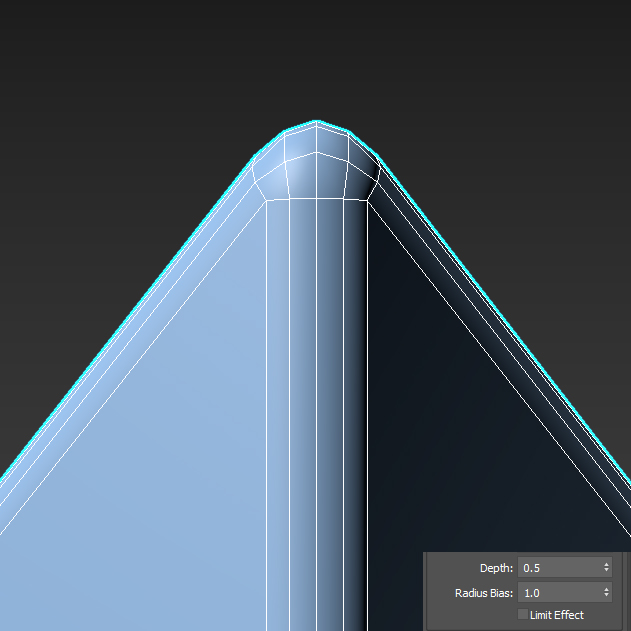
Radius Bias (new): Controls the radius of chamfered corners, maintaining a more spherical shape in cases of sharp angles.
Observe in the images below how the Depth value can affect the chamfer:
and here observe how the Radius Bias will affect the output, mainly on the tip of this pyramid:
There’s new setting option, Inset, it work similar to the inset option inside the Edit Poly modifier, it allows to create a face inset along the edges of the chamfer. The two options Face Inset and Face Loop will create the same output. With Face Loop though we can obtain a cleaner geometry in terms of topology.
The rest of the settings Selection, Filter by and Smoothing Output haven’t changed from previous versions.
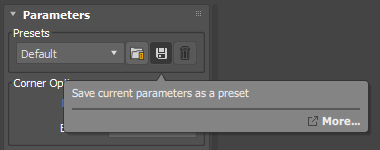
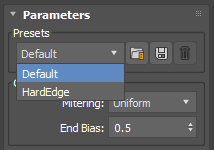
Once you set all the parameters of the modifier you also have the possibility to save them as a Preset. Just click on the Save current parameters as a preset button and choose a name. Now every time you need to recreate the same result you can just select the preset from the list.
And here we can see the results with and without the Chamfer Modifier applied to the table:
Make sure to download this asset and try it out by yourself, remember you’ll need 3ds Max 2020 update 3 to have access to all the new parameters.