Hello everyone!
In this article we’re gonna look at the retopology tools available in 3ds Max. It’s not something completely new, but definitely very useful to speed up the modeling phase.
Introduction
The Retopology tools have been available since 3ds Max 2021, they’re not integrated in the software, but it’s an external package to download separately (within 3dsMax). This makes it also possible to get quicker updates for bug fixes and improved features.
Once installed, you’ll find the Retopology modifier in the modifiers list. It can be applied to any Editable Poly object. If you apply it to a Spline object, it will automatically convert it to an Editable Poly.
We’ll look at the parameters in a bit, meanwhile, if you want to see it in action, just press the Compute button to retopologize the mesh.
Since it’s a non-destructive modifier you can always turn it on or off, and delete it, if you need to. You can also press the Reset button to reset the result of the retopology process (not the settings).
Preparing the geometry
3ds Max has additional modifiers that are quite useful when preparing the object for the retopology. Depending on the complexity of the geometry, you may need to use some of these modifiers to help the Retopology tool better understand how the object is made.
These modifier are:
- Subdivide, more on this later;
- Mesh Cleaner, particularly useful to check the mesh for possible errors, before moving to the retopology process;
- ProOptimize reduces the number of polygons before computing the retopology;
- Slice & Symmetry, useful to cut the mesh and work only a smaller part that can be mirrored once the retopology is done;
- Smooth recomputes the Smoothing Groups, before or after the retopology.
Retopology Process
Retopology can be used in various situations, from cleaning up an asset created with photogrammetry to remeshing a geometry downloaded online with a bad topology.
These retopology tools were also used in one of our previous articles about the 3ds Max 2022 Modeling Improvements. If you missed it, go check it out.
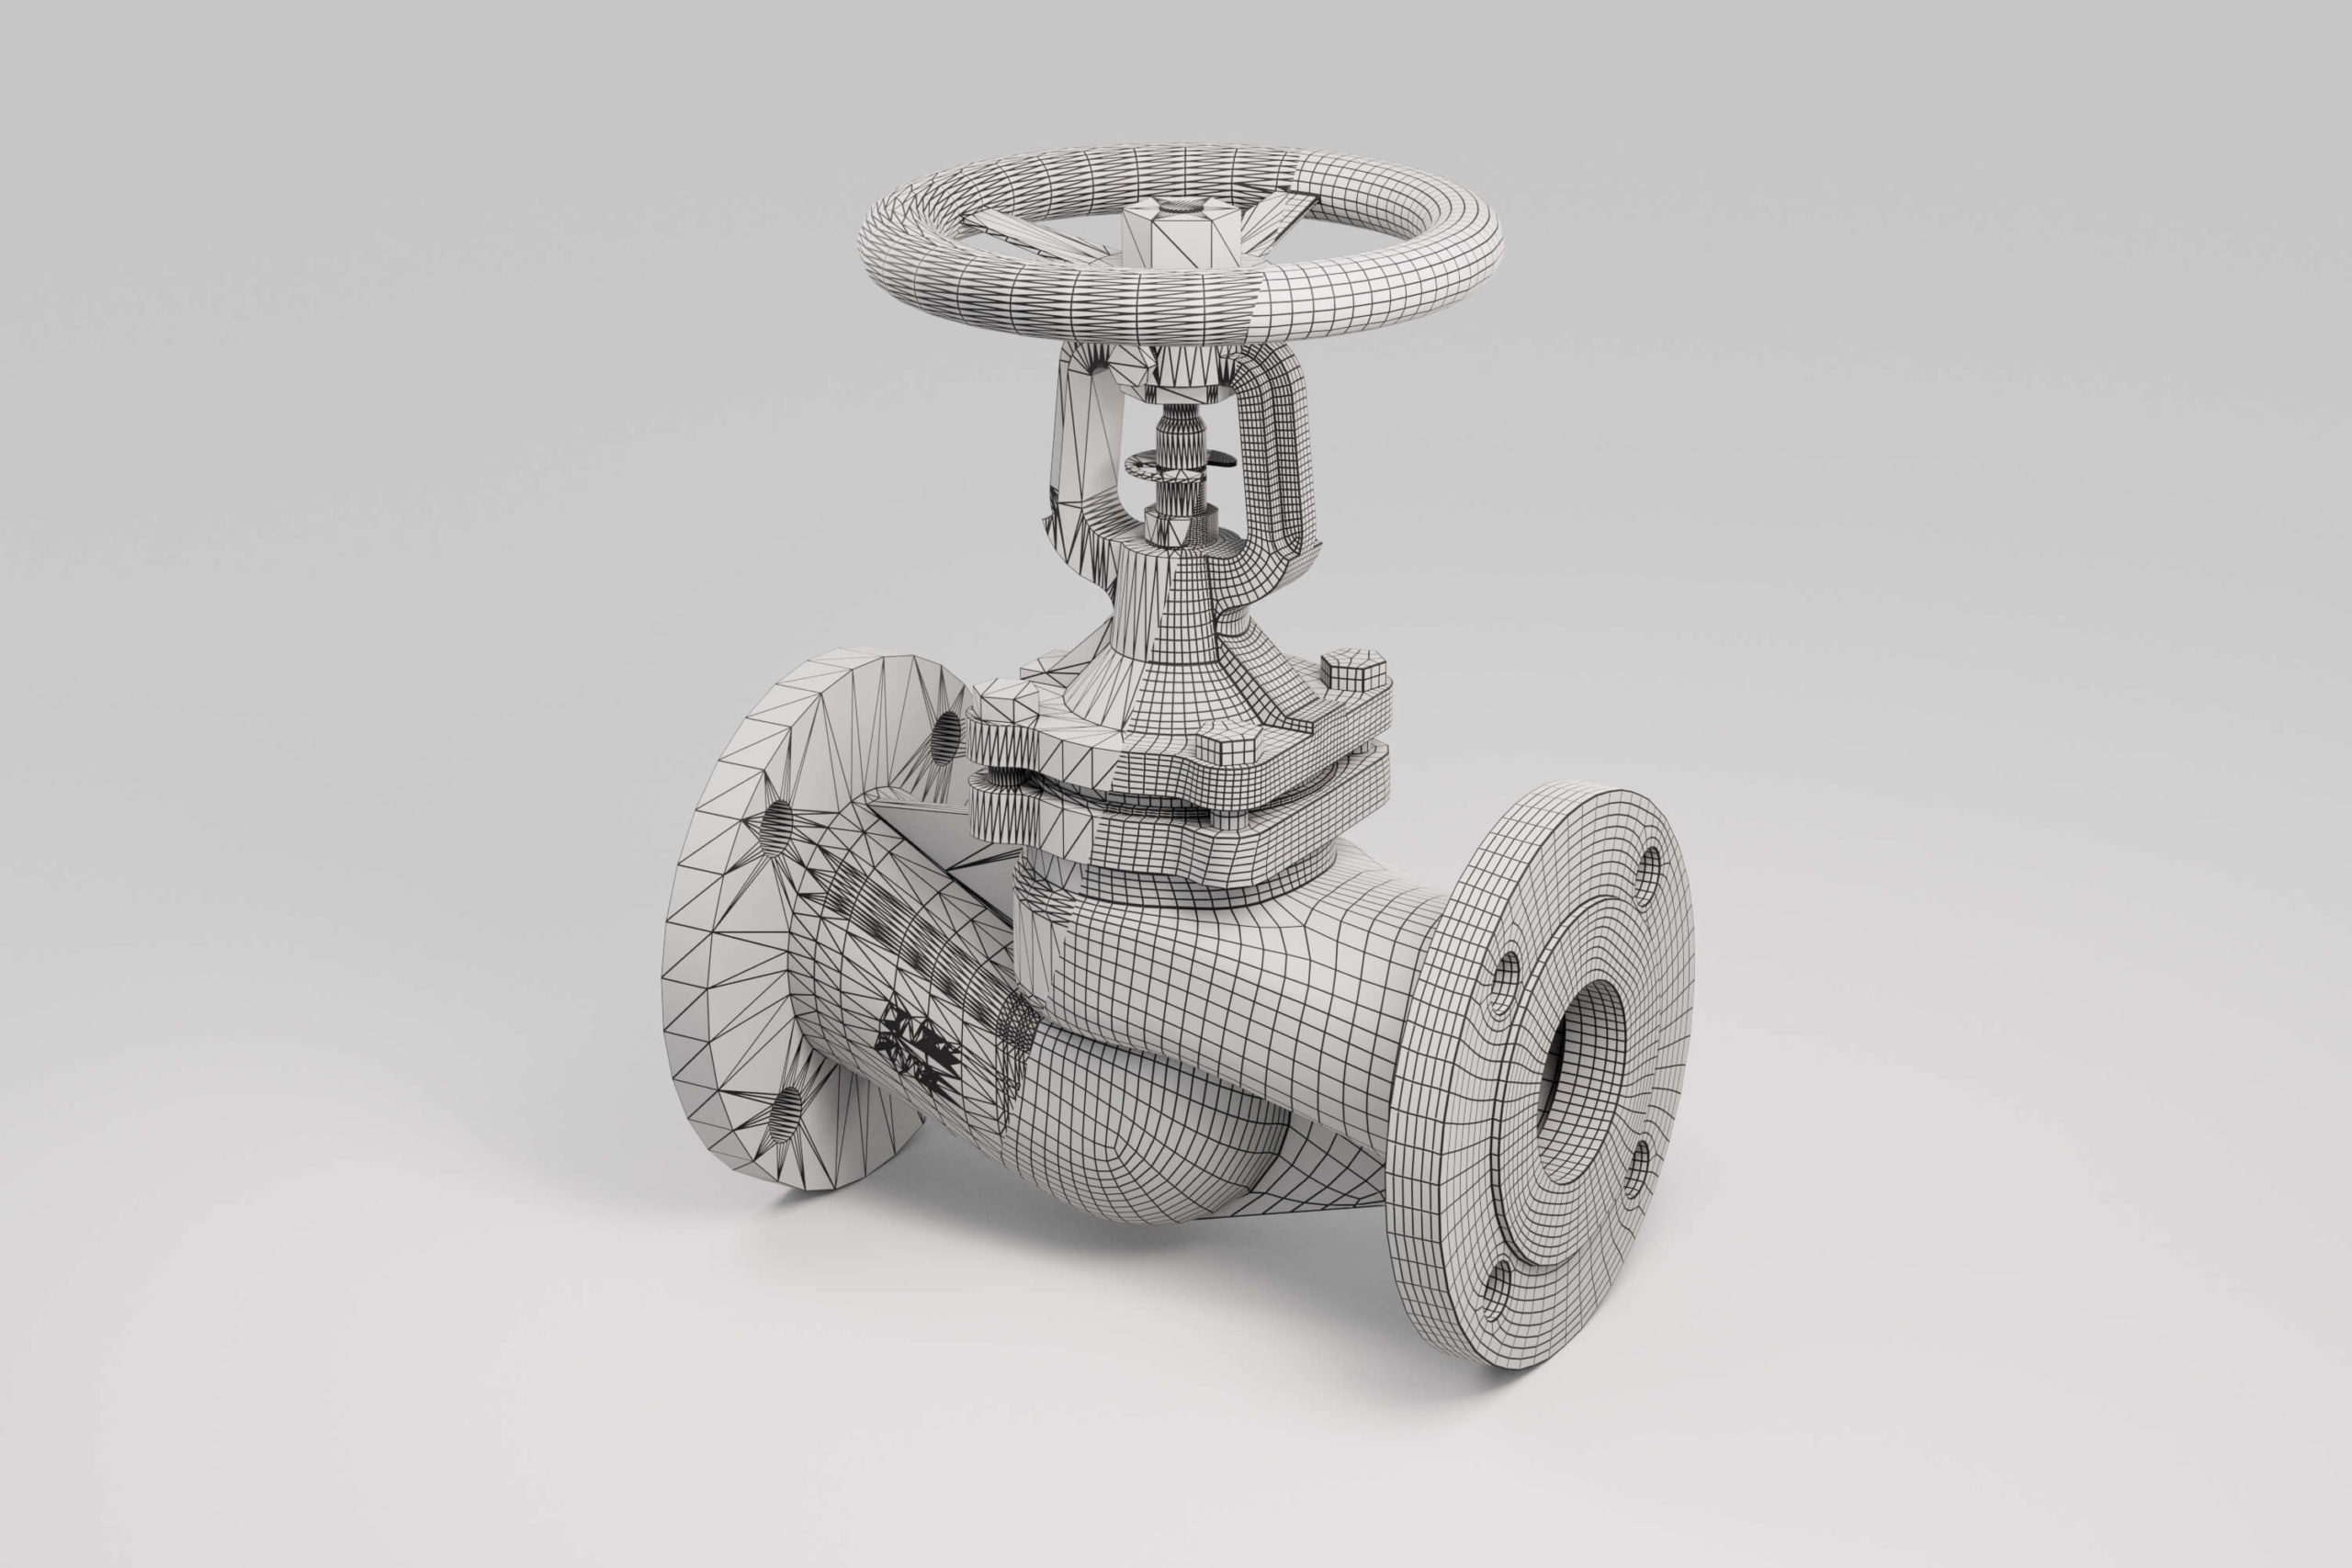
In this case, I’ll use it to remesh an asset coming from a CAD software, like SolidWorks. Most of the time this kind of geometries are imported in 3ds Max with a heavily triangulated topology, as you can see from the image below:

Although in some cases they can render fine, there are times where it would be better to have a cleaner topology, especially if you need to unwrap them, and to avoid shading artifacts during rendering.
Let’s see how the Retopology tools work!
Before jumping right into the retopology process, it’s better to prepare the mesh to simplify the work. In my case I’ve split the object into 7 different parts, so I can concentrate on one at a time, and help the Retopology modifier by giving it fewer polygons to work with.
All right, let’s start with the Handwheel by first isolating the object. Since this geometry is symmetric we can use the Slice modifier to remove part of the mesh, and use the retopology only on a quarter of it. I’m also applying a Welder modifier, set to Vertices and 0.01 as Threshold, just to make sure there aren’t double vertices.
Now let’s add a Subdivide modifier to create a more useful topology for the Retopology modifier.
The Subdivide modifier has multiple modes you can choose from:
- Subdivide, it is considered a legacy solver and has limited settings;
- Delaunay, creates a relatively uniform mesh, with control on preserving mesh data like UVs and sharp edges, and an option to relax unconstrained surfaces (to get a more relaxed topology);
- Adaptive, similar to the previous two, but less dependent upon the input mesh (the re-meshing process is not constrained too much by the original topology);
- Variable curvature, similar results to the Adaptive, with greater refinement in areas with high surface curvature (like sharp corners). The Variable Density parameter controls the amount of refinement in those areas.
All the subdivide modes have a parameter called Size, for the Subdivide and Delaunay modes, and Edge length, for the >Adaptive and Variable curvature, that controls the target dimension of the elements: the Size parameter in this case specifies the face length, instead of the edge length. The bigger the number, the bigger the triangles generated by the modifier.
The goal of the Subdivide modifier is to re-mesh the geometry and remove all those long, thin triangulated faces that can complicate the retopology process.
In this case I’m using the Adaptive mode with a Edge length of 0.8 cm to get a relatively uniform result.
- Face count, sets the target amount of polygons for the output mesh;
- Quad tolerance, sets the tolerance for the deviation from the face count
- Subdivision factor, specifies if the retopology process uses subdivisions to output the mesh. Example: subdivisions set to 2 will process a quarter of the target face count, then subdivide the mesh after the retopology;
- Regularize, controls how much the quad polygons should try to reach roughly the same size;
- Anisotropy, controls the uniformity of the square-shaped polygons generated by the retopology;
- Adaptivity, controls how much the generated quad size can adapt to the curvature of the surface.
And you see how quickly it works when the source geometry is simple enough to still retain the details, but without overloading the algorithm with a huge amount of polygons.
Let’s use the Symmetry modifier to recreate the original geometry, then recompute the Smoothing Groups with a Smooth modifier. Just to make sure that there aren’t any duplicated vertices, I’m going to apply a Welder modifier on top of everything.
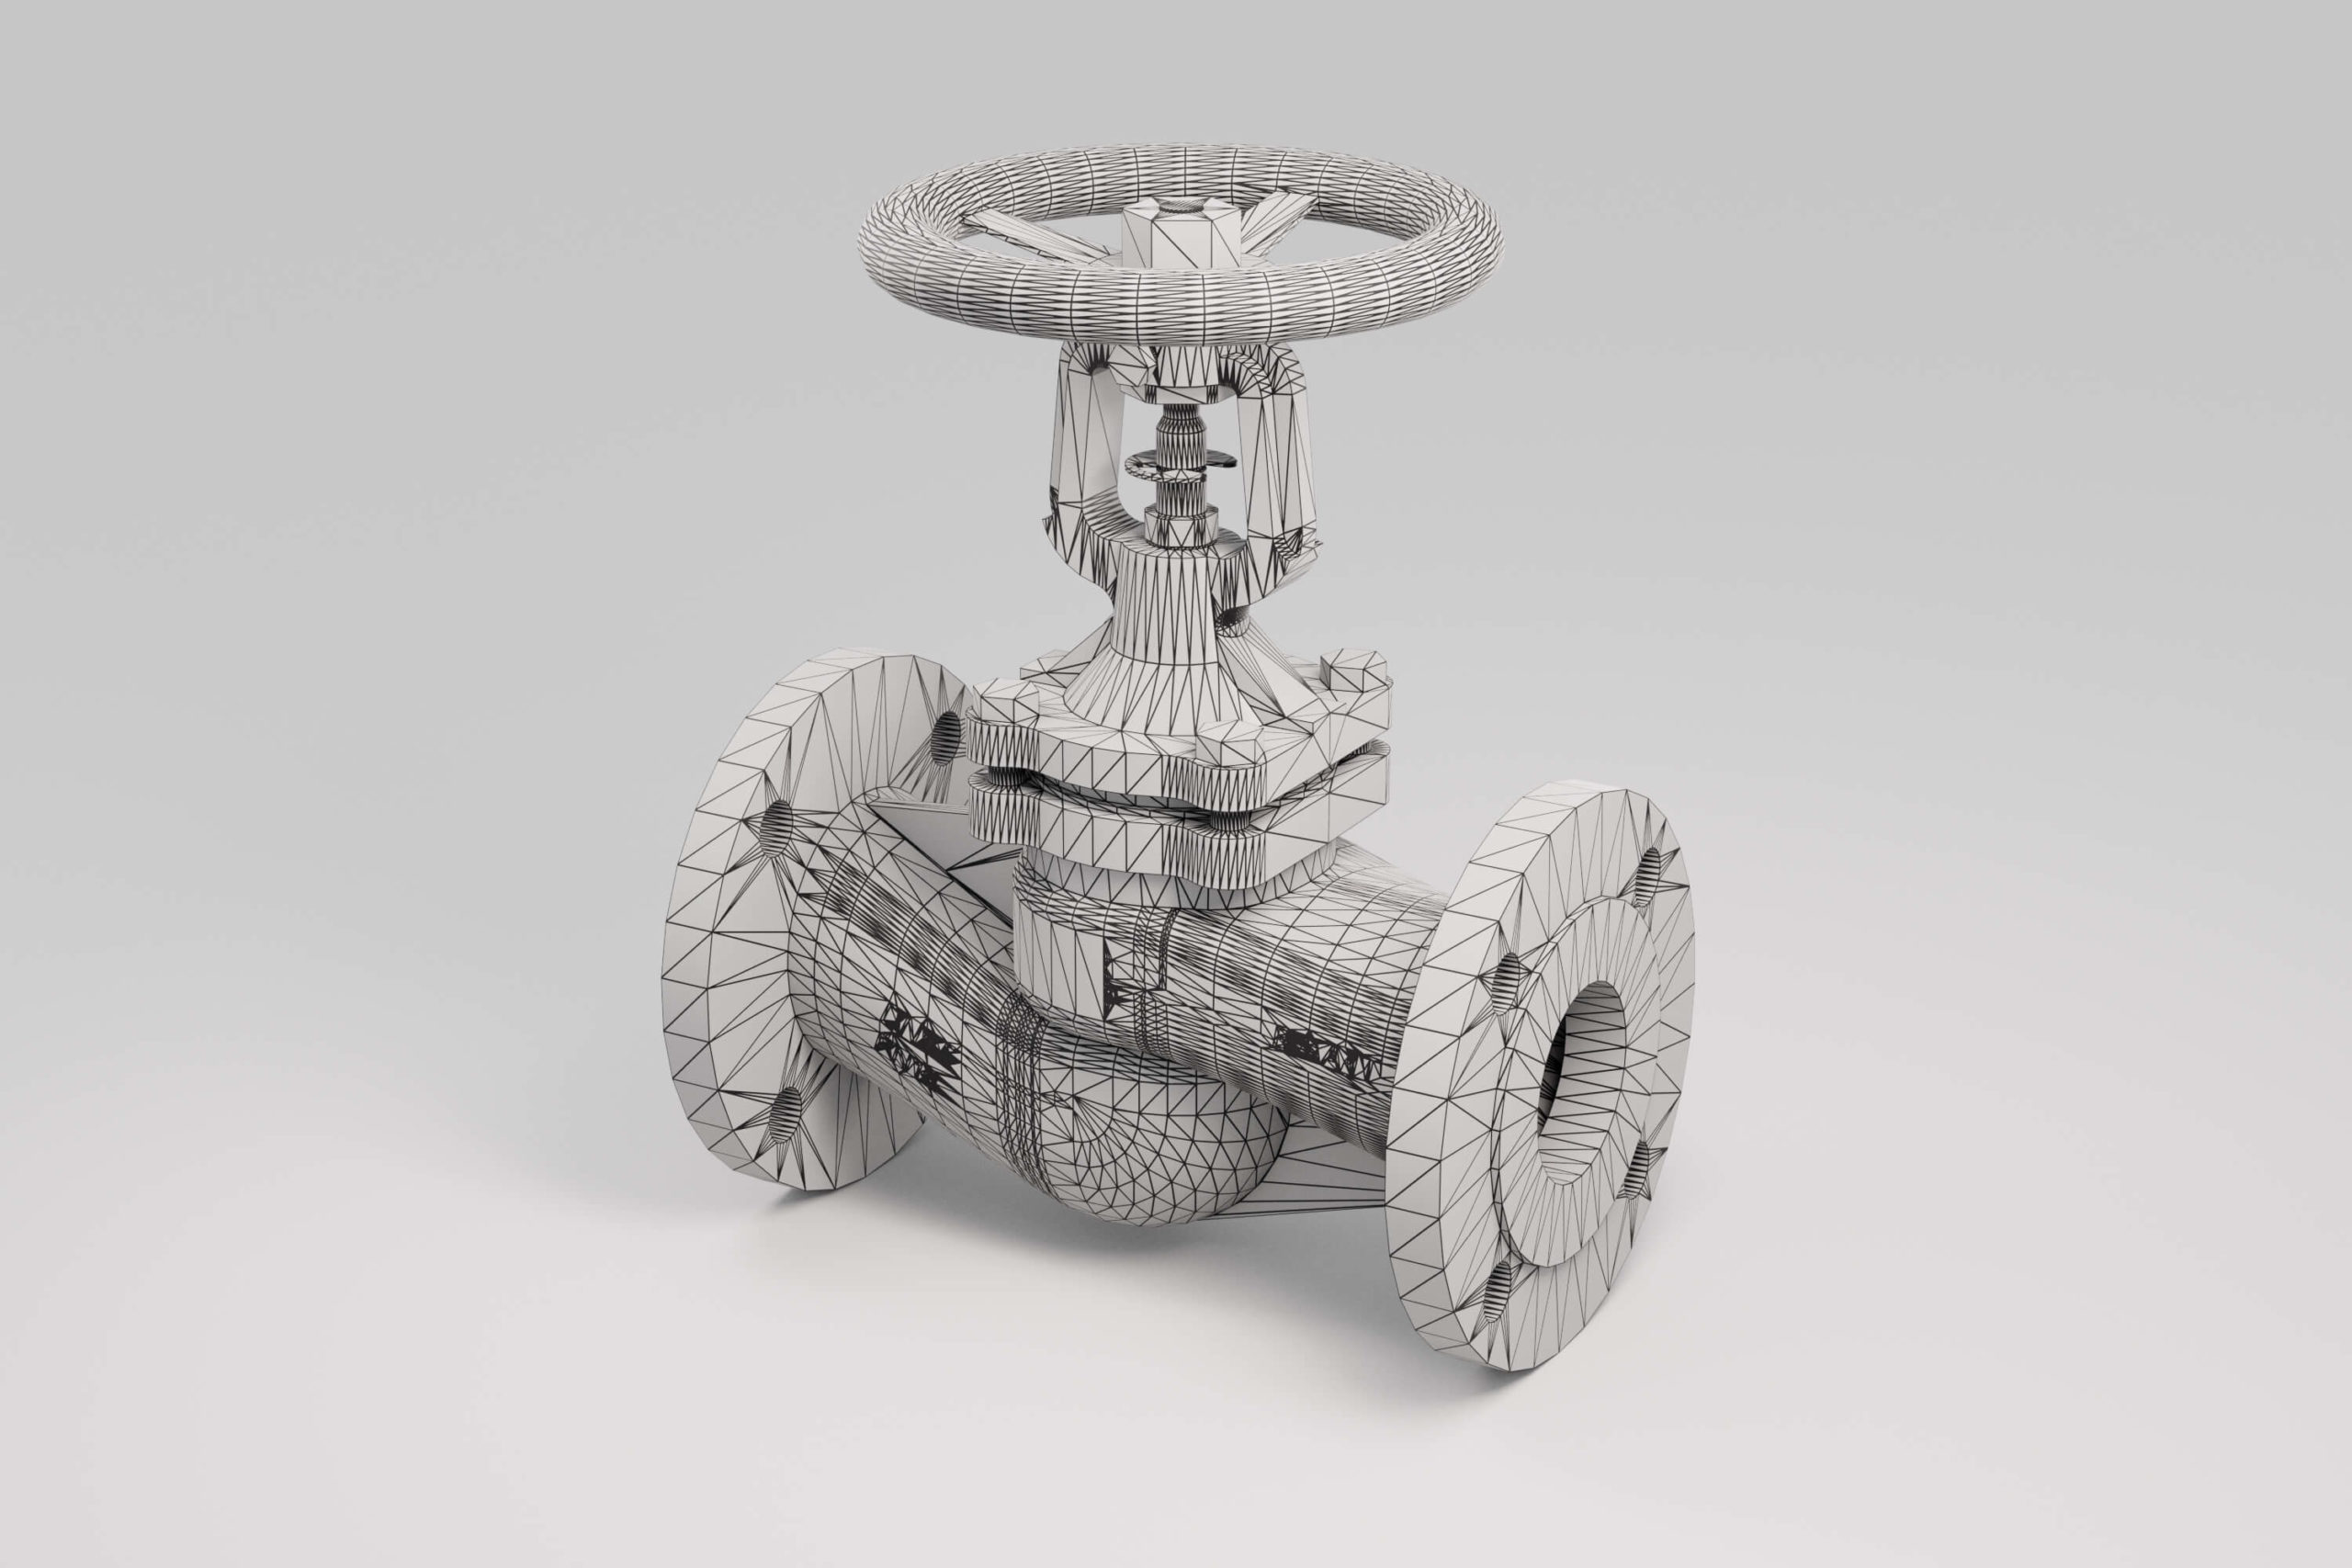
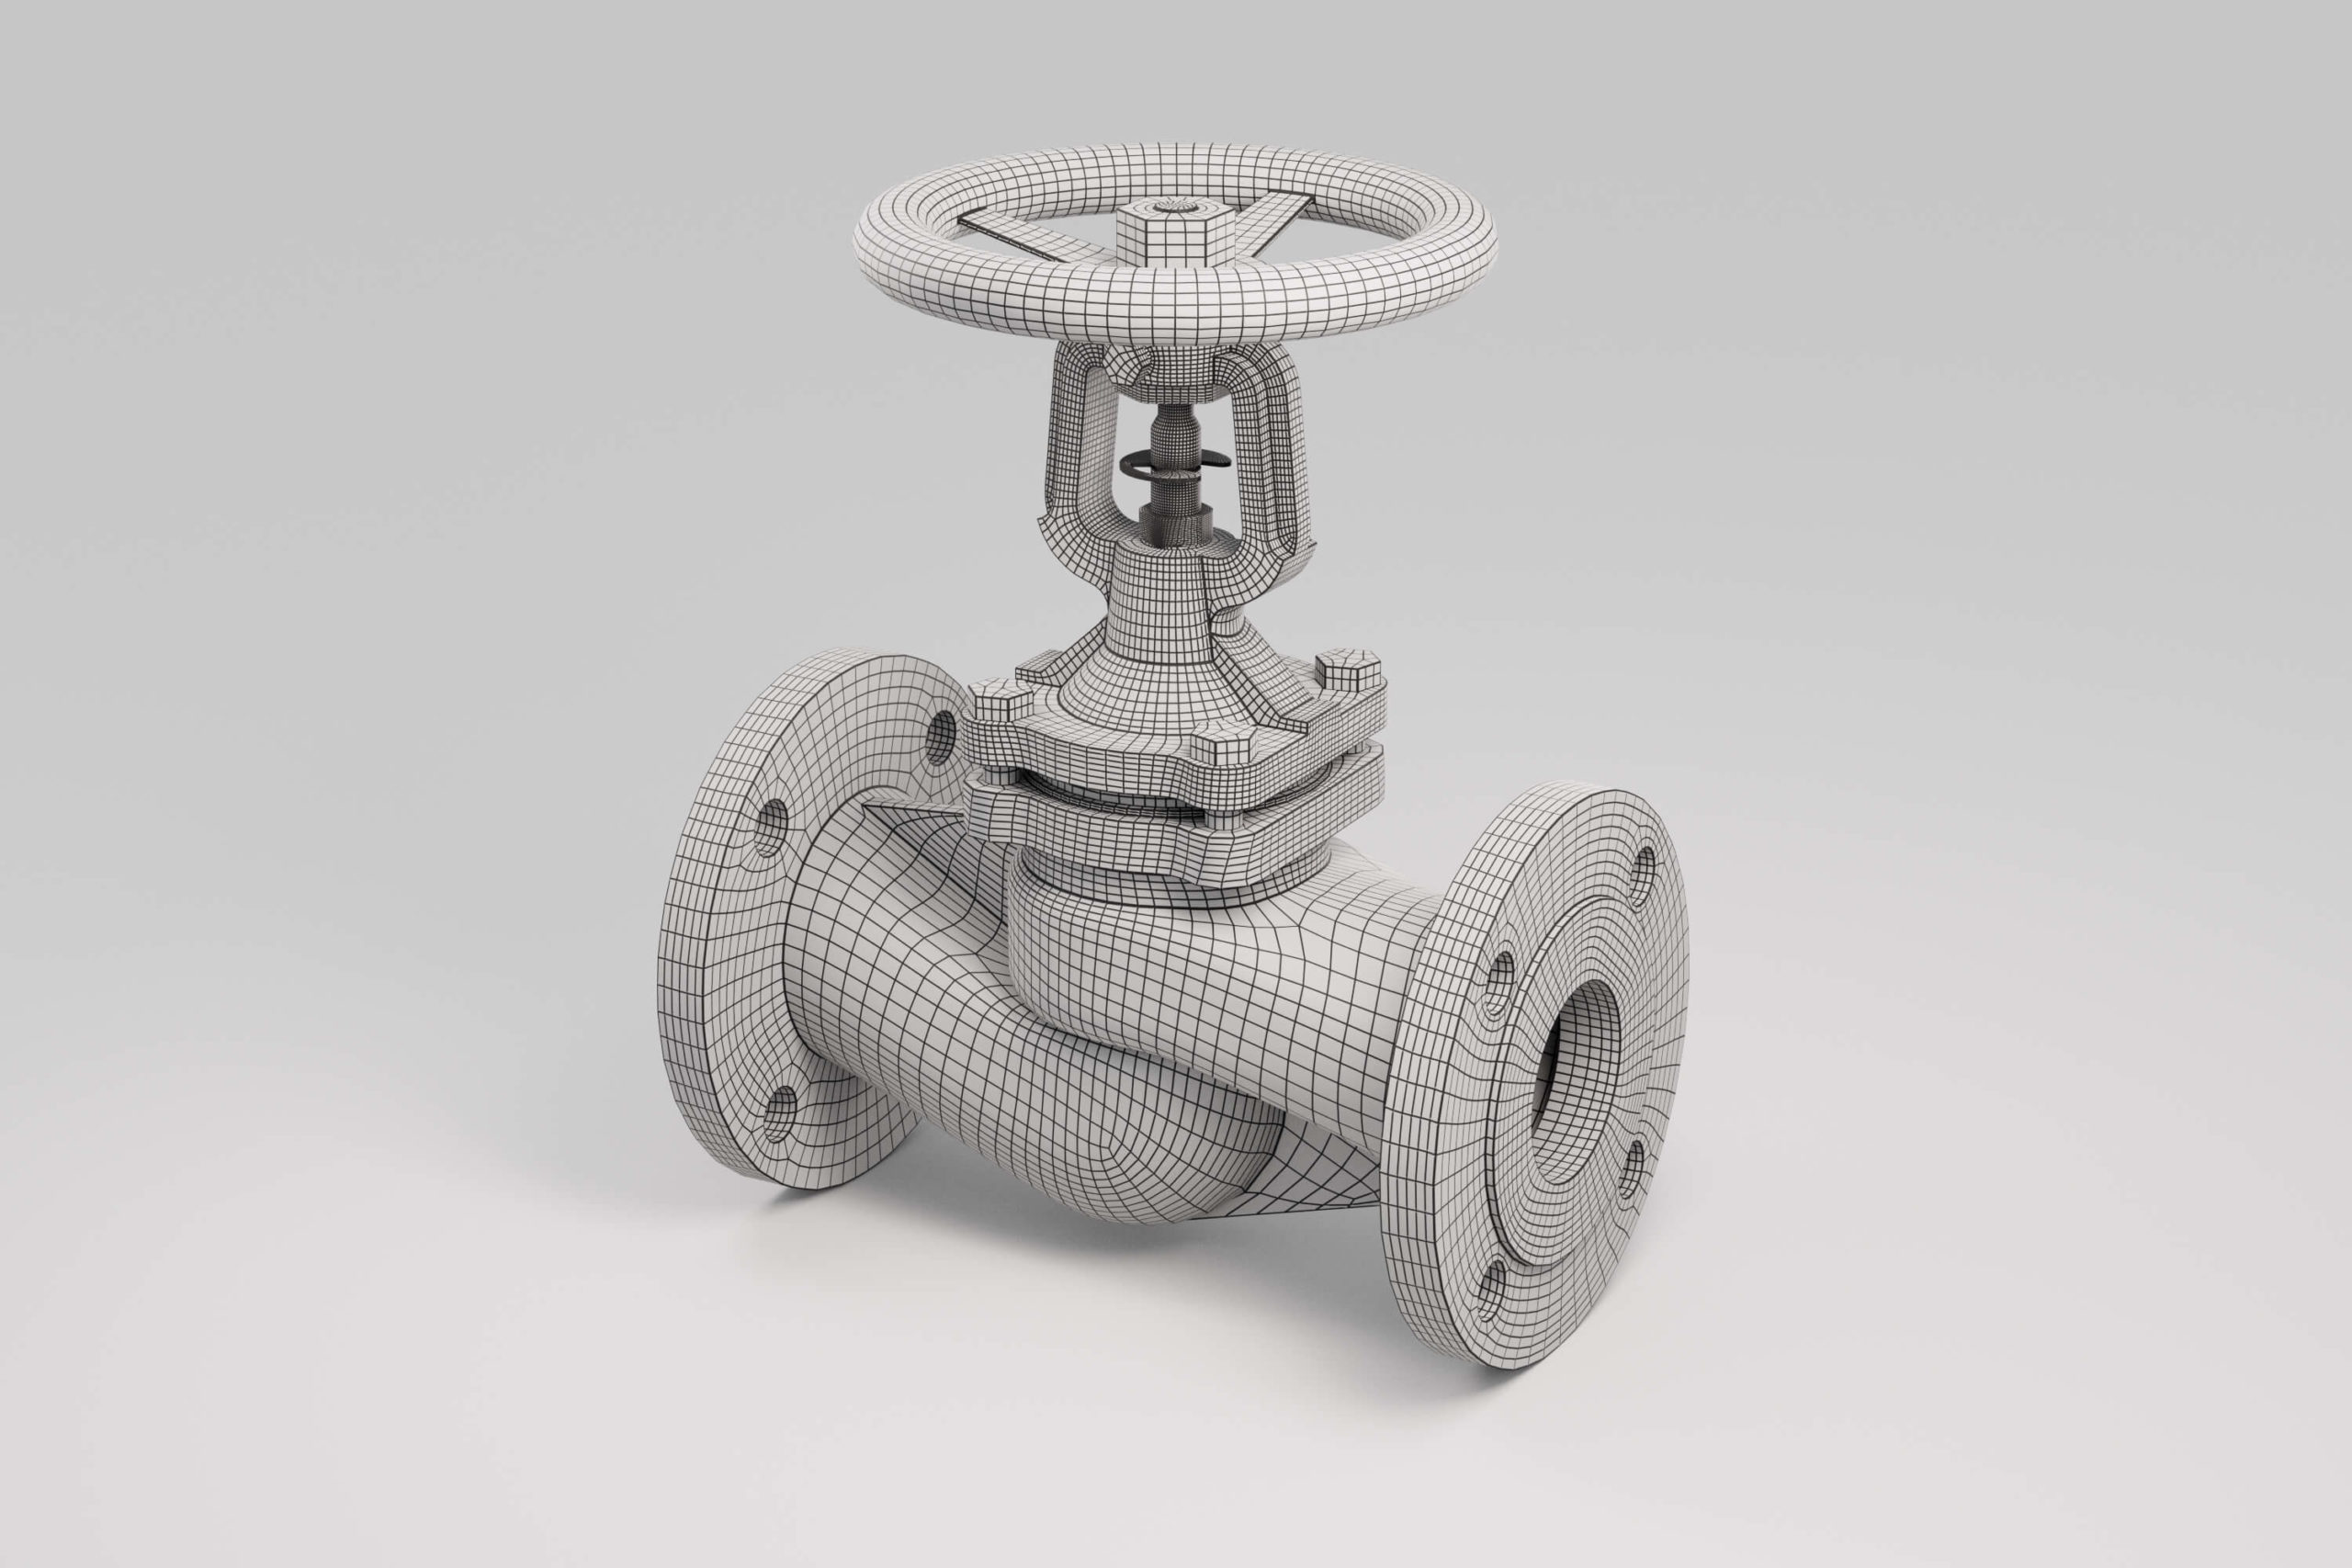
Now that the retopology is done, I can unwrap the mesh, because I want to export it and create some textures in Substance Painter.
As you can imagine, trying to unwrap the original mesh wouldn’t have been easy, without creating a lot of seams on the object. It’s still a relatively complex geometry, so to unwrap it you need a little bit of patience, but it doesn’t take too long.
Here you can see the result of the unwrap:
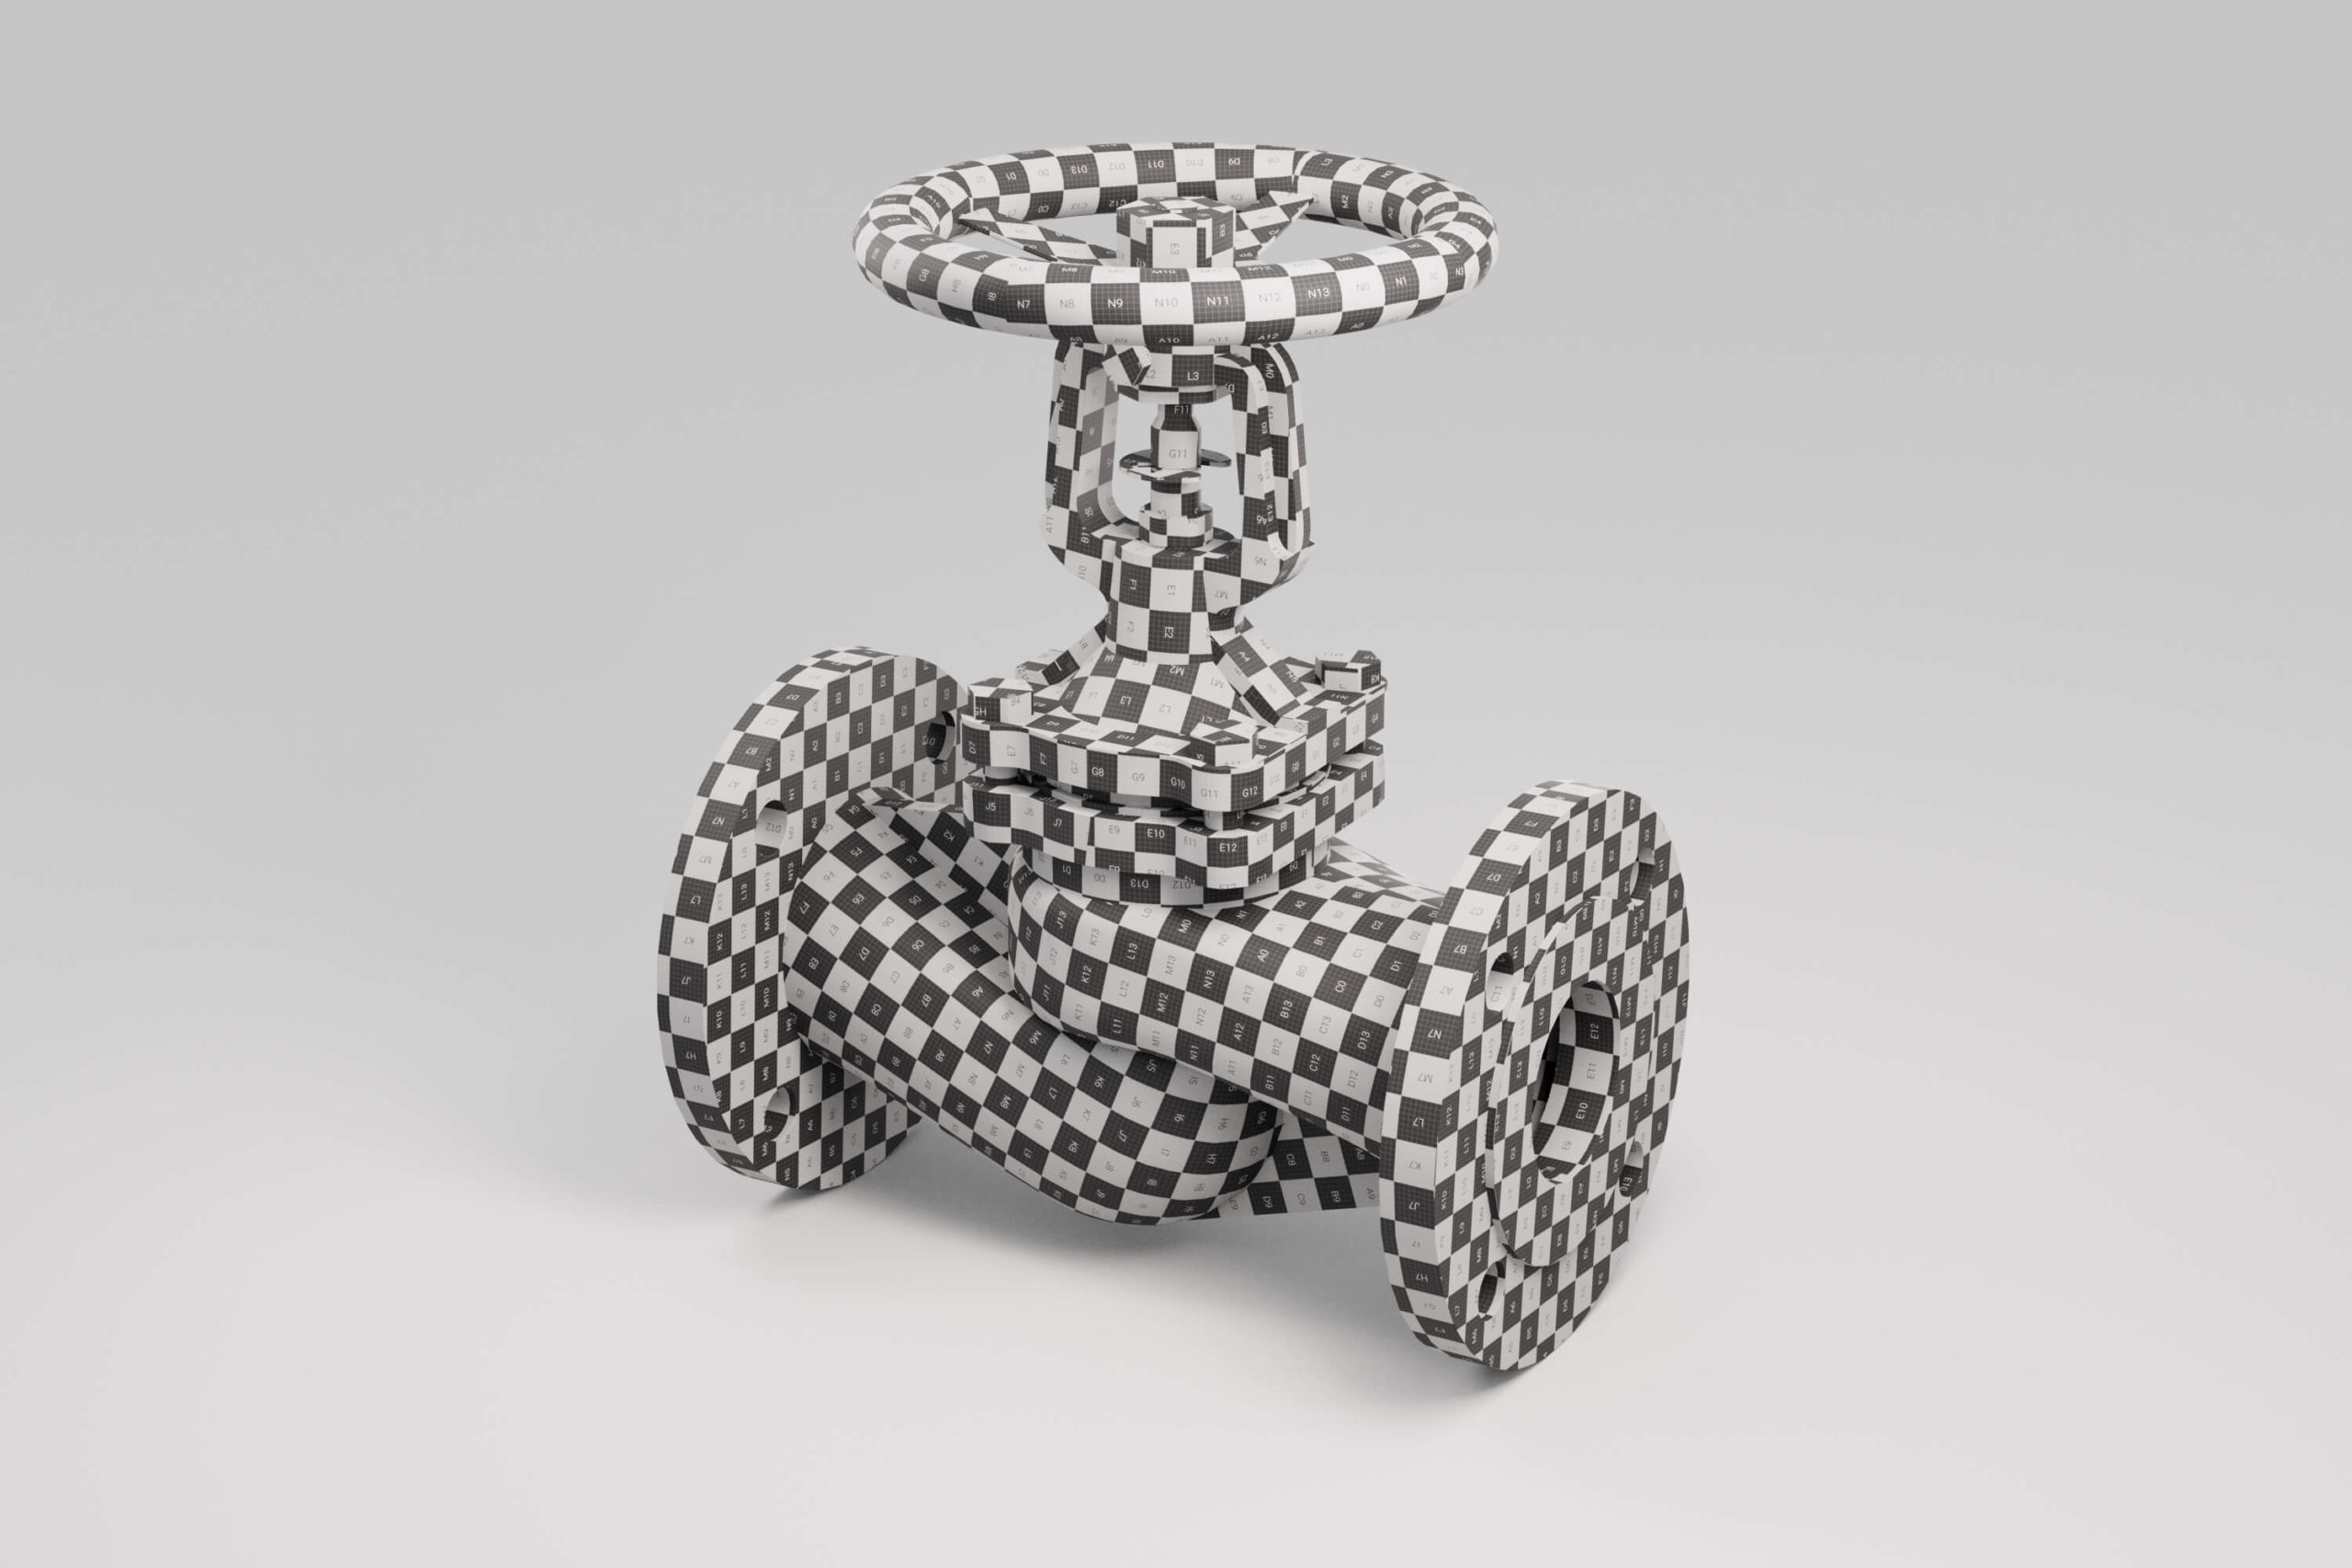
The asset is ready, we can now place it in a small scene and render a few images.
The additional assets are from Quixel Megascans. Lighting and rendering with Corona Renderer 7.
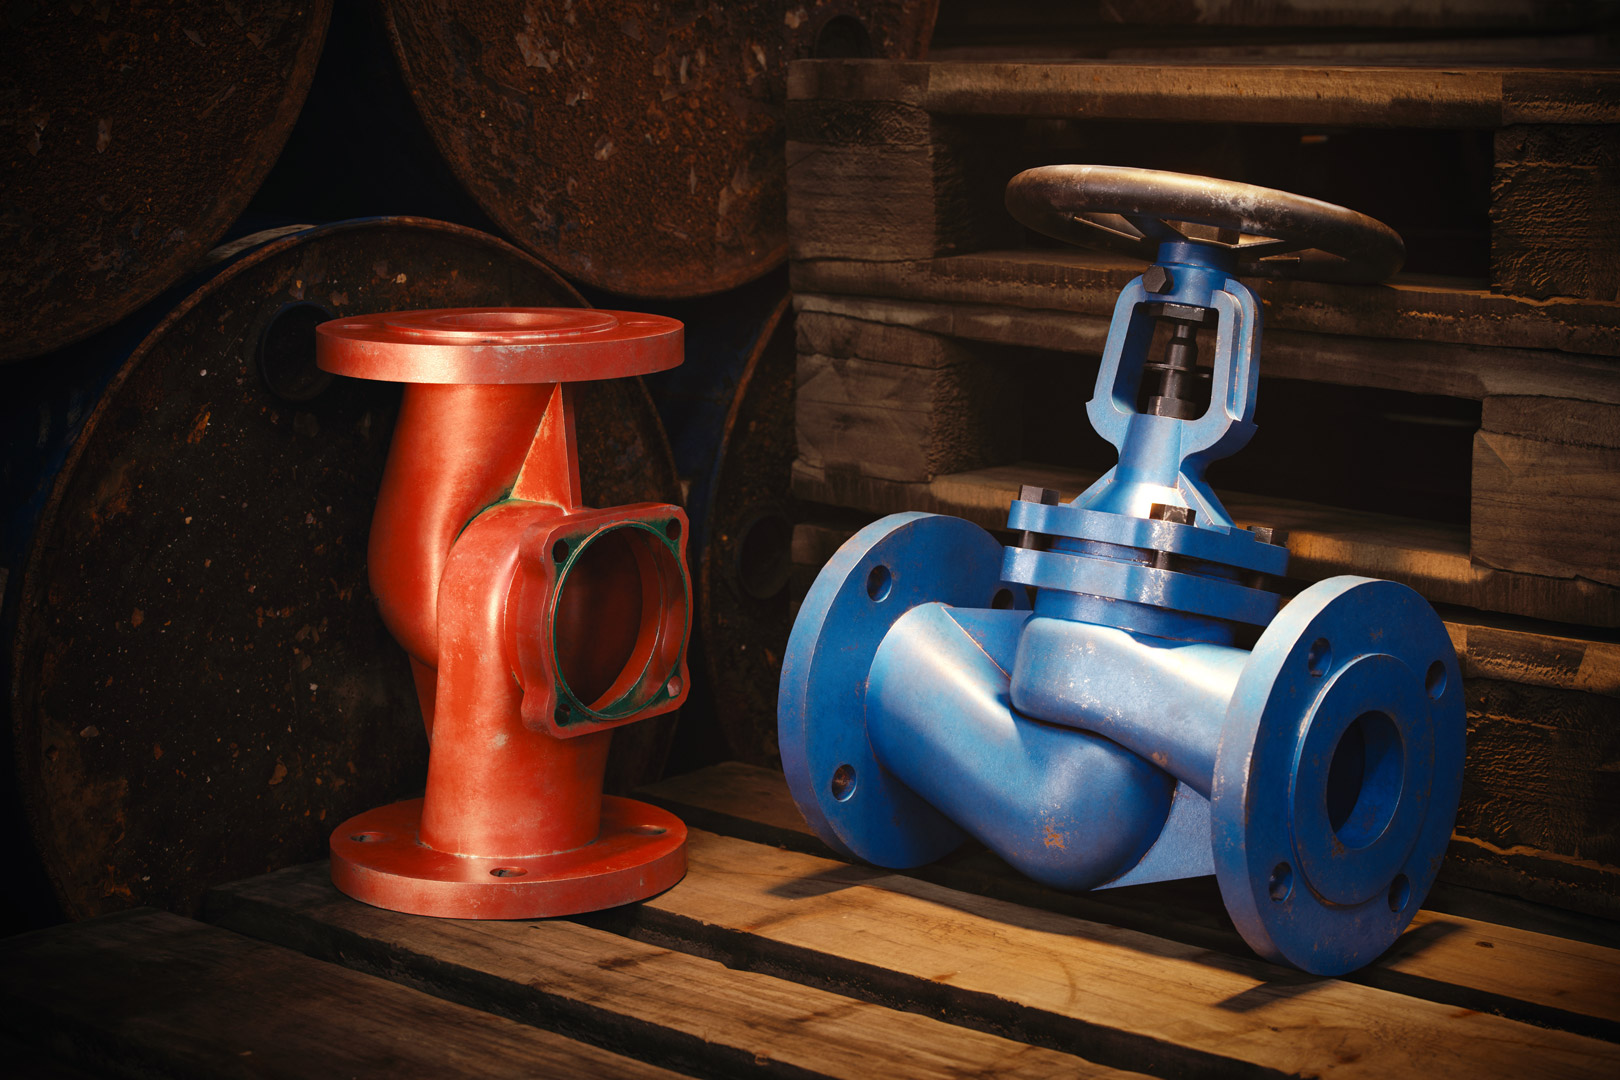


That’s all guys. You should now be able to leverage the power of these Retopology tools available in 3ds Max, and re-mesh all those assets that would otherwise render incorrectly and be very hard to unwrap.
See you next time!
Enrico

